
Connoisseurus Veg
Mon, 22 Apr 2024 13:37:24 +0000
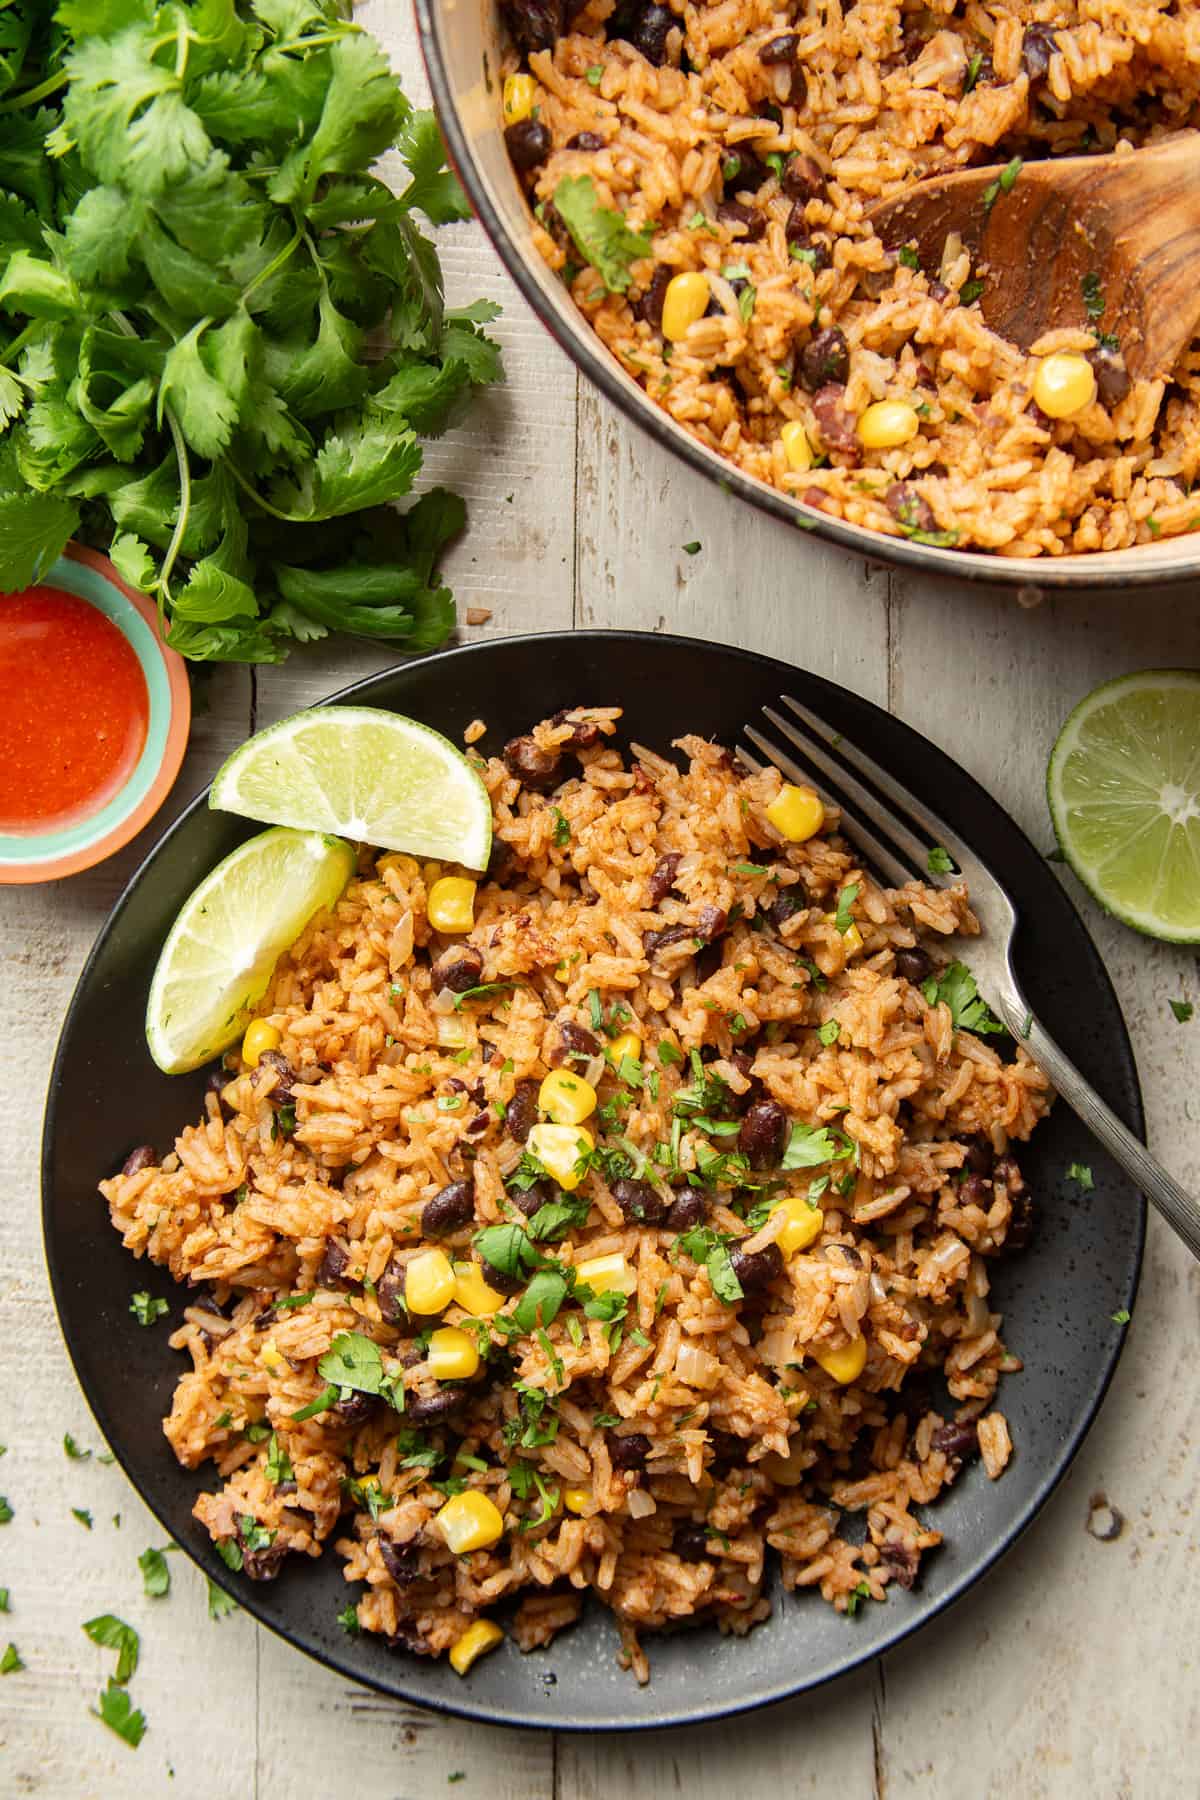
One-Pot Mexican Rice & Black Beans

This Mexican rice with black beans is flavor-packed, easy to make, and works great as either a main or side dish! It all comes together in one pot in about 35 minutes.
Rice and beans is one of my absolute favorite easy meals. For something so simple, it can be SO GOOD! It's flavorful, satisfying, and super versatilie.
I have many versions or rice and beans that I cook up in my kitchen on a regular basis, and I've shared a few of them on this site, including my Cuban rice and beans, spicy vegan jambalaya, and of course my one-pot Spanish rice and beans.
The latter in particular has become a real reader favorite around here, so I decided to share something similar, but this time it's Mexican rice and black beans. You'll find the seasoning blend to be a bit different, and whereas the Spanish rice includes olives, this Mexican rice dish instead is made with sweet corn and a touch of lime.
This dish is excellent all by itself and definitely hearty enough to make a meal of, but it's also excellent as a side, or for stuffing in tacos and burritos. And it all cooks up in one pot. So easy!
[feast_advanced_jump_to] Ingredients You'll Need- Olive oil. Got another high-heat oil you like to cook with? Feel free to use it!
- Onion.
- Garlic.
- Spices. You'll need a mix of ground cumin, paprika, ancho chile powder, and oregano.
- Vegetable broth.
- Long grain white rice. You can use another variety of rice, like brown rice, if preferred. But keep in mind that you may need to alter the amount of liquid going into the pot, as well as the simmer time. Brown rice in particular takes much longer to cook.
- Tomato paste.
- Canned black beans. Other types of beans will work. The dish won't be black beans and rice, but it'll still be delicious. If you need an alternative, try kidney beans, pinto beans, cannellini beans, chickpeas, or lentils.
- Frozen corn.
- Lime juice. Make sure to use freshly squeezed juice, and not bottled.
- Salt and pepper.
- Fresh cilantro.
The following is a detailed photo tutorial on how to make this dish. Scroll all the way down if you'd like to skip right to the recipe!

Begin by sweating diced onion in olive oil. Cook the onion until it softens and becomes translucent, making sure to stir it every now and then.
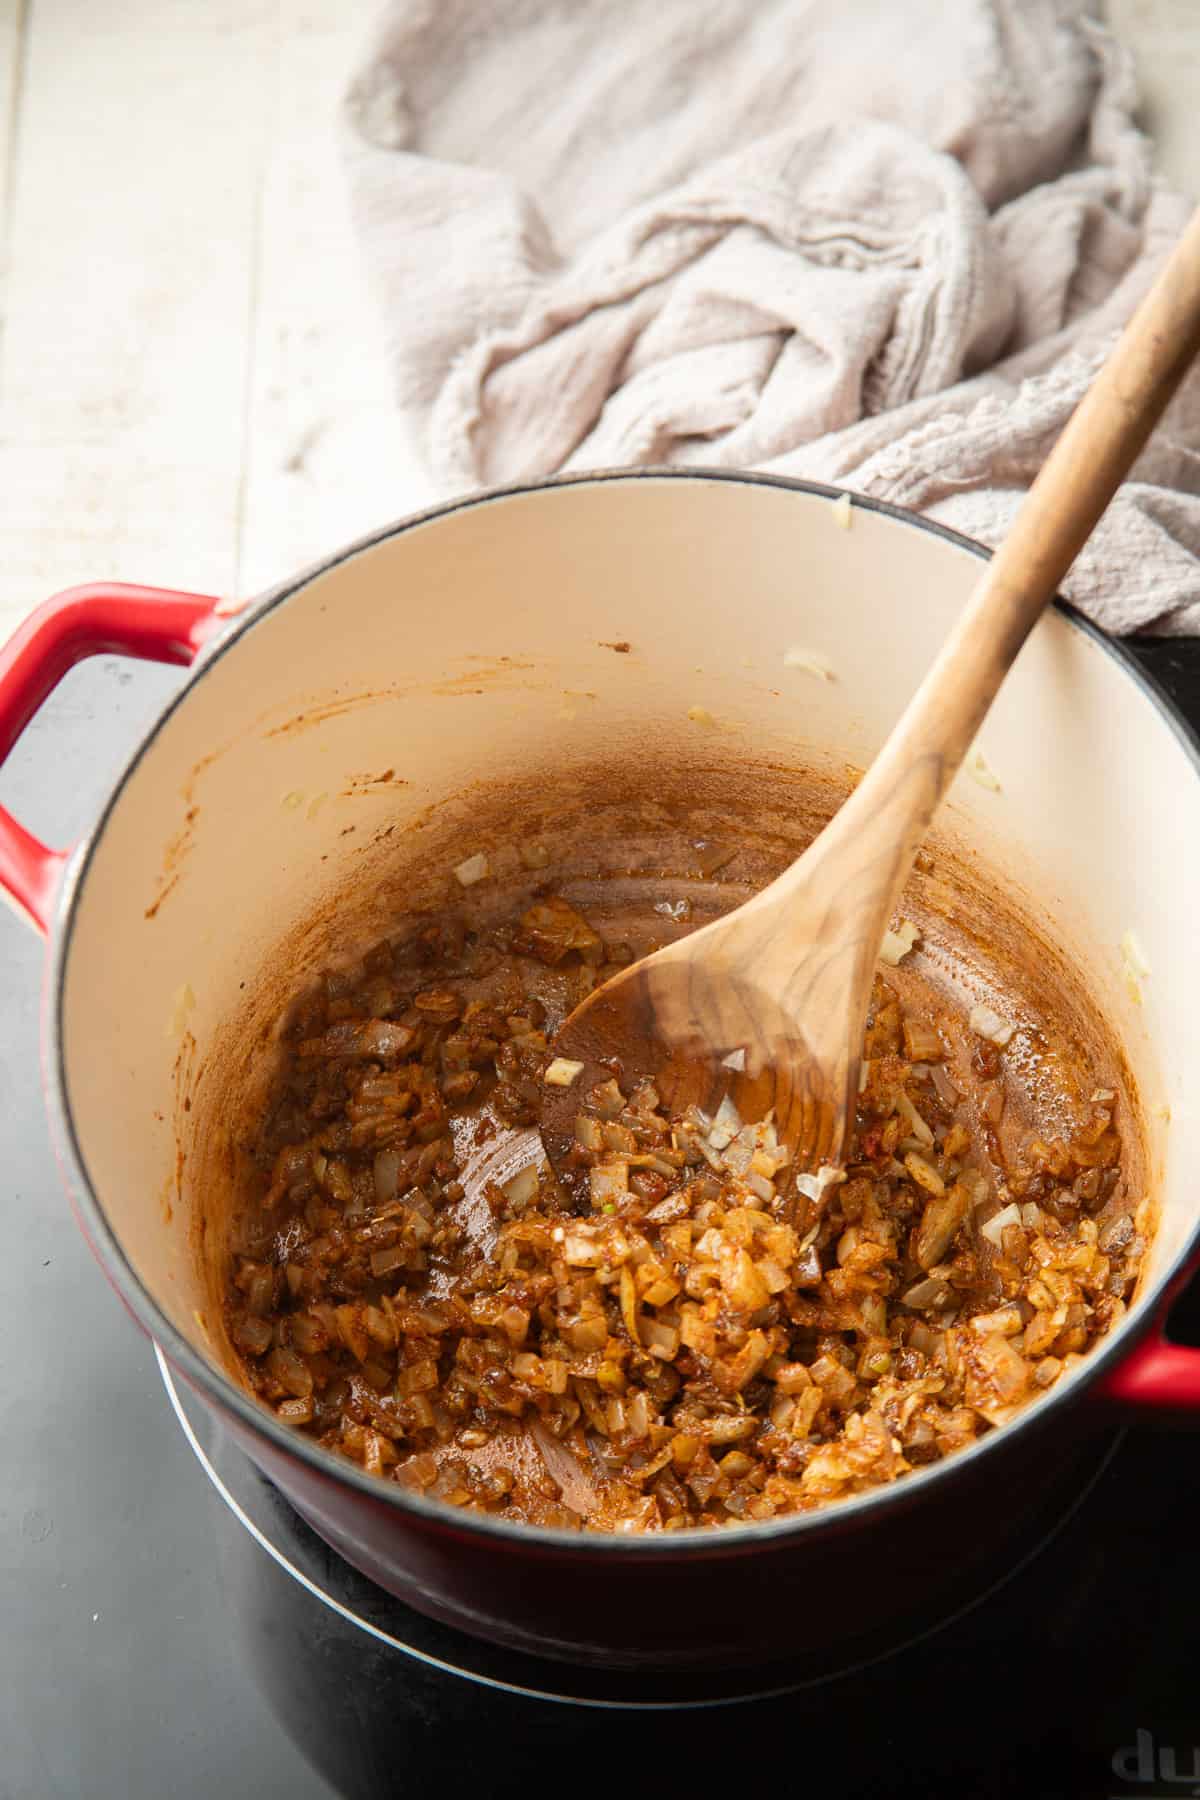
Stir in the garlic and spices. Mix everything well, and cook the mixture for just about a minute, stirring the whole time to prevent anything from burning.
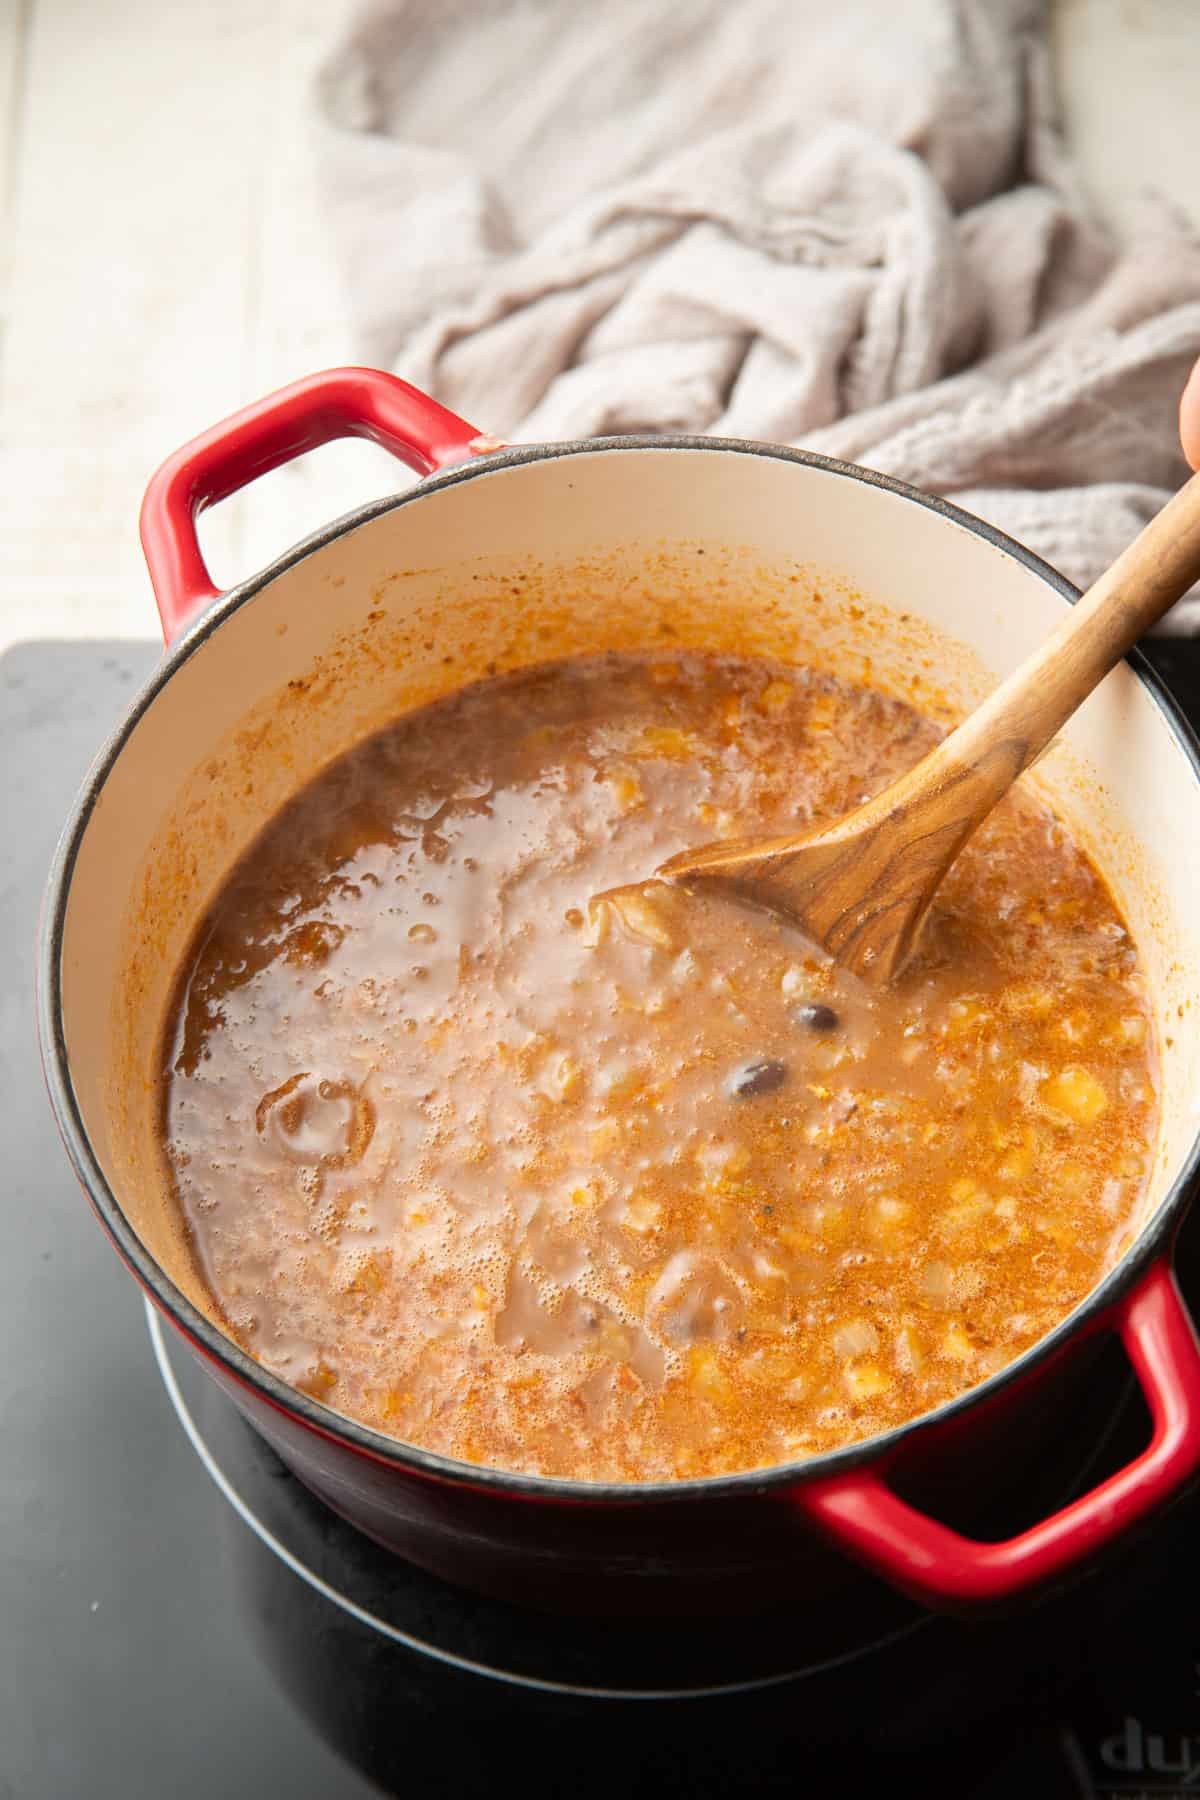
Now stir in the broth, rice, tomato paste, and beans. Bring the liquid to a boil. Make sure to stir it occasionally and scrape any rice that sticks to the bottom of the pot.

Lower the heat and cover the pot. Let everything cook at a low simmer until the rice has absorbed all of the liquid.
Tip: Avoid peeking at your rice as it cooks, as much as possible. You don't want to let the steam escape! If you need to lift the lid towards the end of cooking, be quick. Better yet, use a pot with a clear lid.
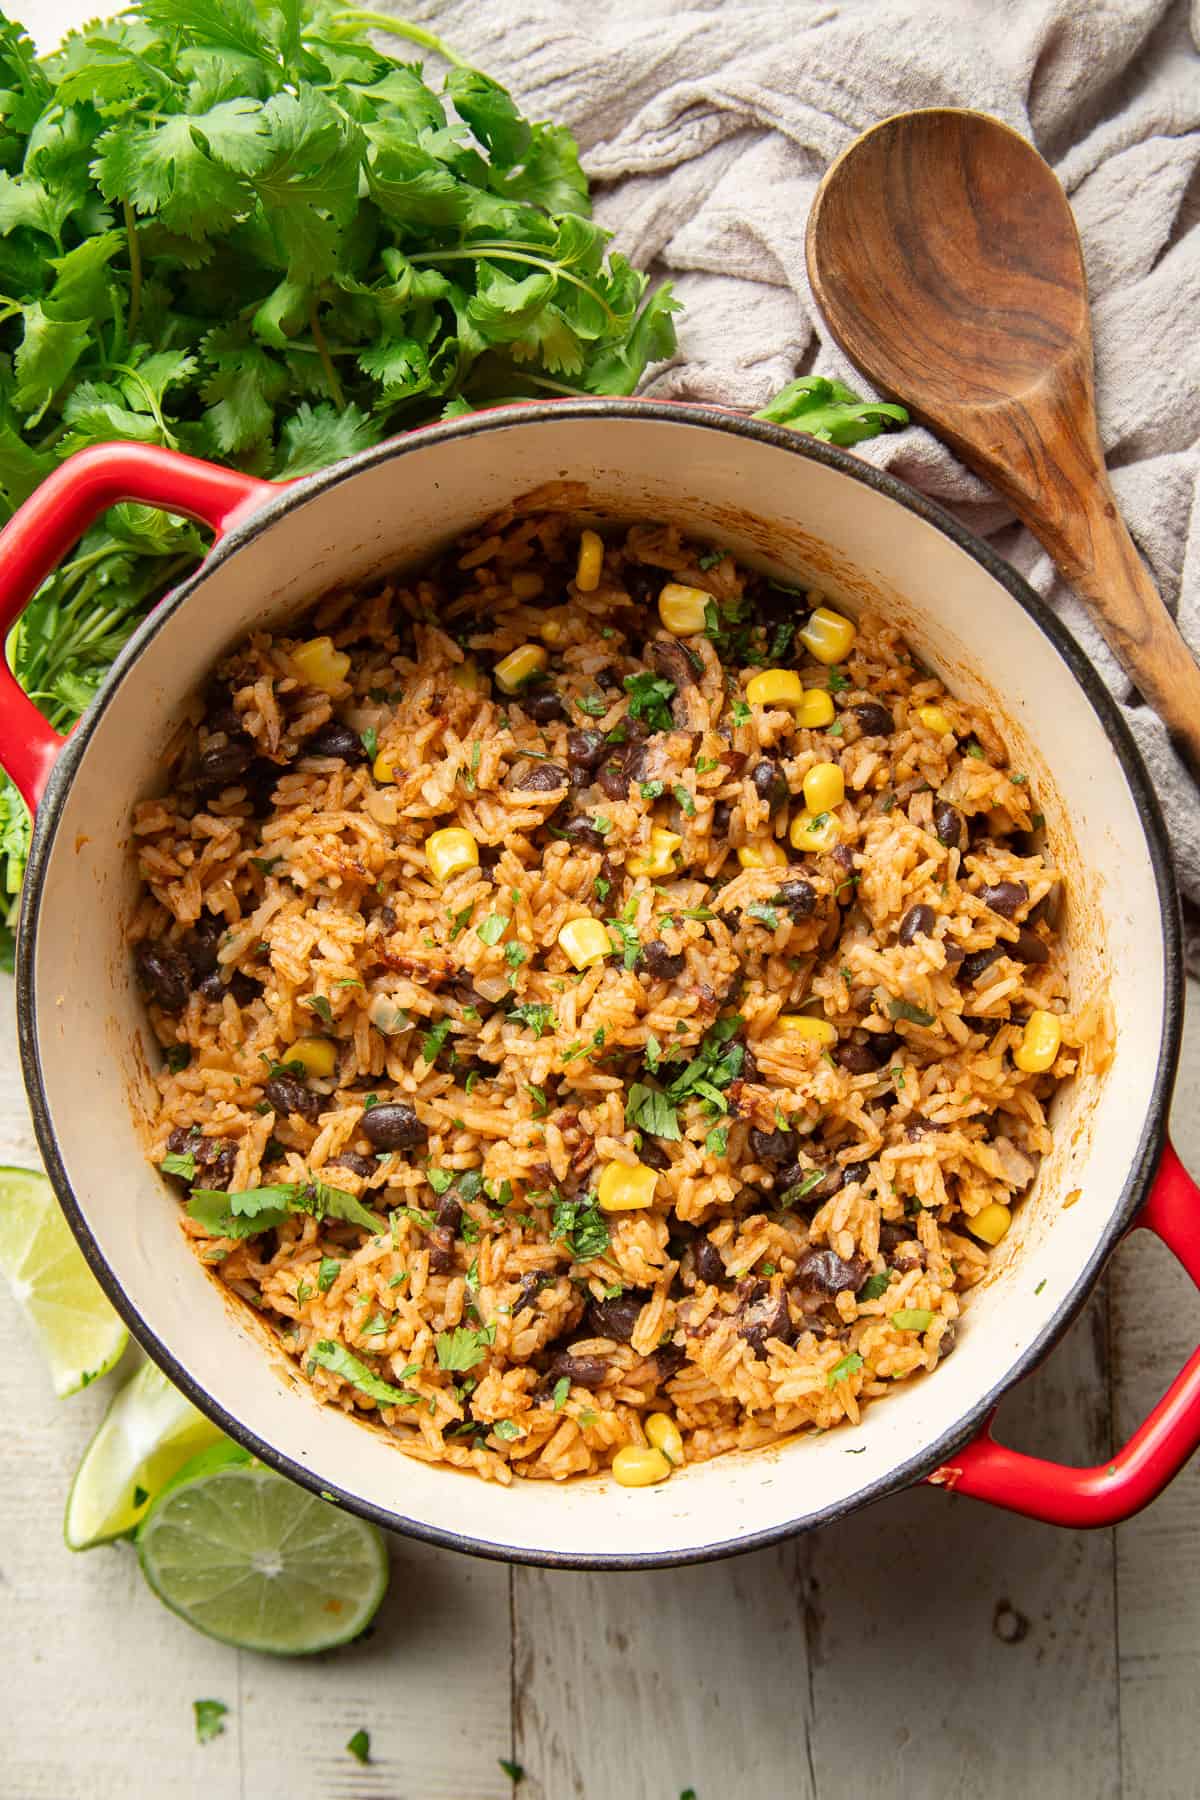
Let the pot sit with the lid on for about five minutes when the cook time is up. Then remove the lid, fluff the rice with a fork, and stir in some lime juice, salt and pepper, and fresh cilantro.
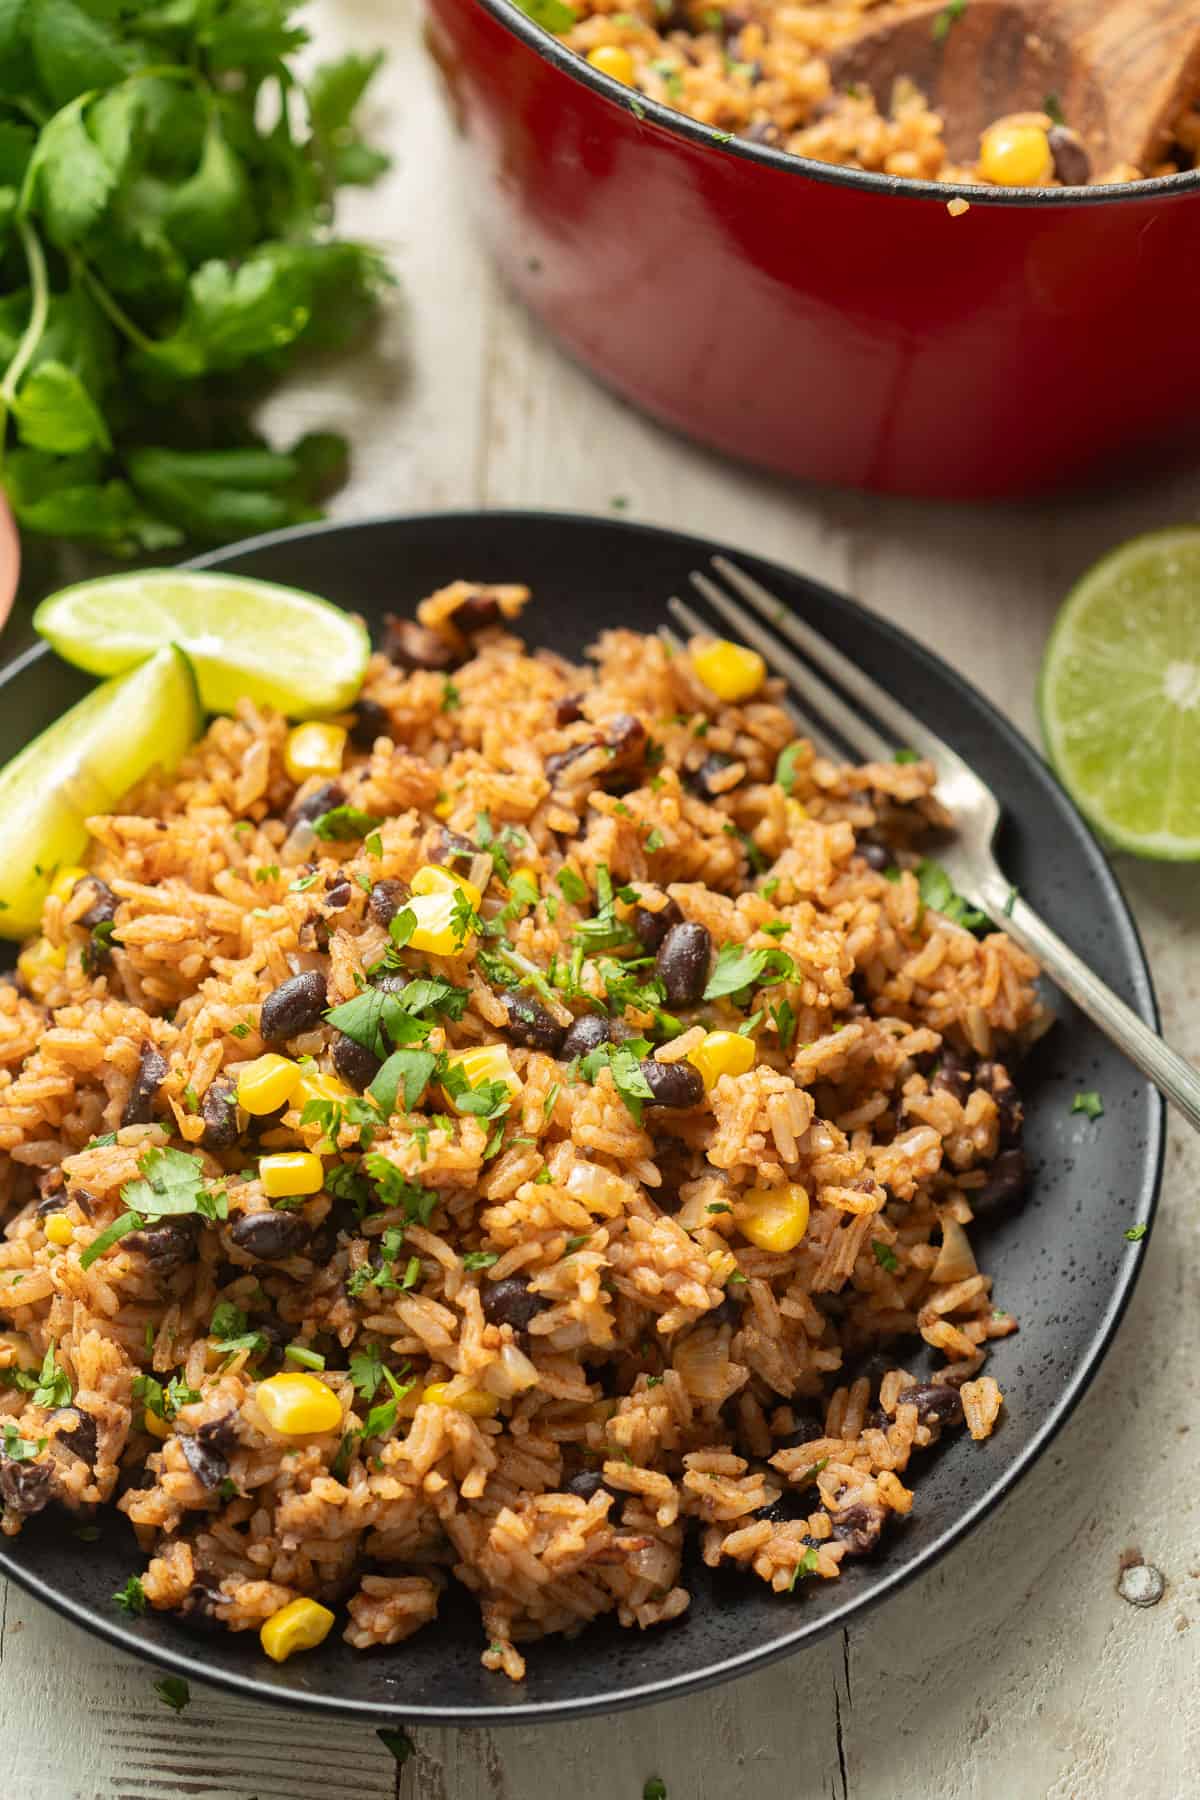
Your black beans and Mexican rice is ready to serve! Enjoy it by itself, or with accompaniments like sliced avocado, salsa, or hot sauce.
Leftovers & StorageLeftover Mexican rice and beans will keep in an airtight container in the refrigerator for about four days, or in the freezer for about three months.
More Mexican-Inspired Recipes- Spicy Black Bean Burritos
- Easy Vegan Refried Beans
- Street Corn Tacos
- Vegan Enchiladas with Black Beans & Spinach
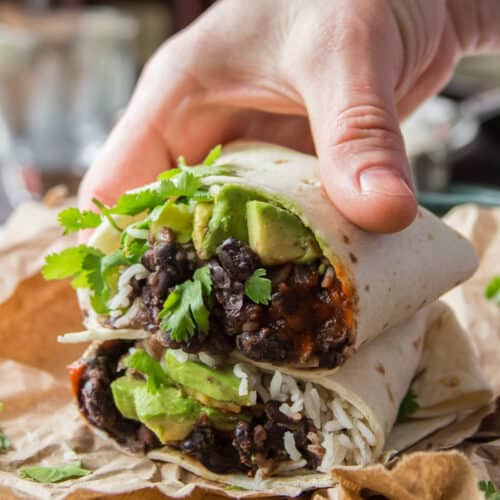 Spicy Black Bean Burritos
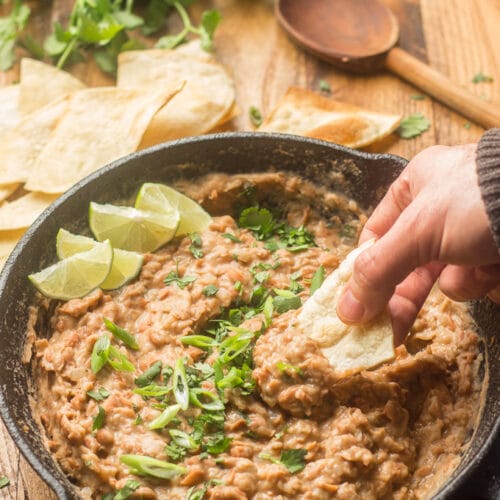 Easy Vegan Refried Beans
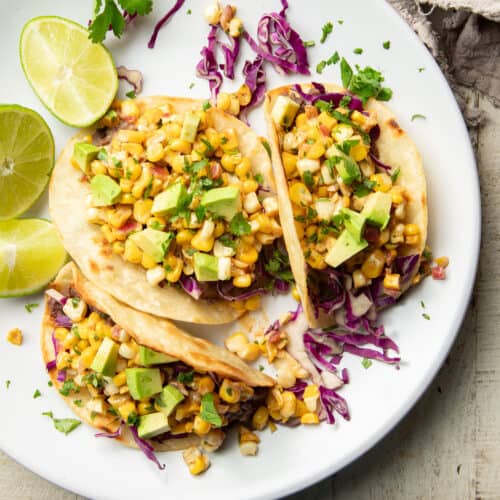 Street Corn Tacos
 Vegan Enchiladas with Black Beans & Spinach
Like this recipe? If so, please stop back and leave me a review and rating below if you try it! Also be sure to follow me on Facebook, Pinterest or Instagram, or subscribe to my newsletter for more recipes like this one!
- 2 tablespoons olive oil
- 1 medium onion, diced
- 3 garlic cloves, minced
- 2 teaspoons ground cumin
- 1 teaspoon sweet paprika
- 1 teaspoon ancho chile powder
- 1 teaspoon dried oregano
- 2 ¼ cups vegetable broth
- 1 ½ cups white rice
- 1 tablespoon tomato paste
- 1 (15 ounce/425 gram) can black beans, drained and rinsed
- ½ cup frozen corn, thawed (optional)
- 2 tablespoons lime juice
- Salt and pepper, to taste
- ¼ cup chopped fresh cilantro
- Coat the bottom of a large pot with the oil and place it over medium heat. Give the oil a minute to heat up, then add the onion. Sweat the onion for about 5 minutes, stirring occasionally, until it becomes soft and translucent.
- Stir in the garlic, cumin, paprika, ancho chile powder, and oregano. Sauté everything with the onion for about 1 minute, until the mixture becomes very fragrant.
- Add the broth, rice, tomato paste, and black beans. Stir everything well to completely dissolve the tomato paste. Raise the heat to high and bring the liquid to a boil.
- Lower the heat so that the liquid is at a low simmer, then cover the pot. Let the mixture simmer until all of the liquid has been absorbed, about 16 to 18 minutes.
- Remove the pot from heat, but leave the lid on for 5 minutes.
- Remove the lid from the pot and fluff the rice with a fork. Stir in the corn (if using), lime juice, salt and pepper to taste, and fresh cilantro.
- Serve.
The post One-Pot Mexican Rice & Black Beans appeared first on Connoisseurus Veg.
Fri, 19 Apr 2024 13:26:58 +0000
Vegan Chocolate Chip Cookie Bars

These vegan cookie bars are sweet, chewy, and studded with rich dark chocolate chips and crunchy pecans. So easy to make and so good with a big glass of almond milk!

You can't beat vegan chocolate chip cookies when you're cravings something sweet, right? Well, actually, I think you can. Personally, I prefer my cookies in bar form whenever possible. Cookie bars are like cookies, but better — extra thick, extra chewy, and perfect for dunking.
I often like to whip up a batch of my cookie butter blondies when a cookie bar craving hits, but I don't always have all the ingredients on hand. (A jar of cookie butter stashed in my pantry won't last long!) So I decided it was time to create a recipe for a simpler vegan cookie bar, from ingredients I almost always have. These vegan chocolate chip cookie bars did not disappoint!
[feast_advanced_jump_to] Ingredients You'll Need- Water.
- Ground flaxseeds. We'll be mixing these with the water to create a flax egg, which is a great vegan egg substitute for baked goods.
- Flour. The recipe calls for all-purpose flour, also known as white flour or plain old wheat flour. Other types of flour might work, but I haven't tested the recipe with any of them, so I can't make any promises.
- Baking soda.
- Cinnamon. This is optional, but will add a lot of delicious flavor to your cookie bars.
- Salt.
- Vegan butter. I used Earth Balance brand vegan butter to create this recipe. Some other brands you'll probably see at the store are Melt and Miyoko's. Vegan butter can usually be found in the refrigerator section, near the regular butter.
- Sugar. Make sure your sugar is organic. Non-organic sugar may be processed using animal bone char.
- Brown sugar. This also needs to be organic.
- Vanilla extract.
- Apple cider vinegar. If you don't have this on hand, check out my list of apple cider vinegar substitutes.
- Vegan chocolate chips. I used Enjoy Life brand dark chocolate morsels.
- Chopped pecans. You can skip these if you're not a fan or have a nut allergy. You can also swap them out with another type of nut, such as walnuts.
The following is a detailed photo tutorial on how to make this dish. Scroll all the way down if you'd like to skip right to the recipe!
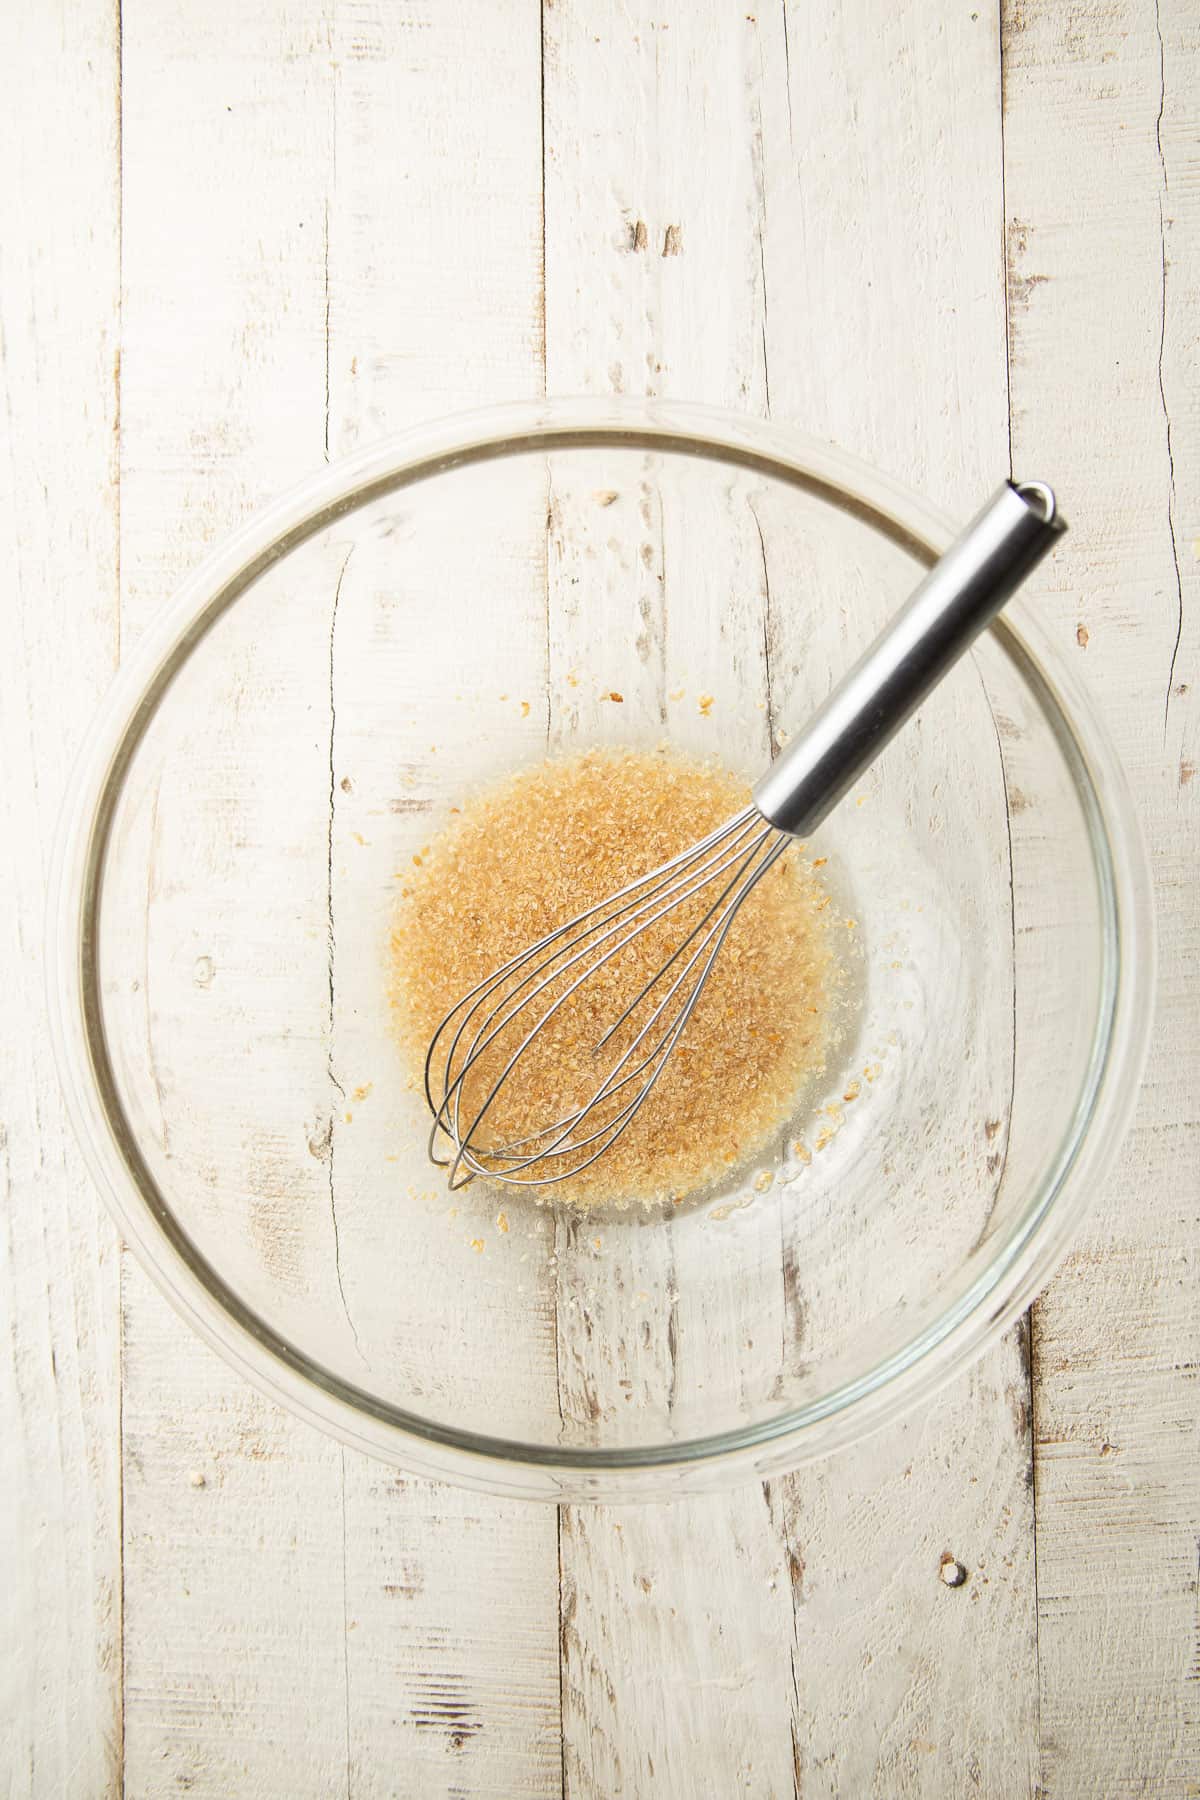
Begin by making your flax egg. Mix the water and ground flaxseeds in a large bowl, then set it aside. The mixture will need to sit for a few minutes to gel.
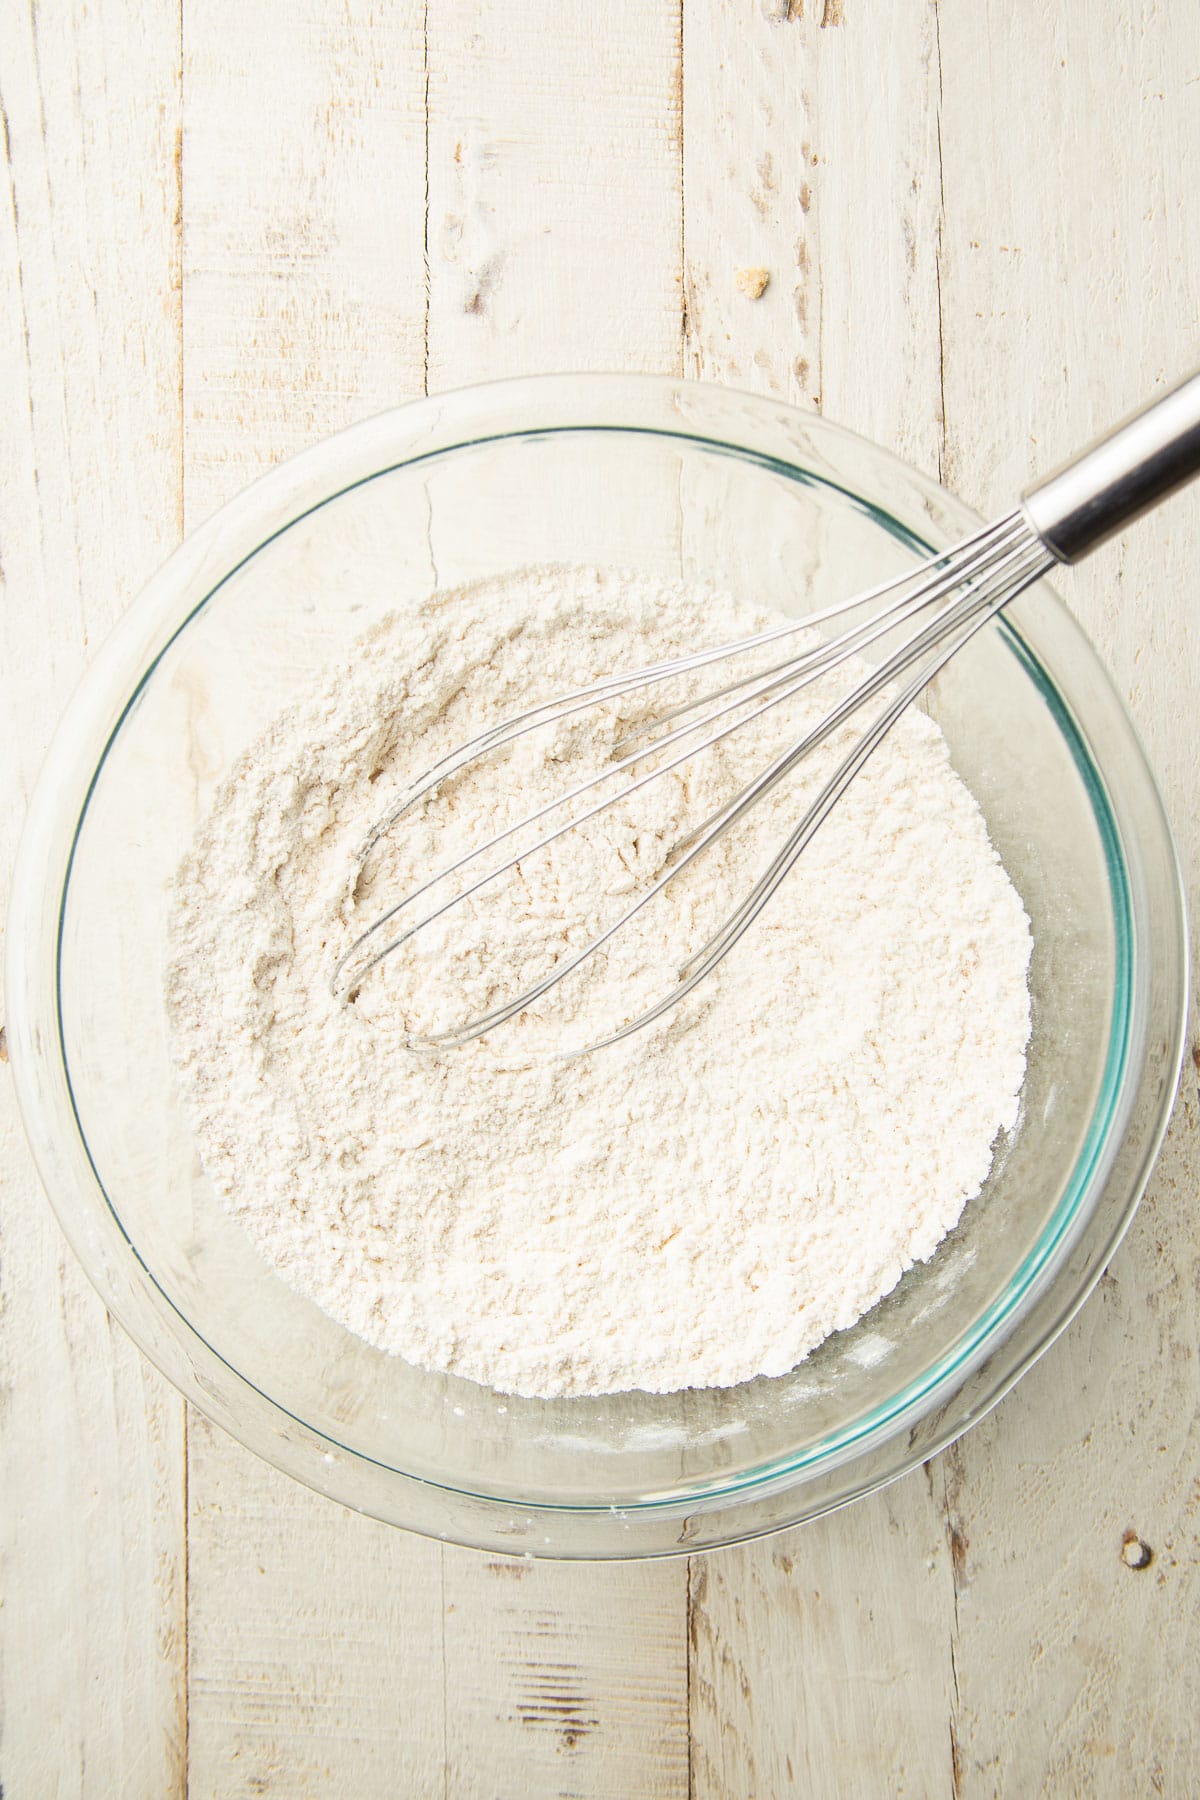
While your flax egg sits, whisk your dry ingredients together in a large bowl: flour, baking soda, cinnamon, and salt.
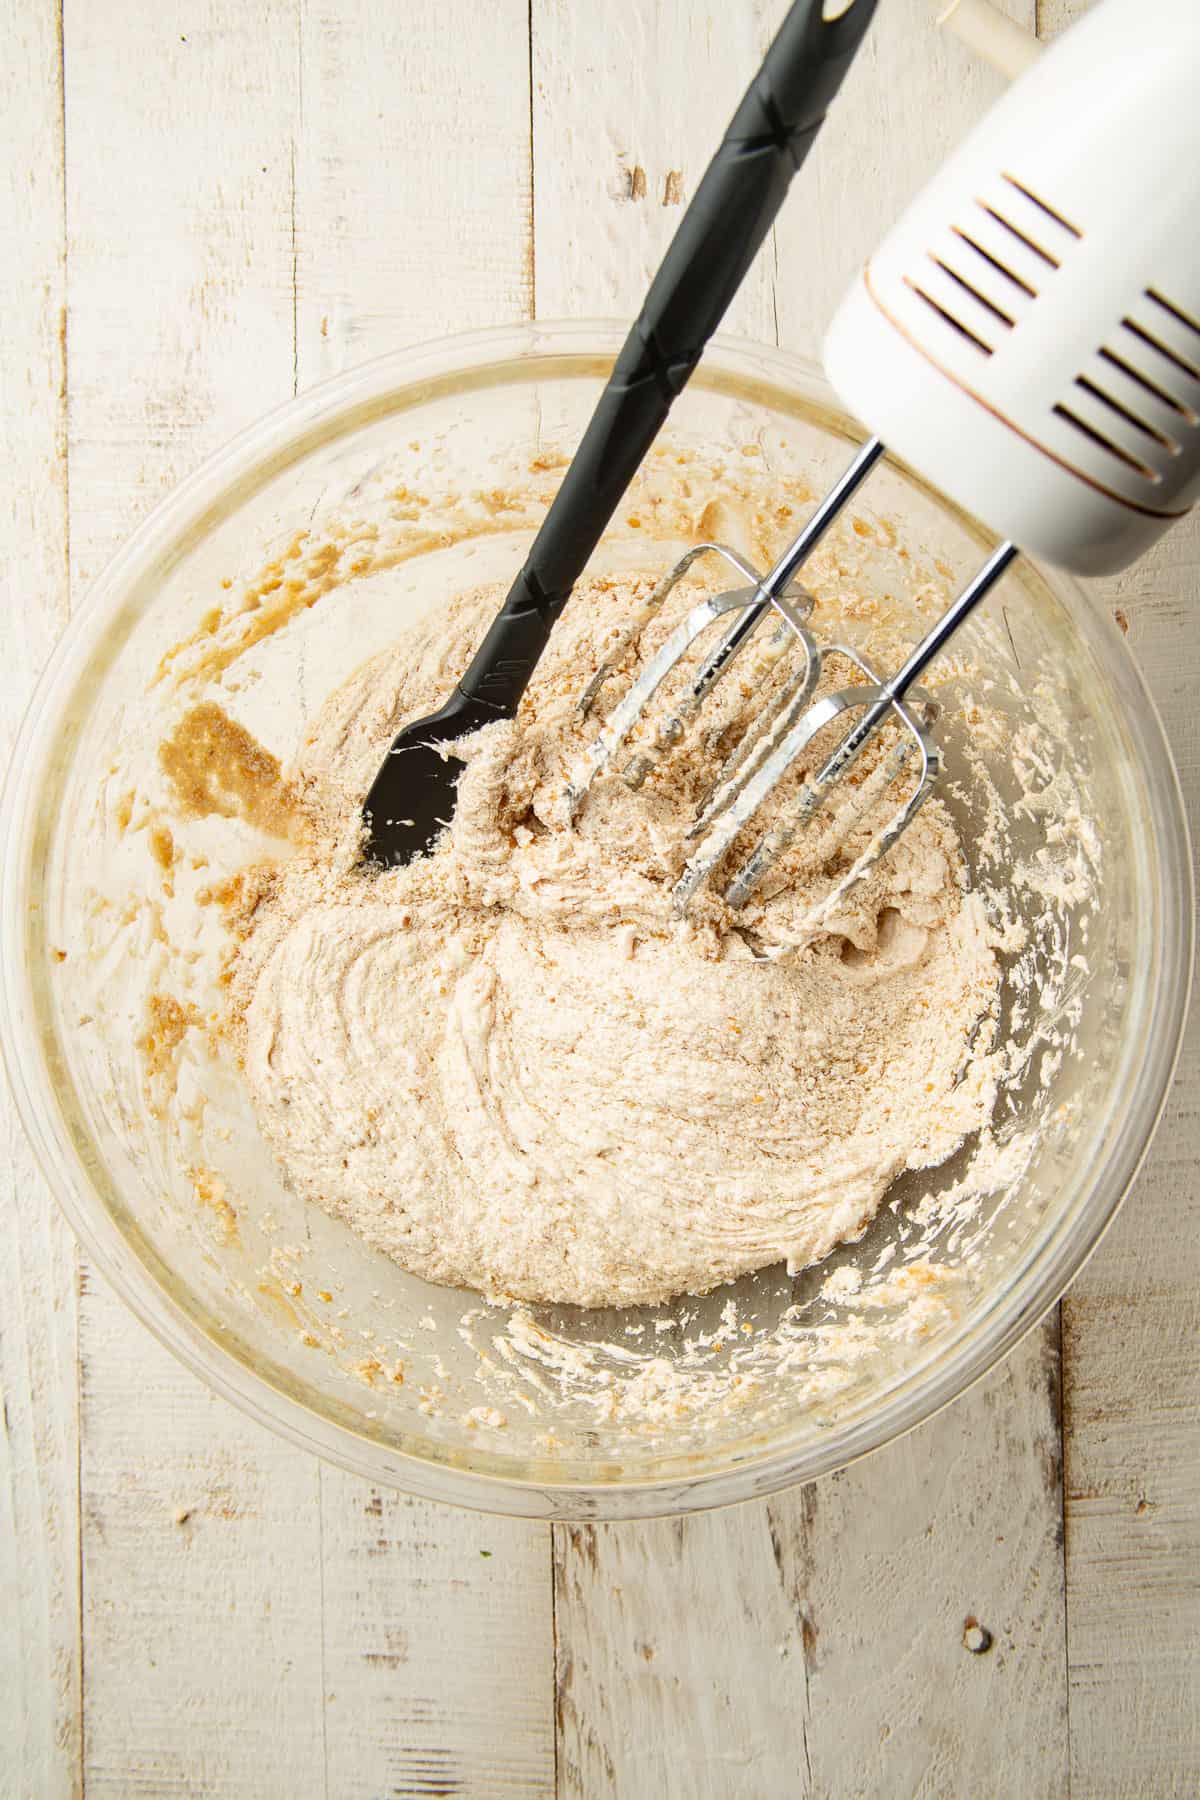
By now your flax egg should be ready! Add room temperature vegan butter, sugar, brown sugar, vanilla, and apple cider vinegar. Beat the mixture at high speed until it becomes pale and fluffy.

Now begin adding the flour mixture. Add just a bit at a time, and beat each addition in at low speed before adding more.
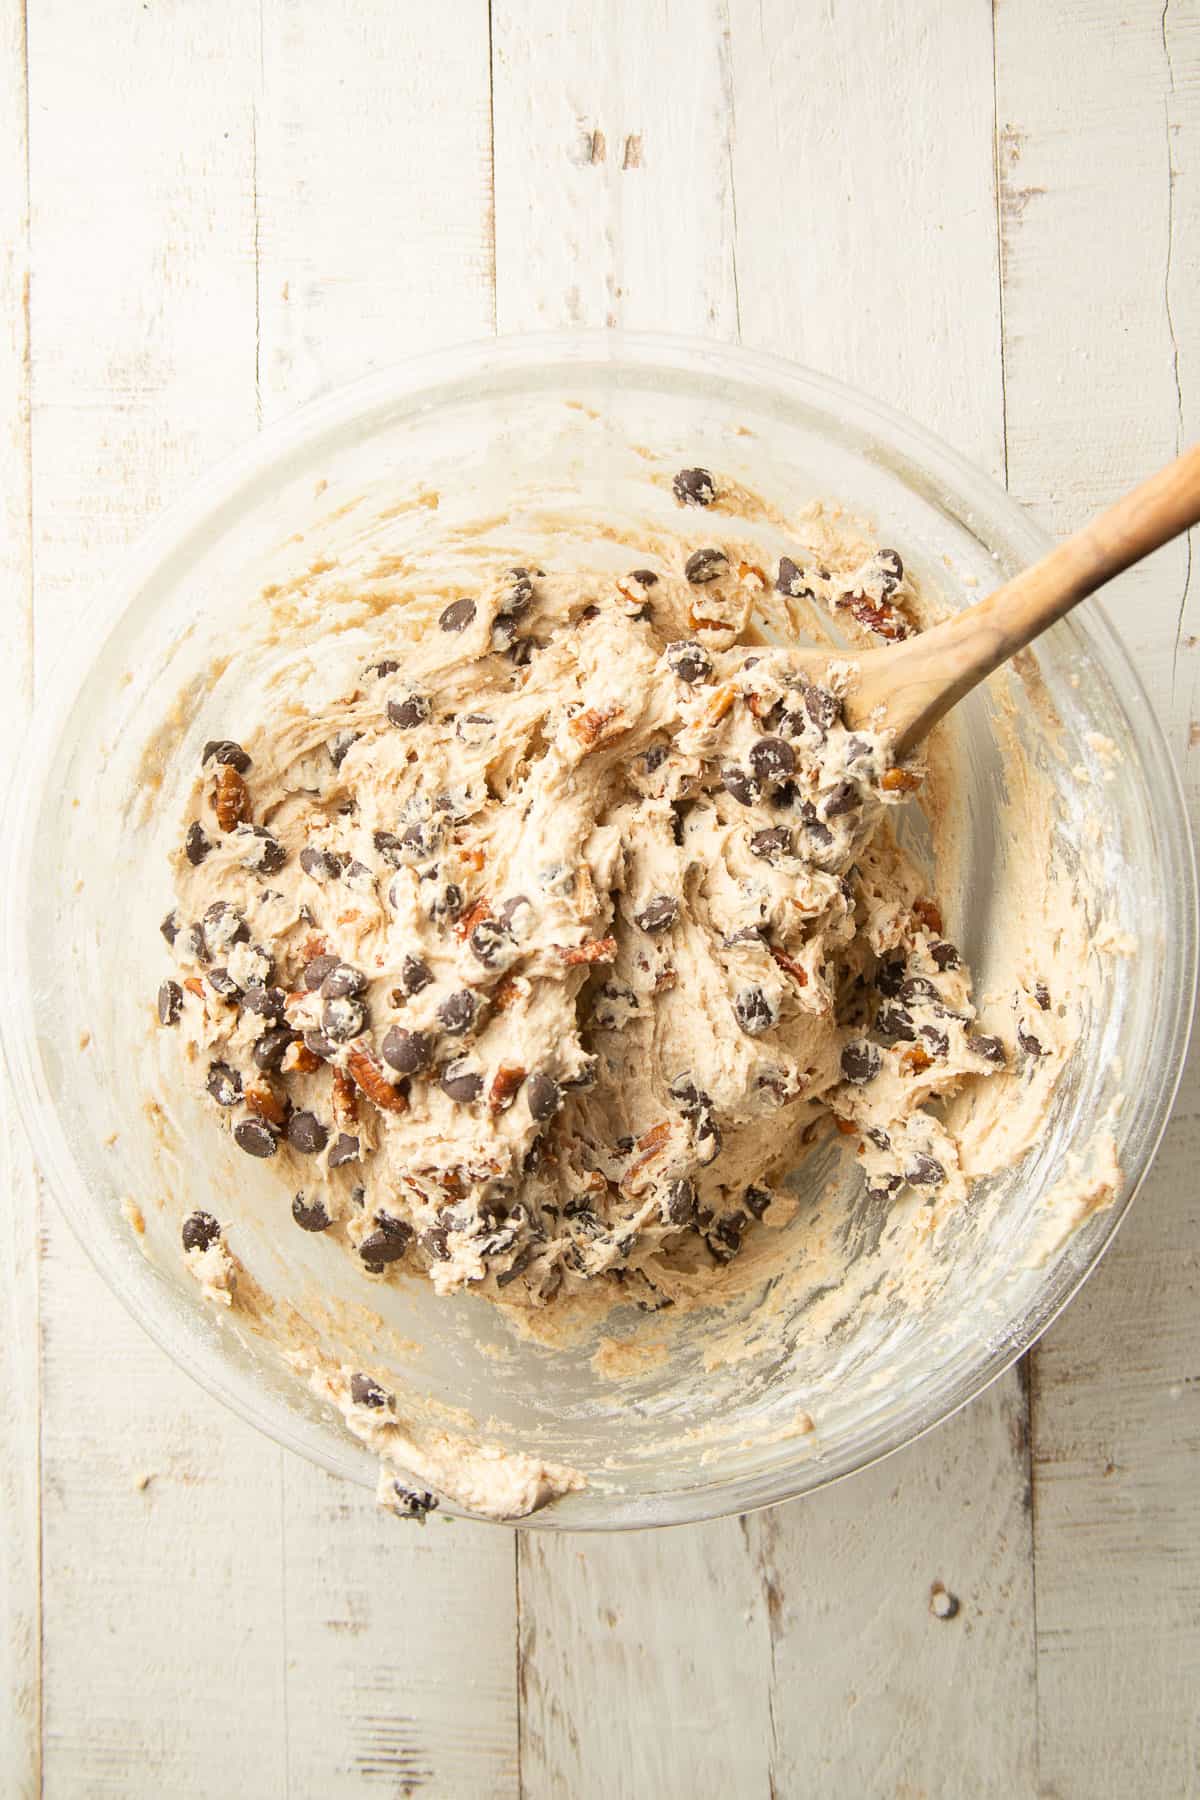
Now ditch the electric mixer and switch to a spoon. Stir in the chocolate chips and pecans.

Spread your cookie dough into a greased 9 x 13 baking pan. Pop it into the oven and bake the cookie bars until they're golden brown and pulling away from the edges of the pan.

Place the pan on a cooling rack when it comes out of the oven. Let the bars cool completely before slicing them up and removing them from the pan.
Shelf Life & StorageVegan cookie bars will keep in an airtight container at room temperature for about five days, or in the freezer for about three months.
More Dessert Bars Vegan Lemon Bars
 The Most Amazing Vegan Brownies
 Vegan Rice Krispie Treats
 Vegan Peanut Butter Bars
Like this recipe? If so, please stop back and leave me a review and rating below if you try it! Also be sure to follow me on Facebook, Pinterest or Instagram, or subscribe to my newsletter for more recipes like this one!
- ⅓ cup water
- 2 tablespoons ground flaxseed
- 2 ¼ cups all-purpose flour
- 1 teaspoon baking soda
- 1 teaspoon ground cinnamon (optional)
- ½ teaspoon salt
- ¾ cup vegan butter, at room temperature
- ¾ cup organic granulated sugar
- ¾ cup organic brown sugar
- 2 teaspoons vanilla extract
- ½ teaspoon apple cider vinegar
- 1 (9 ounce/255 gram) package vegan chocolate chips
- 1 cup chopped pecans (optional)
- Preheat the oven to 350°F and grease the bottom and sides of a 9 x 13 inch baking pan.
- Stir the water and ground flaxseeds together in a large mixing bowl. Set the mixture aside and let it rest for at least 5 minutes, to gel. You can proceed with the next step of the recipe in the meantime.
- In another large mixing bowl, whisk together the flour, baking soda, cinnamon, and salt.
- Once the flax mixture has sat for at least 5 minutes, add the vegan butter, sugar, brown sugar, vanilla, and apple cider vinegar to the bowl. Use an electric mixer at high speed to beat the mixture until pale and fluffy, about 1 minute.
- Begin adding the flour mixture to the butter mixture, adding it in about 3 increments and beating each one in at low speed until fully incorporated.
- Stir the chocolate chips and pecans into the dough.
- Spread the dough evenly in the prepared baking pan, smoothing out the top with a spatula.
- Place the baking pan into the oven. Bake until the top of the bars is golden brown and the edges begin to pull away from the pan.
- Transfer the pan to a cooling rack and let the bars cool completely.
- Slice and serve.
The post Vegan Chocolate Chip Cookie Bars appeared first on Connoisseurus Veg.
Wed, 17 Apr 2024 13:20:01 +0000
Cabbage Bean Soup
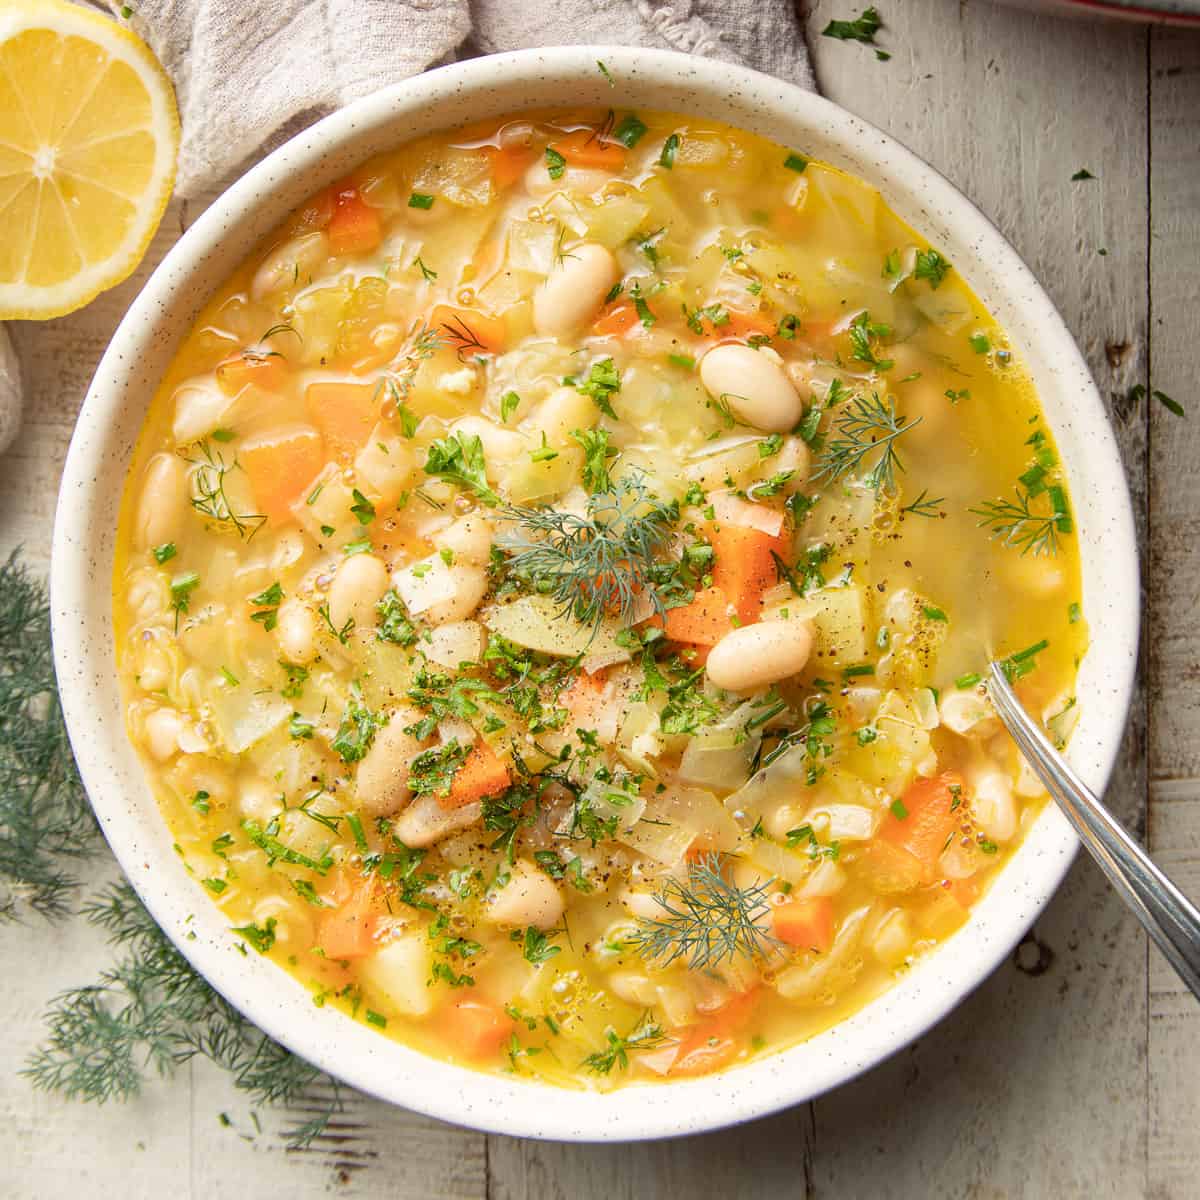
This cabbage white bean soup is made with fresh veggies and seasoned with lemon juice and herbs. It's satisfying, easy to make, and positively bursting with flavor.

If you're looking for a super simple, budget-friendly, but also incredibly delicious meal, look no further. This delicious soup features two of the most humble, inexpensive ingredients you can find at the store: good old beans and cabbage.
But don't be fooled! Even though they're pretty basic, I've done some delicious things with beans and cabbage, particularly when it comes to soup. Just check out my curried cabbage soup, my vegan cabbage roll soup, or my Mexican pinto bean soup. These soups are all about beans and cabbage, and they're all delicious!
Today I'm sharing a recipe for cabbage bean soup that's seasoned with lemon juice and fresh herbs, so it's full of bright, vibrant flavor. And it all cooks up in one pot. Super easy! Pair it up with a salad or some good bread and you'll have a new go-to weeknight dinner.
[feast_advanced_jump_to] Ingredients You'll Need- Olive oil. You can substitute another high-heat oil if you'd like. Vegetable oil, canola oil, and avocado oil will all work.
- Onion.
- Carrots.
- Celery.
- Garlic.
- Vegetable broth. I like to use a vegan "chicken" style broth for this recipe, such as Better Than Bouillon No-Chicken Base for this recipe. Any veggie broth will do though!
- Cabbage. We're using plain old green cabbage. Red cabbage will work just fine, but will obviously alter the appearance of your soup.
- Cannellini beans. Feel free to swap these out with another variety of white beans if you'd like. Navy beans, butter beans, and great northern beans are all good options.
- Yellow potatoes. Prefer to use a white potato? Go for it!
- Lemon juice. Use freshly squeezed lemon juice — not bottled.
- Fresh herbs. We're using dill and chives for this soup.
- Salt and pepper.
The following is a detailed photo tutorial on how to make this dish. Scroll all the way down if you'd like to skip right to the recipe!
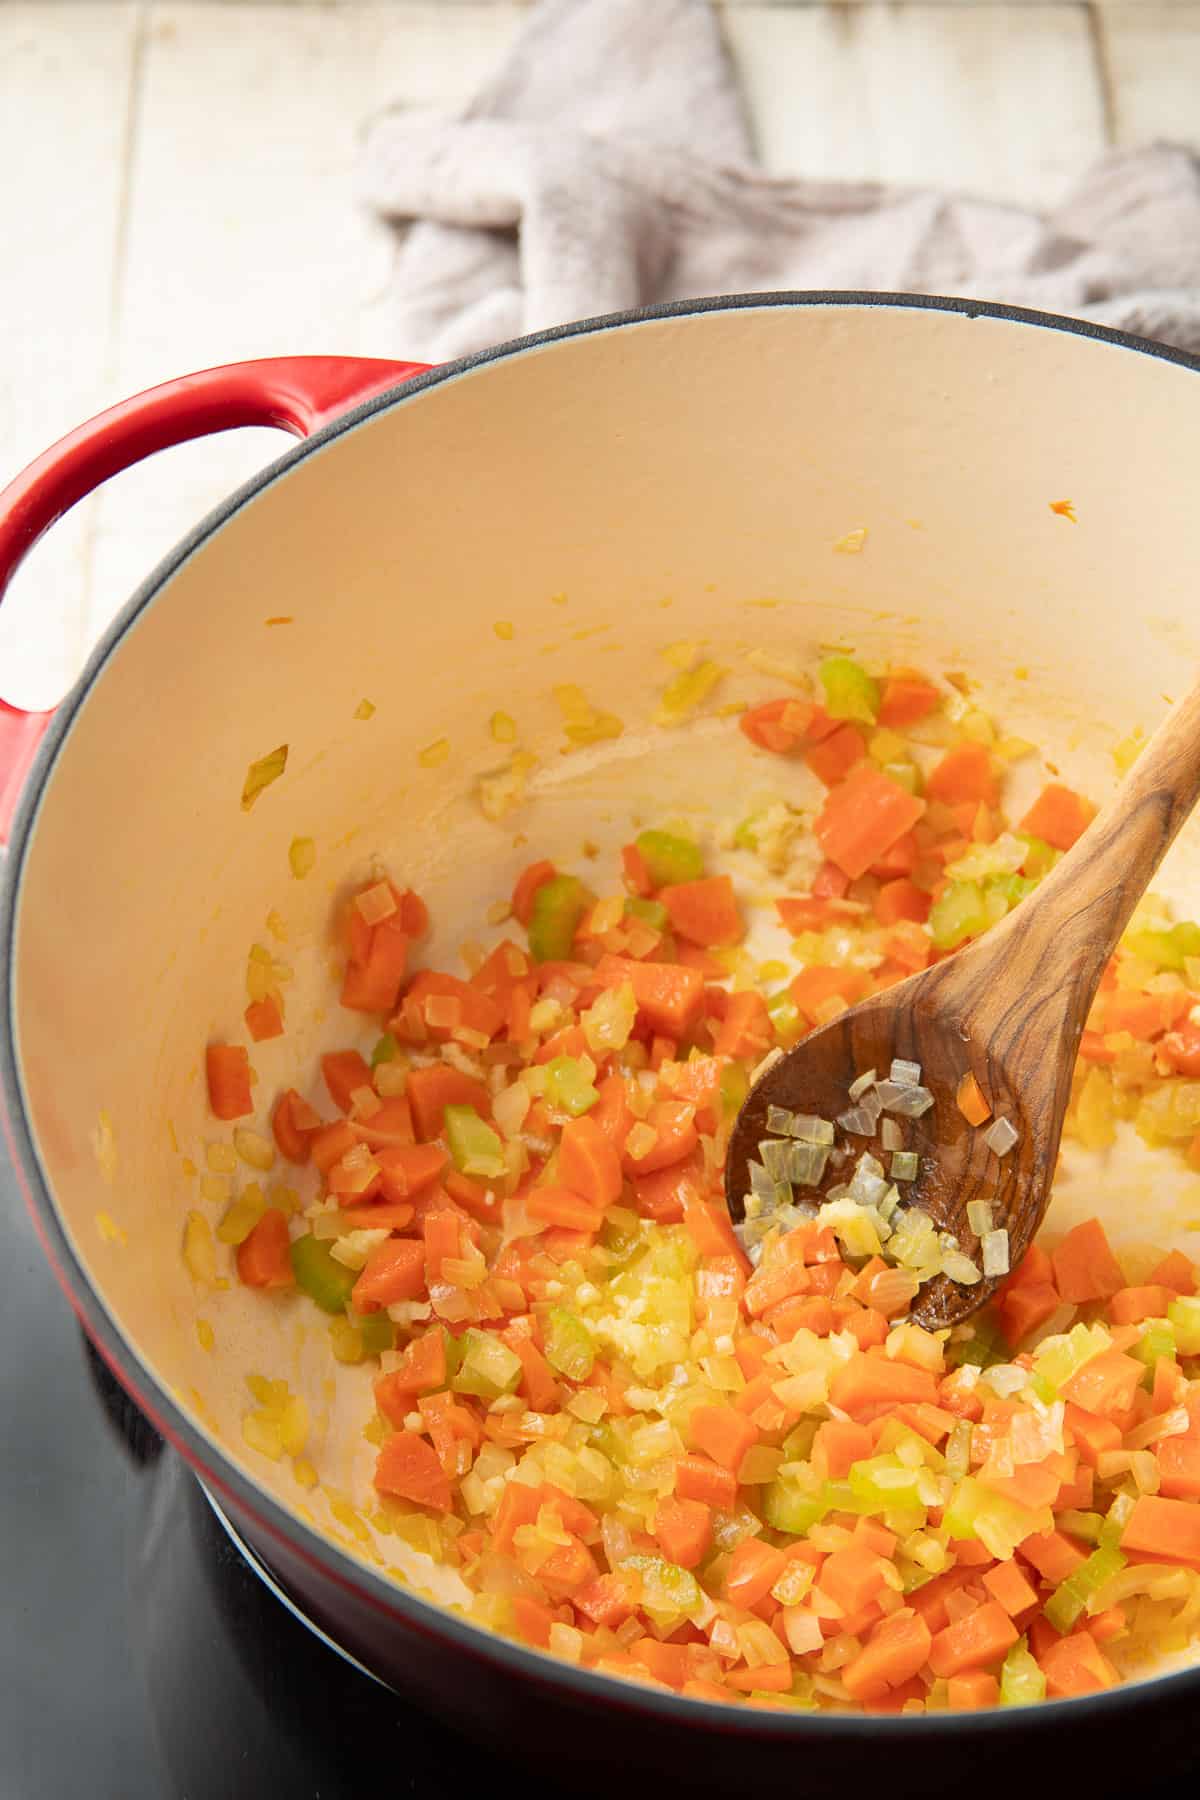
Heat your olive oil in a large pot, then add diced onion, carrots, and celery. Cook the vegetables for a few minutes, until they begin to soften. Add the garlic and cook it briefly with the veggies.
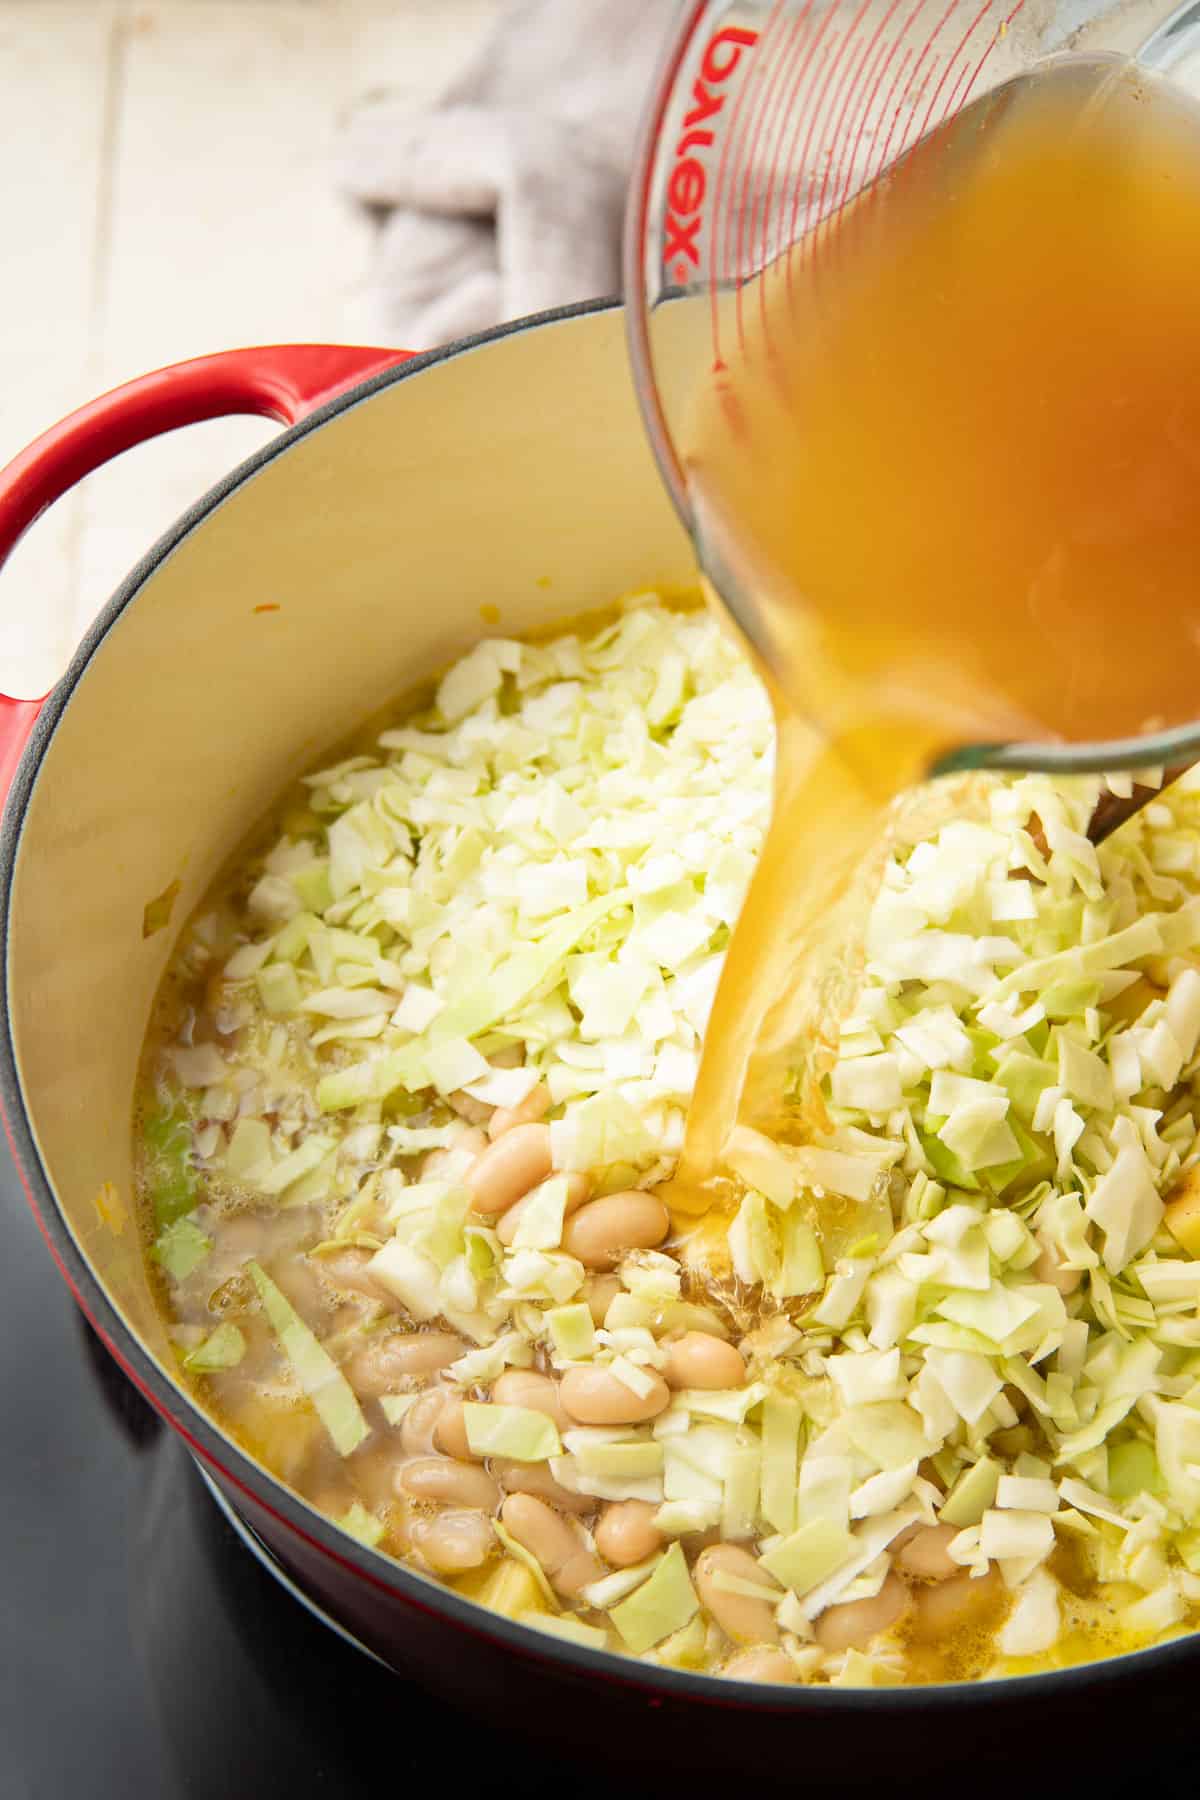
Now add the broth, cabbage, and potato to the pot. Give it a good stir to mix everything up, then raise the heat to high. Bring the liquid to a boil.
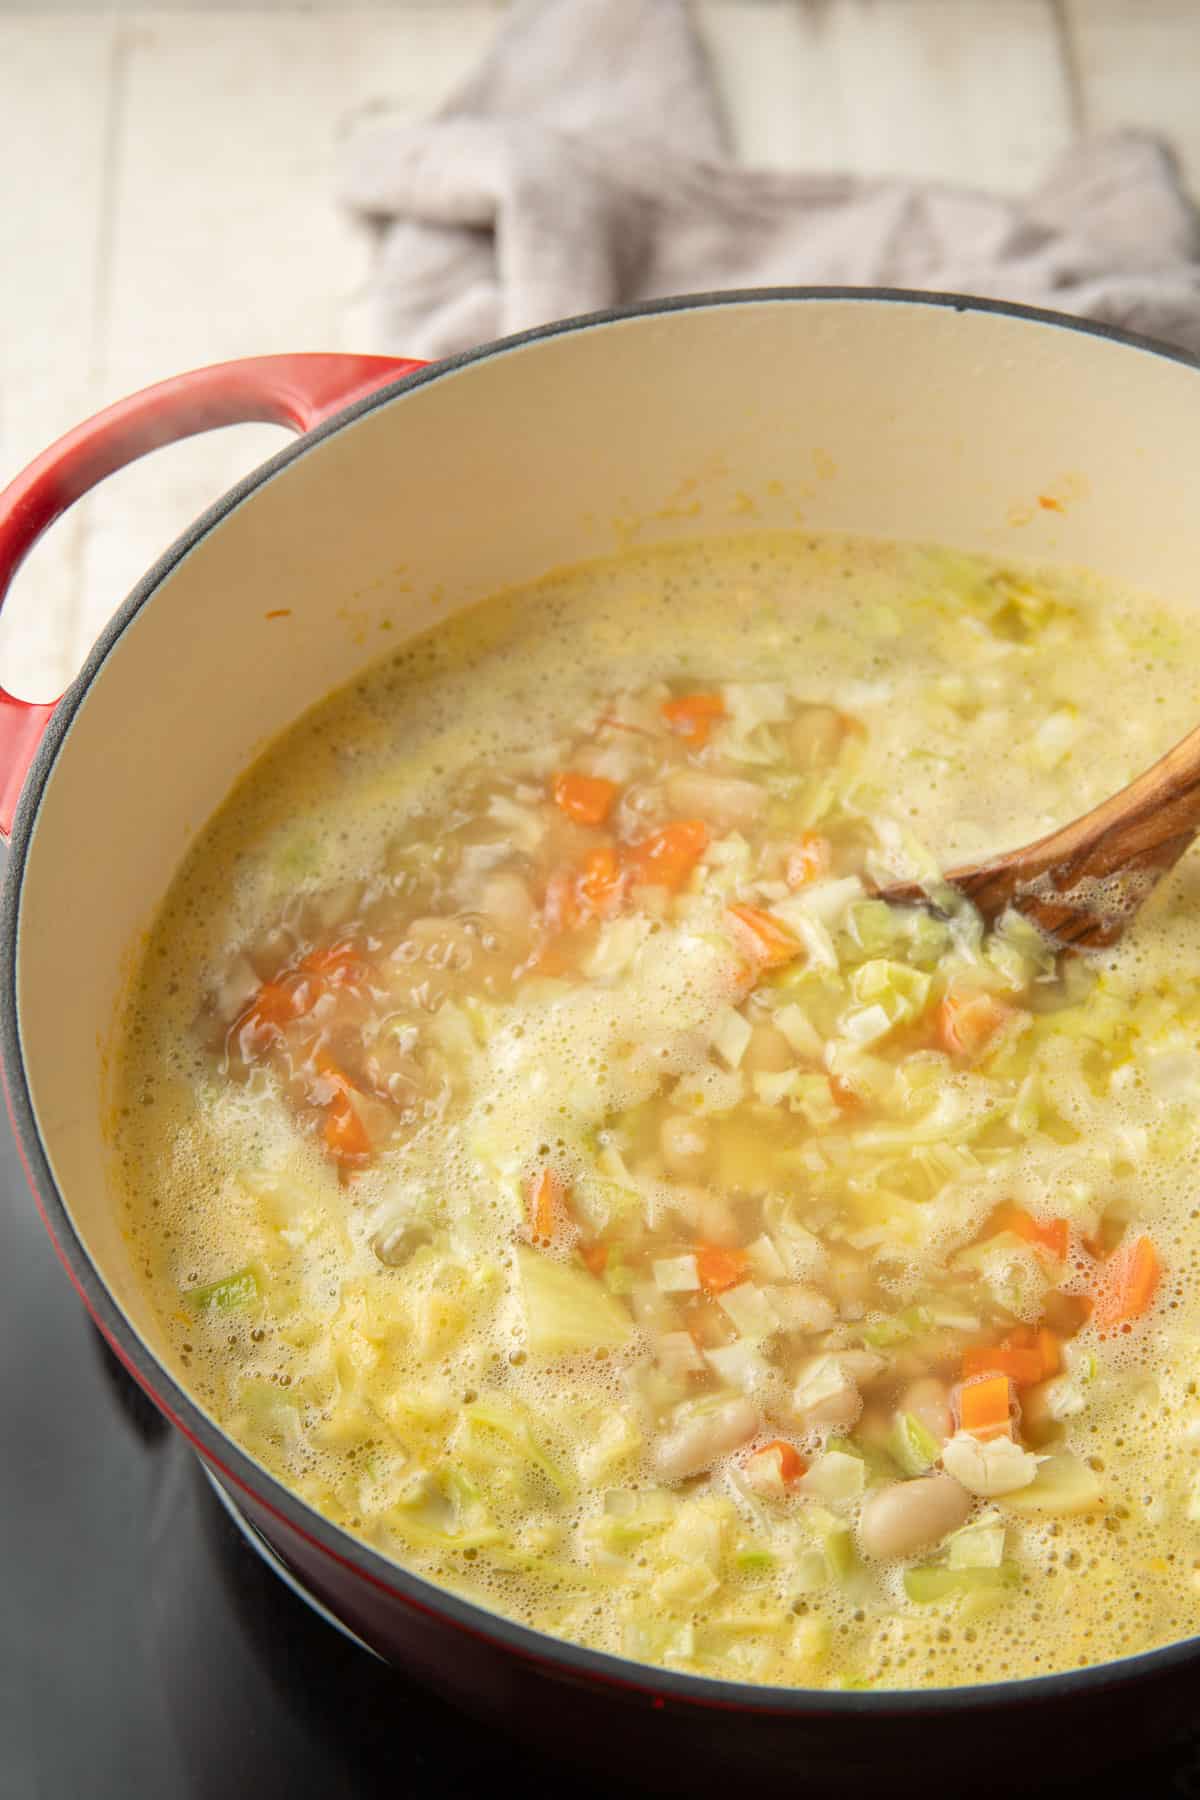
Lower the heat and let the soup simmer for twenty to thirty minutes, adding some broth or water if it reduces too much. The soup is done when the cabbage and potatoes are tender.
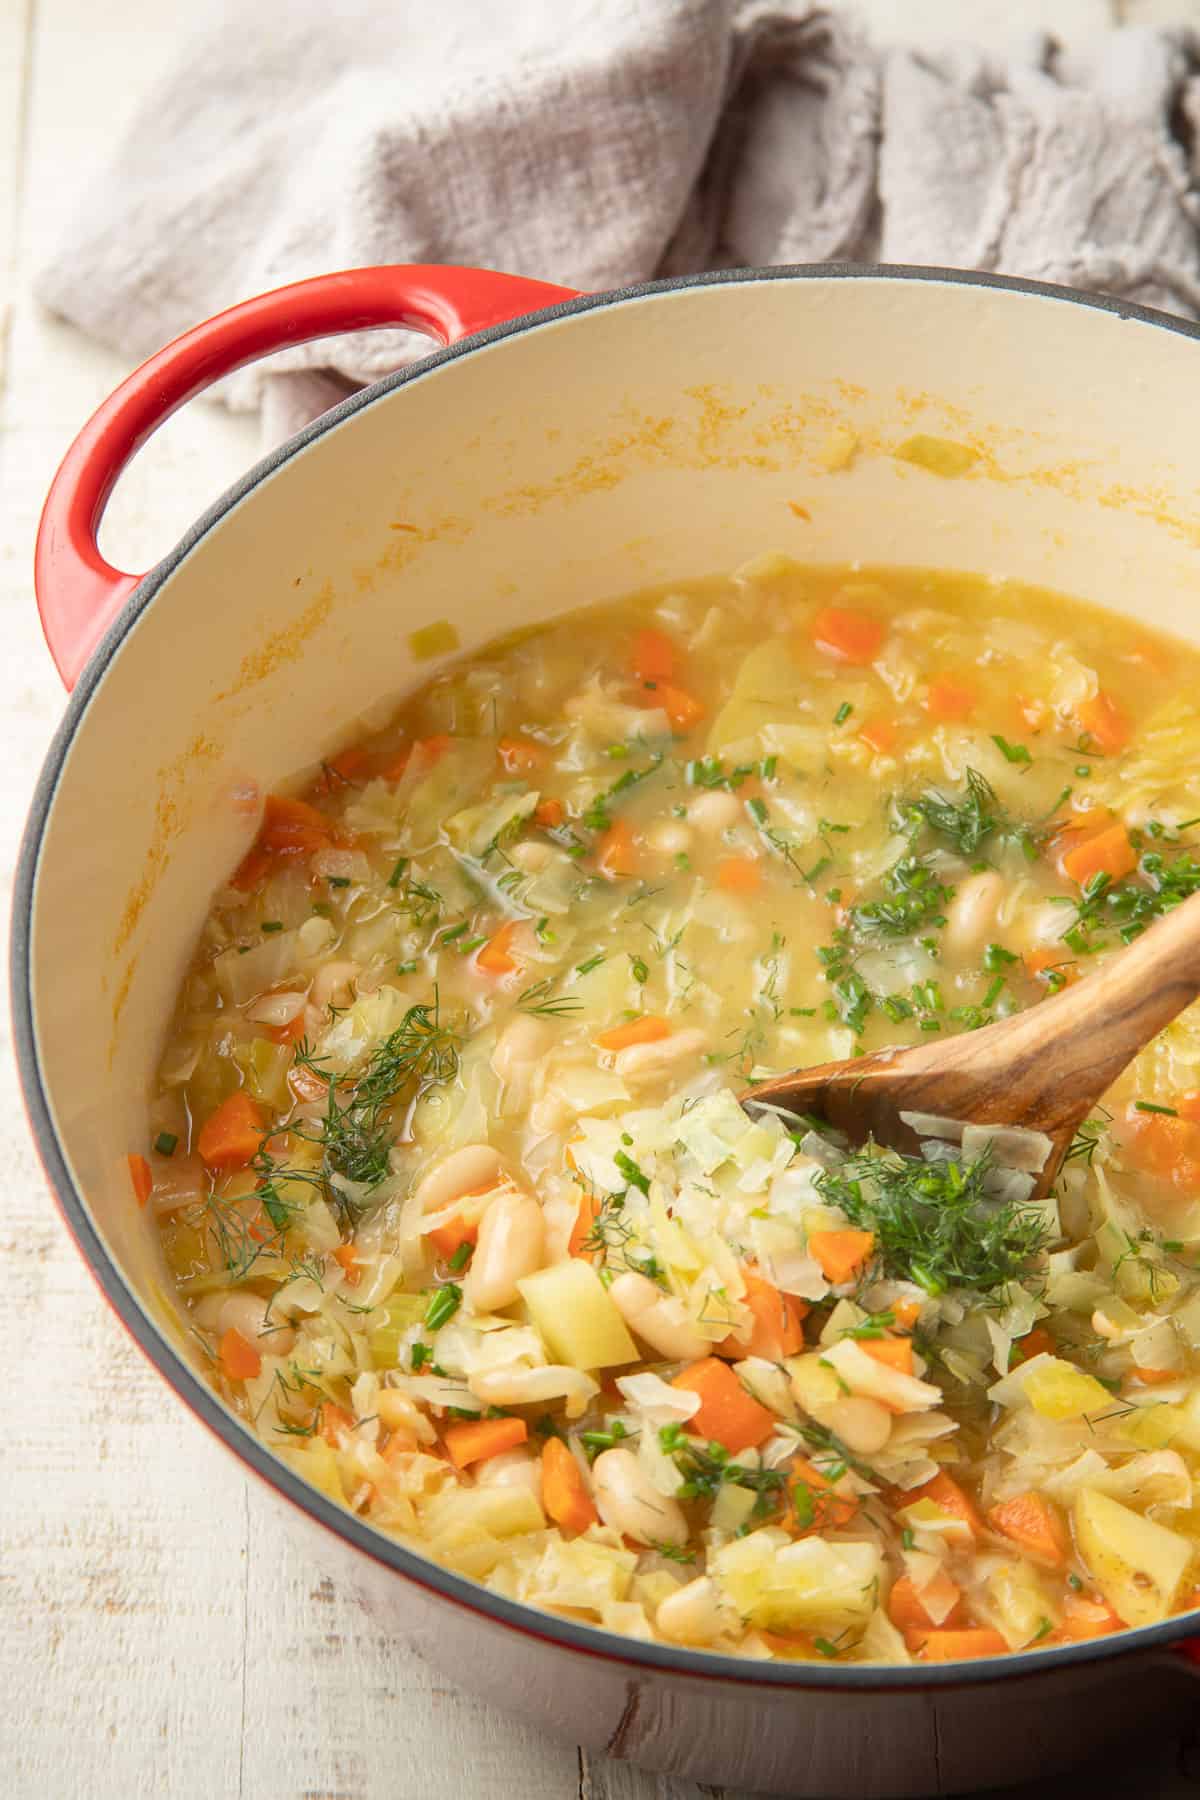
Take the pot off of heat and stir the lemon juice, fresh dill, and fresh chives into the soup. Give it a taste-test and season it with salt and pepper to taste.

Your cabbage bean soup is ready! Ladle it it into bowls and enjoy!
Leftovers & StorageStore any leftover cabbage white bean soup in an airtight container in the refrigerator. It will keep for three to four days. You can also freeze it for up to three months.
More Bean Soups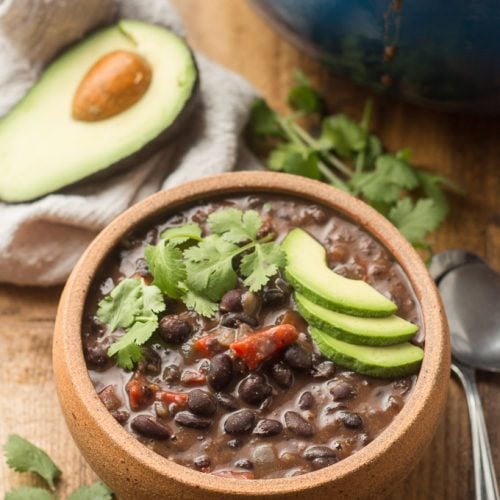 Spicy Black Bean Soup
 Zesty Kidney Bean Soup
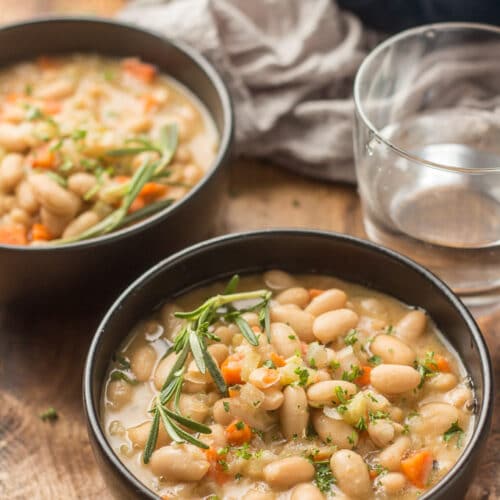 Rosemary White Bean Soup
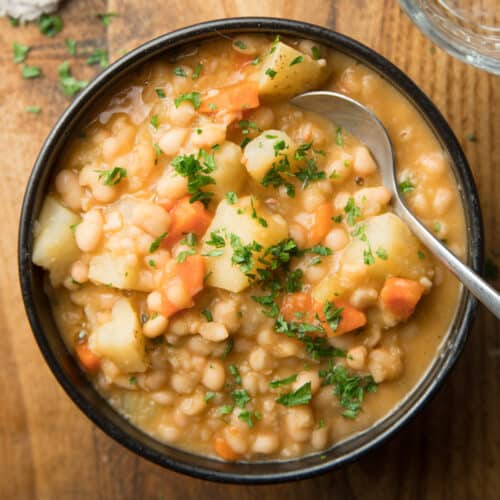 Smoky Navy Bean Soup
Like this recipe? If so, please stop back and leave me a review and rating below if you try it! Also be sure to follow me on Facebook, Pinterest or Instagram, or subscribe to my newsletter for more recipes like this one!
- 2 tablespoons olive oil
- 1 medium onion, diced
- 2 medium carrots, diced
- 1 medium celery stalk, diced
- 4 garlic cloves, minced
- 6 cups vegetable broth
- 4 cups chopped green cabbage
- 2 (15.5 ounce/439 gram) cans cannellini beans, drained and rinsed
- 2 small yellow potatoes (about 8 ounces total), diced
- 2 tablespoons lemon juice
- 2 tablespoons chopped fresh dill
- 2 tablespoons chopped fresh chives
- Salt and pepper, to taste
- Coat the bottom of a large pot with the oil and place it over medium heat. Once the oil is hot, add the onion, carrots, and celery. Sweat the vegetables for about 5 minutes, stirring often, until they start to soften up.
- Stir in the garlic and cook it with the vegetables for about 1 minute, stirring constantly, until it becomes very fragrant.
- Stir in the broth, cabbage, beans, and potatoes. Raise the heat to high and bring the liquid to a boil. Lower the heat and let the soup simmer until the cabbage and potatoes are tender, 20 to 30 minutes.
- Remove the pot from heat. Stir in the lemon juice, dill, and chives. Season the soup with salt and pepper to taste. Serve.
The post Cabbage Bean Soup appeared first on Connoisseurus Veg.
Mon, 15 Apr 2024 13:26:47 +0000
Sweet Chili Tofu

Ready for an absolutely scrumptious vegan dinner that can be ready in record time? You need this sweet chili tofu in your life! All it takes is eight ingredients and less than thirty minutes to get this one on the table.

This sweet chili tofu is one of those ridiculously easy dinner recipes that also happens to be scrumdiddlyumptious! It's seriously so good. But, full disclosure: this is a shortcut recipe. We're taking advantage of a single ingredient that packs a lot of delicious flavor. That ingredient would be sweet chili sauce.
Sweet chili sauce is an ingredient that I normally use for the likes of dipping my tofu dumplings and veggie spring rolls. But with a little tweak (adding a touch of soy sauce), it makes a great stir-fry sauce as well.
This dish is sweet, savory, and just a tiny bit spicy. It tastes like it came from your favorite Asian takeout joint, but you can easily make it at home, and probably in less time than it would take for deliviery!
[feast_advanced_jump_to] Ingredients You'll Need- Sweet chili sauce. You can get this in the international aisle of most supermarkets. Many brands are vegan, but check the ingredients to be safe. I used Wegman's brand, which indicates right on the label that it's vegan.
- Soy sauce. Gluten-free tamari or liquid aminos can be substituted if you'd like.
- Peanut oil. If you have another favorite neutral high-heat oil, feel free to use it. Vegetable oil, canola oil, and corn oil will all work.
- Cornstarch.
- Tofu. We're using super-firm tofu, which has a great texture and is really easy to work with. Super-firm tofu will also work, but you'll need to press it before using it.
- Red bell pepper. Other stir-fry veggies can be substituted (or added!) if you'd like. Snap peas, broccoli, baby corn, and carrots are all great options.
- Scallions. You may also know these as green onions.
- Cilantro. Skip this if you think it tastes like soap.
- Cooked rice.
Tip: Sweet chili sauce is pretty mild, despite the name. If you'd like to add some kick to your sweet chili tofu, add some sriracha, red pepper flakes, or your favorite hot sauce.
How It's MadeThe following is a detailed photo tutorial on how to make this dish. Scroll all the way down if you'd like to skip right to the recipe!
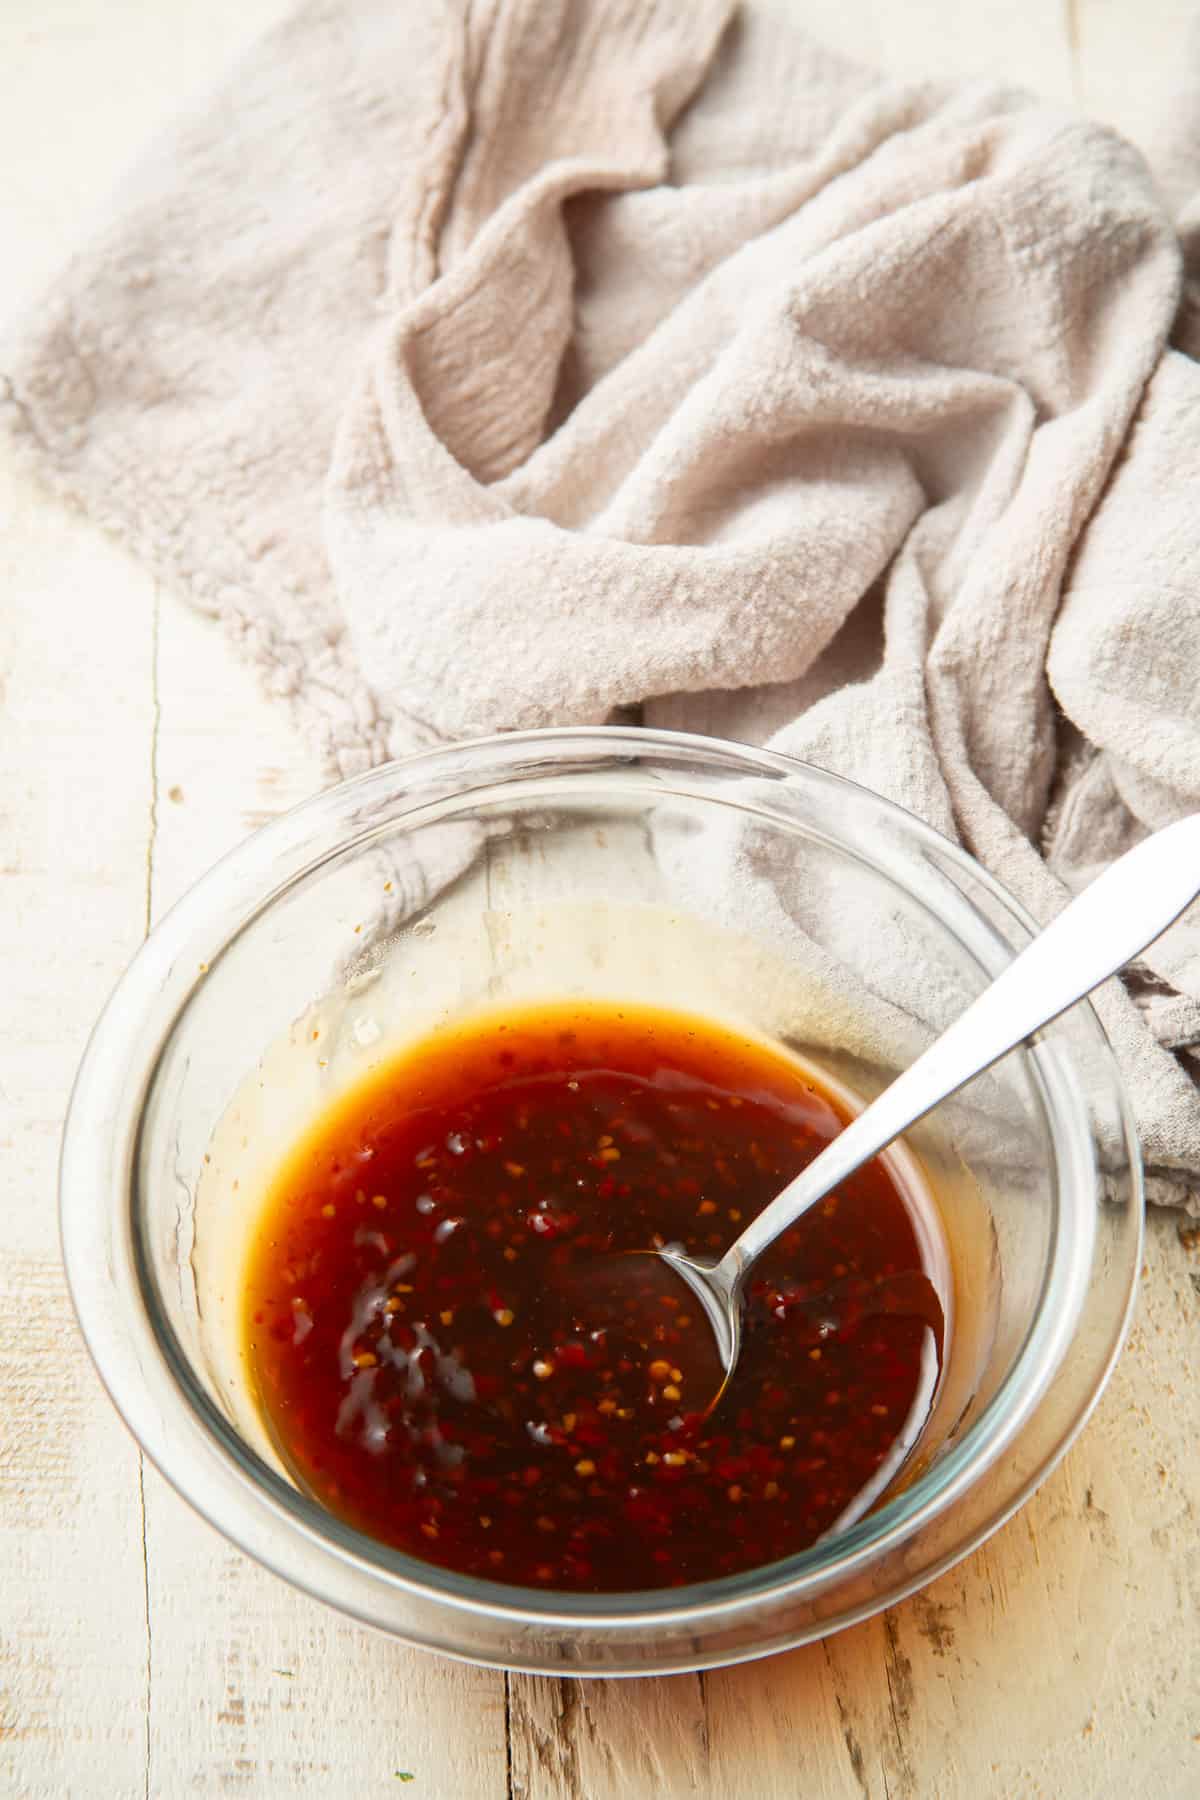
Begin by mixing your sweet chili sauce and soy sauce in a small bowl. This is your super easy two ingredient stir-fry sauce!
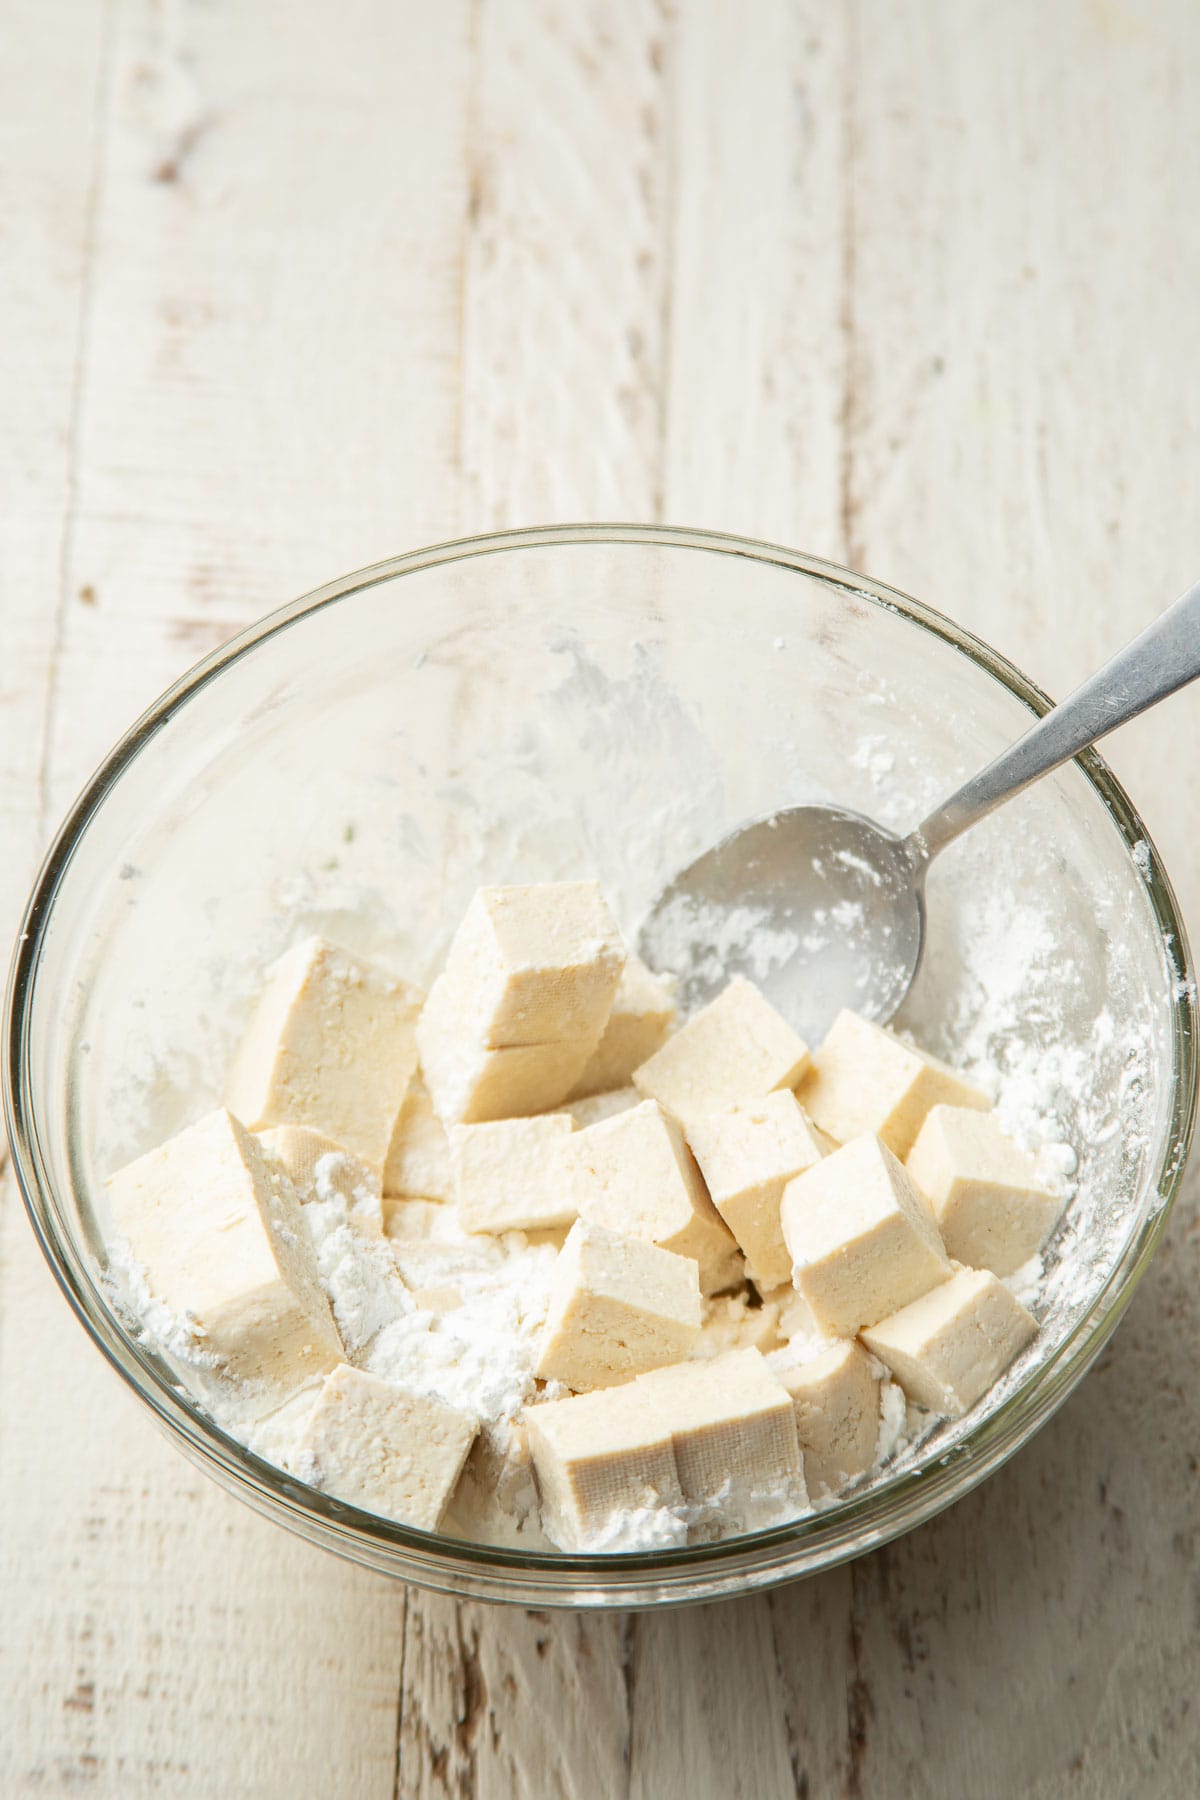
Add the cornstarch to another bowl, then add a few tofu cubes. Dredge them in the cornstarch.
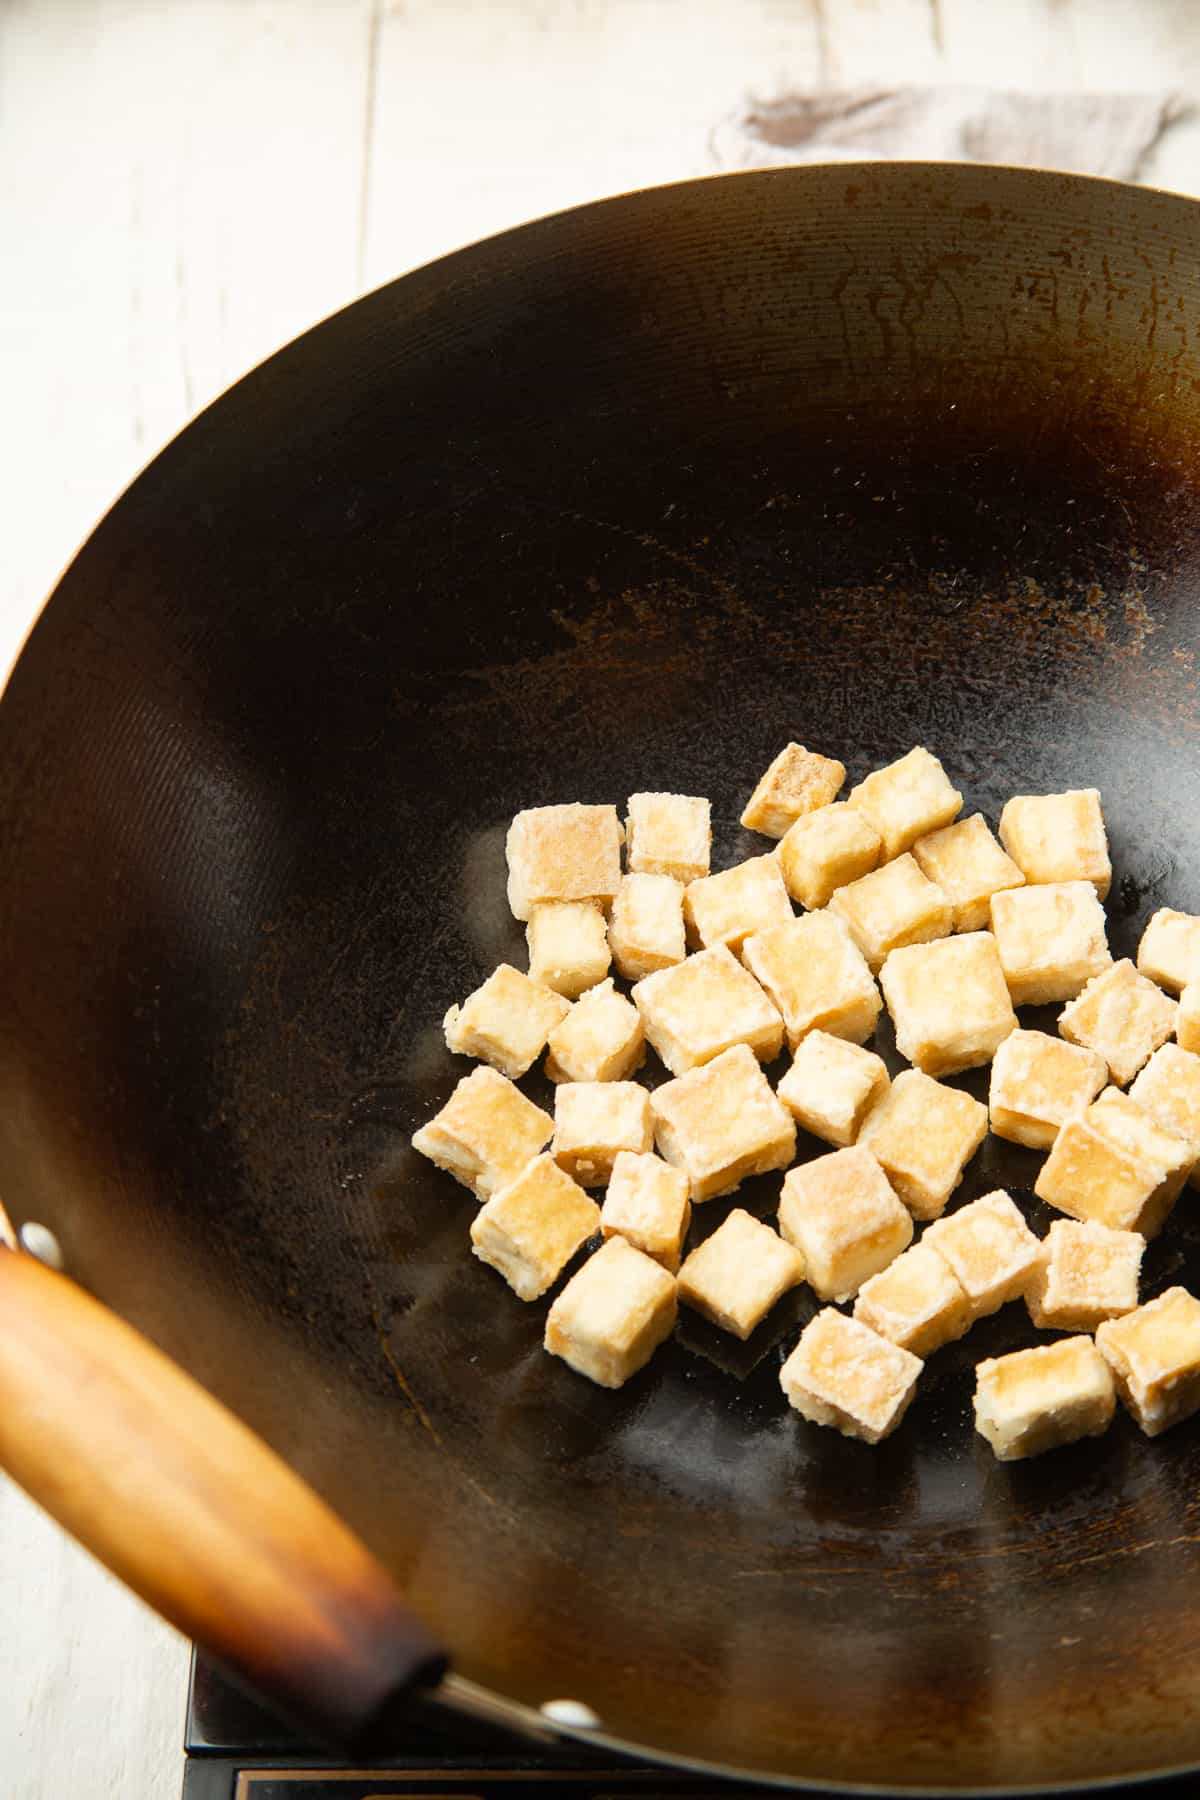
Heat some oil in a wok or skillet. Then add the tofu cubes in an even layer. You want enough oil to cover the bottom and come partially up the sides of your tofu cubes. Cook the tofu cubes for a few minutes on each side, until they're crispy and golden brown, then transfer them to a plate.
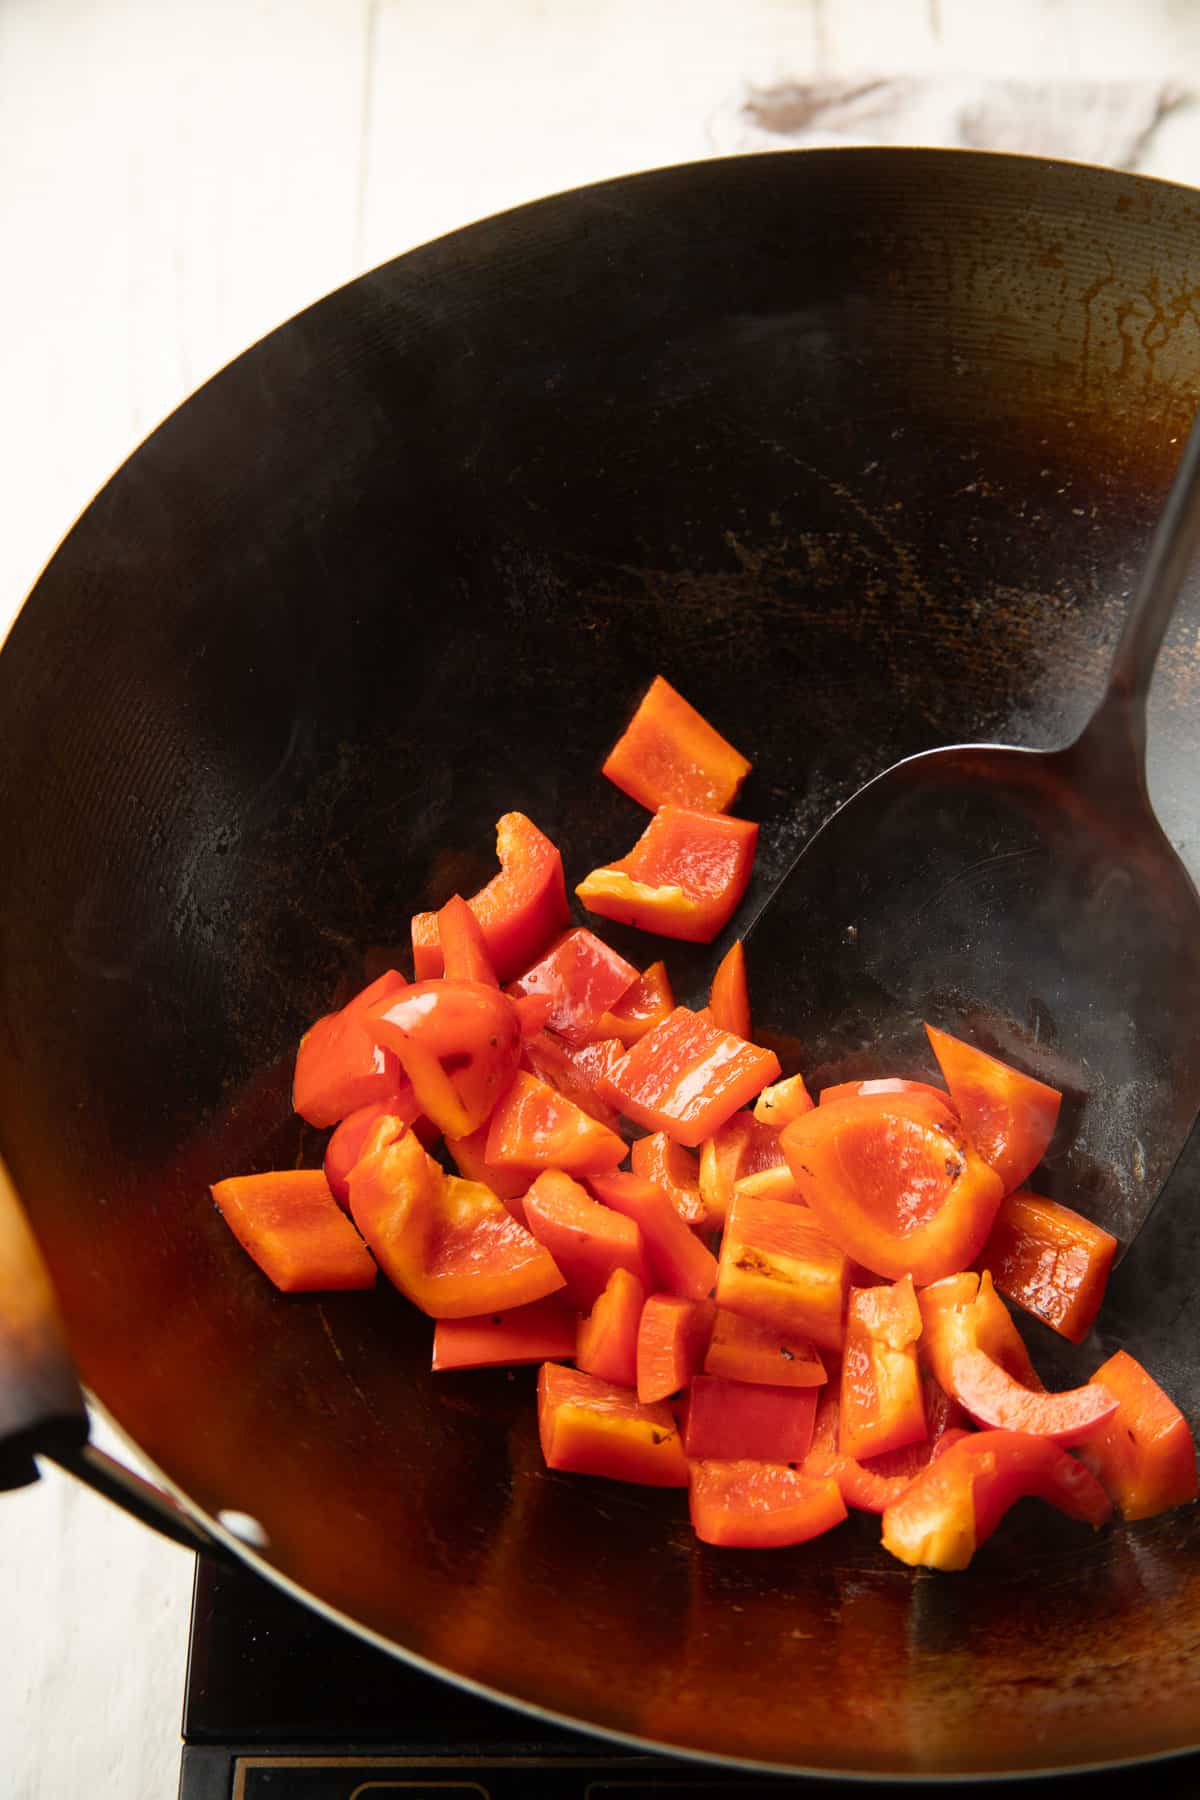
Now it's time to stir-fry. Make sure you have a light coating of oil in the wok — this might mean adding a bit or removing some by blotting it with a paper towel. Raise the heat and add the bell pepper. Stir-fry the pepper until it become tender-crisp — about two minutes.
Tip: Don't crowd the tofu when you cook it. The pieces have a tendency to stick together! Cook it in a couple batches if needed.
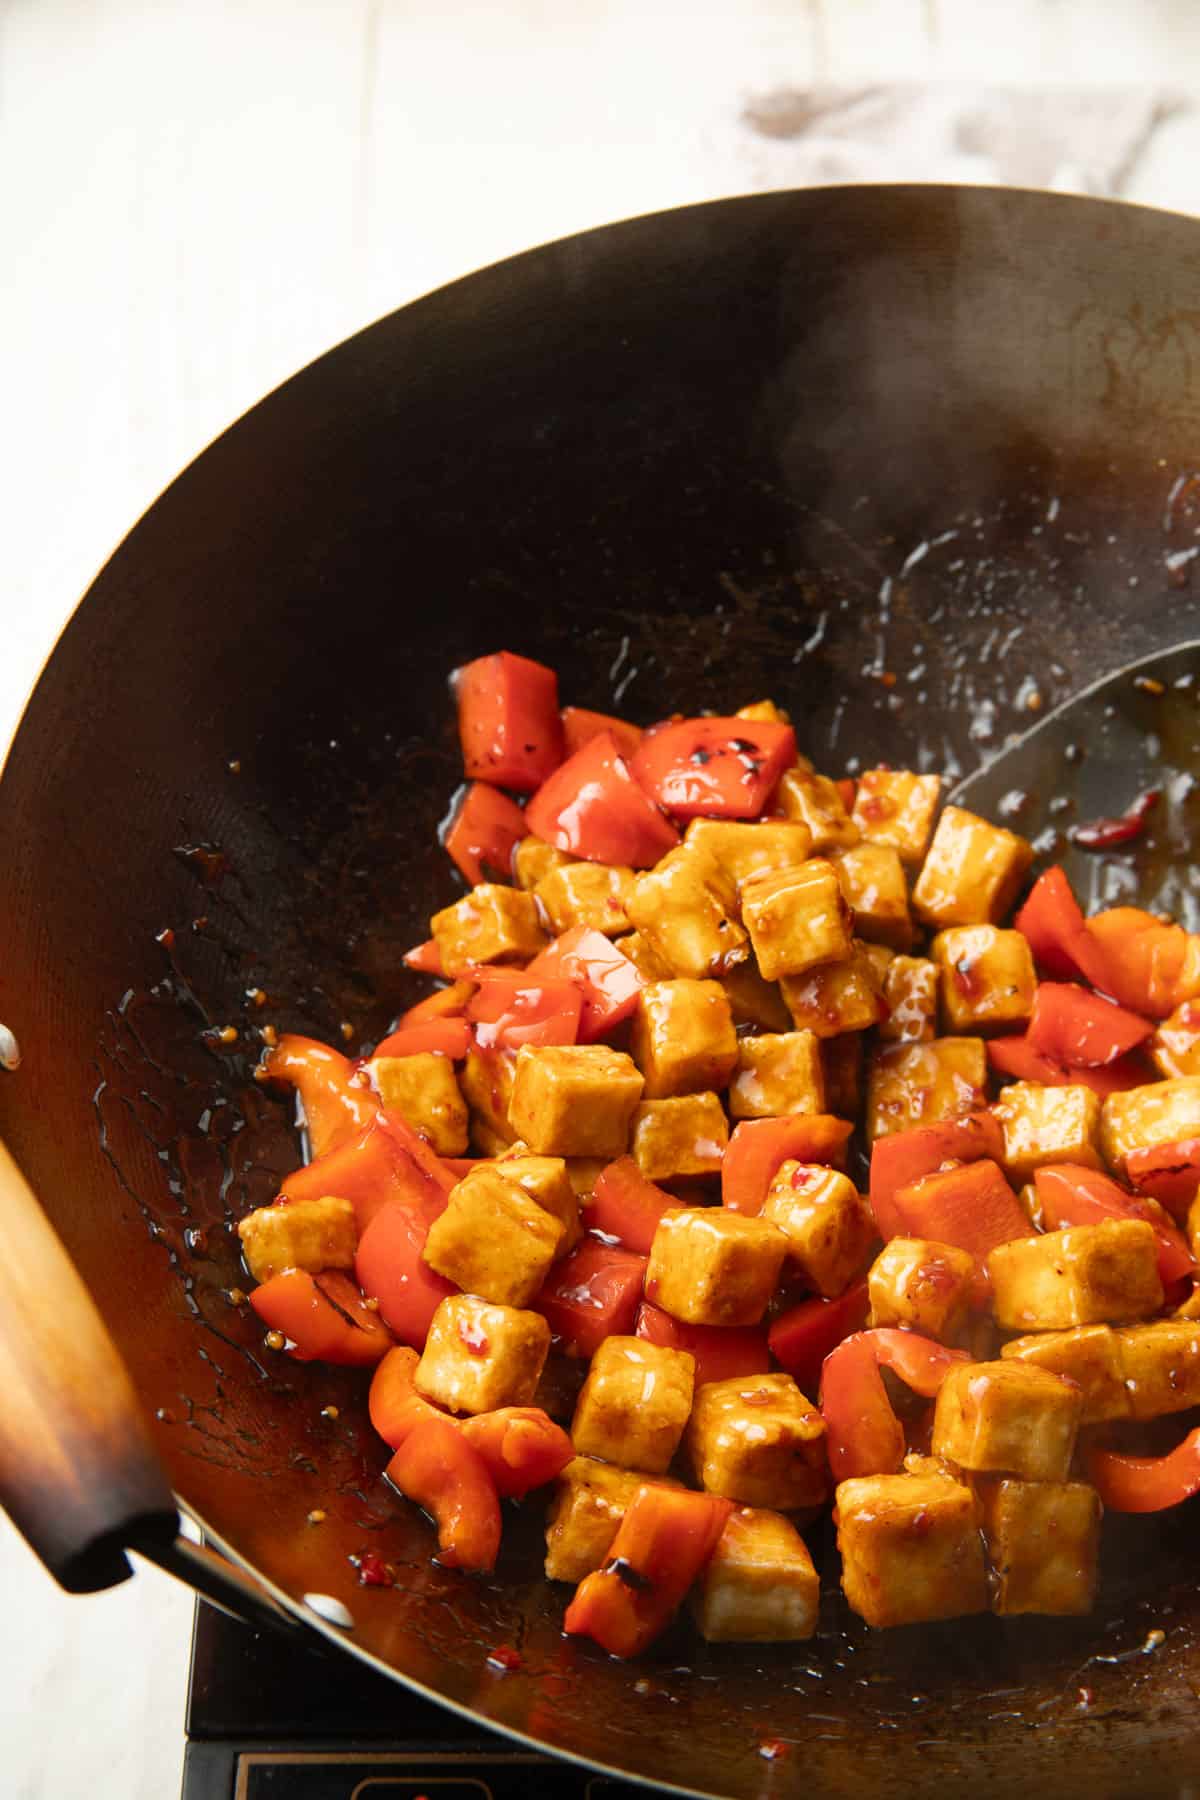
Return your cooked tofu to the wok or skillet. Carefully pour the sauce over the tofu, then continue stir-frying the mixture for about a minute, until the sauce bubbles and coats the tofu and peppers.
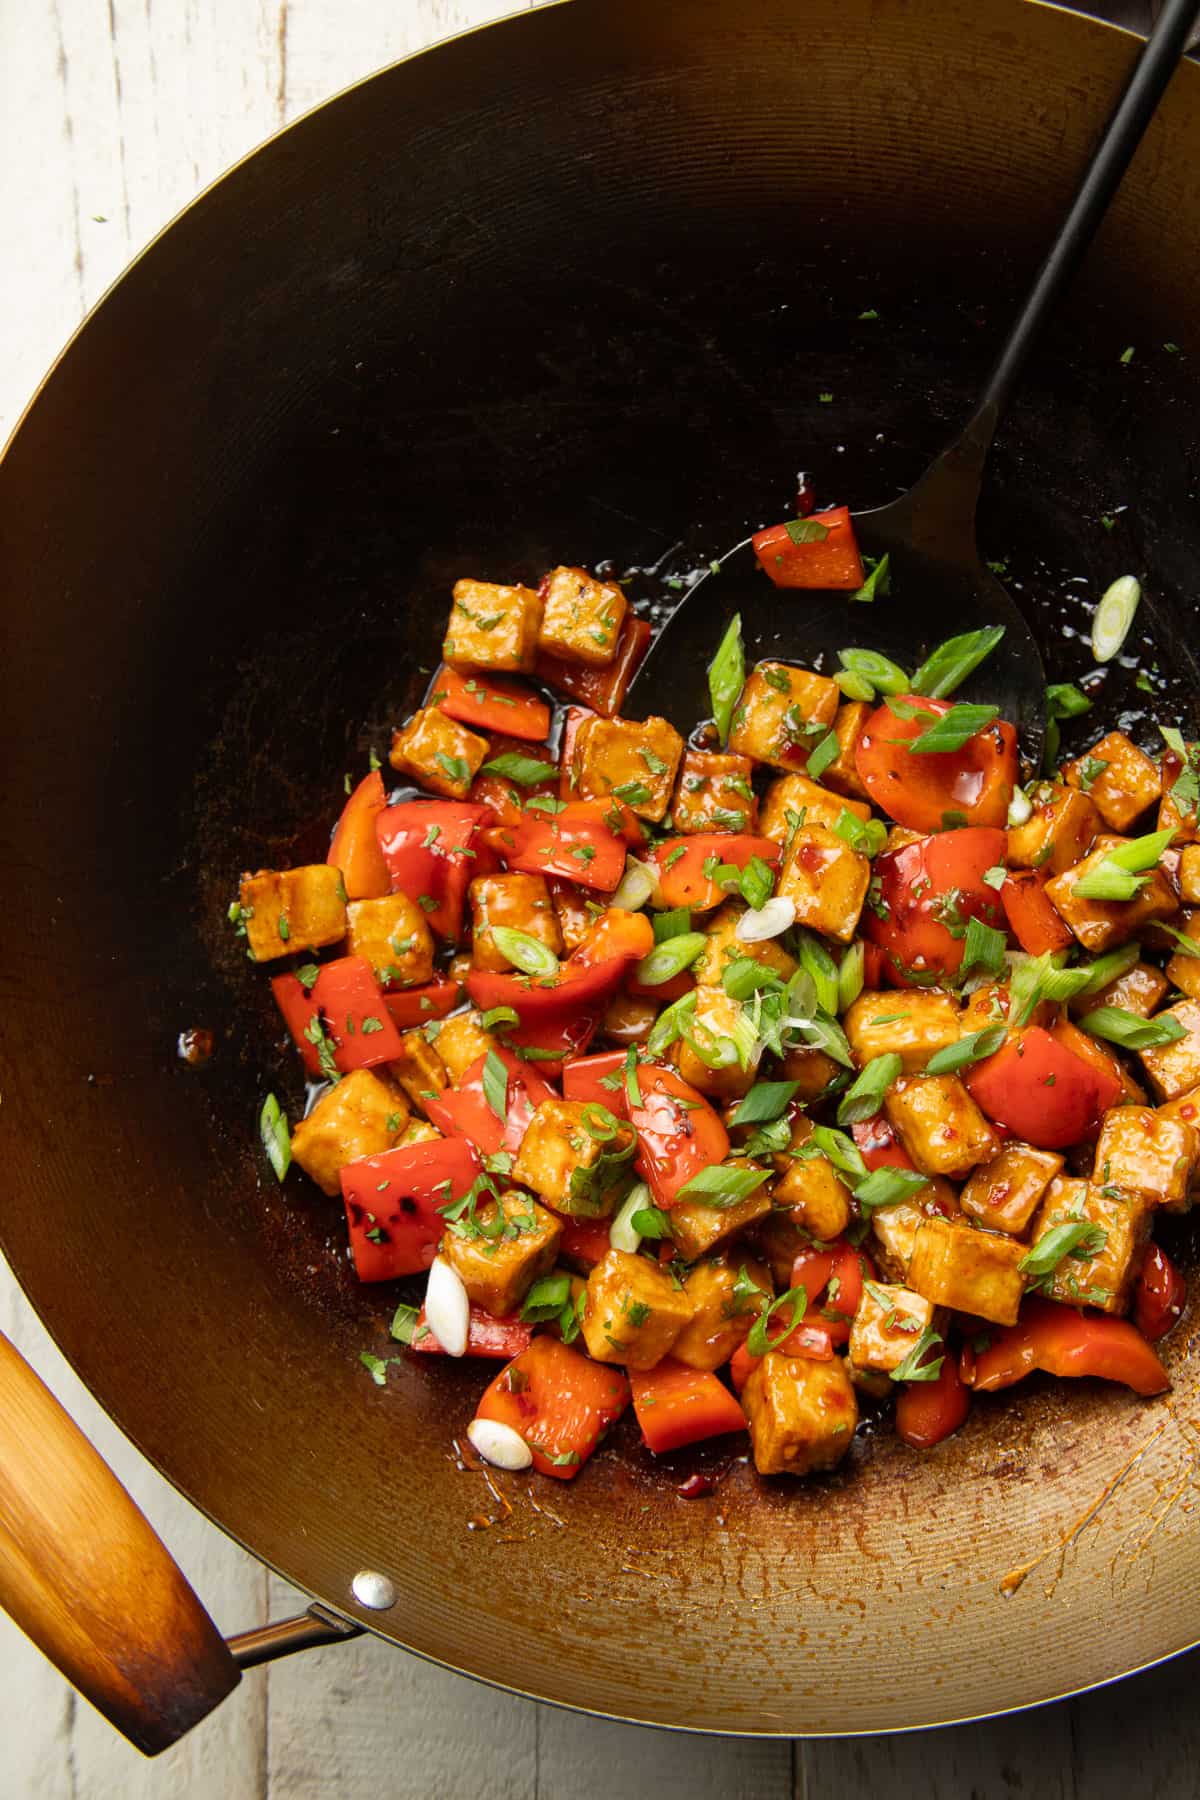
Remove the wok or skillet from heat, then sprinkle your tofu with chopped scallions and cilantro.
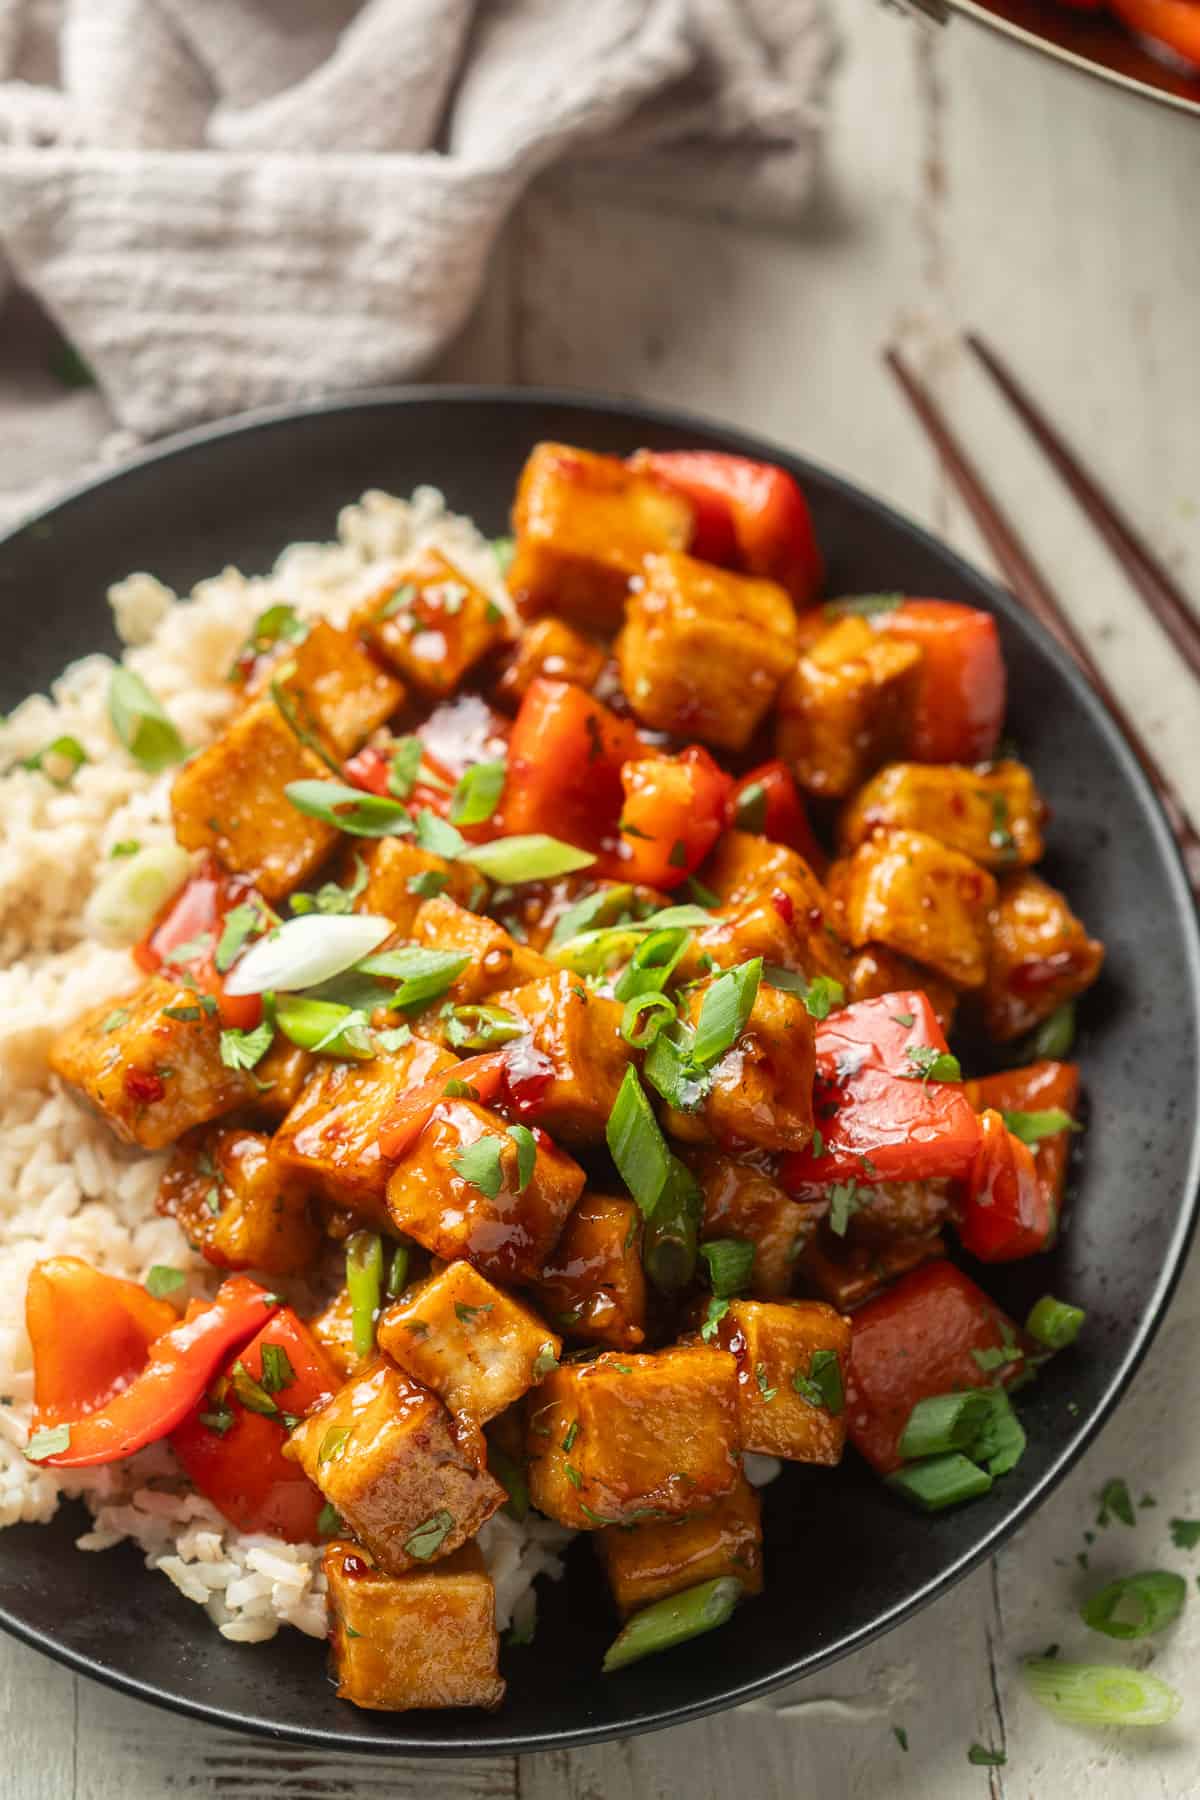
Your sweet chili tofu is ready to serve. This dish is best enjoyed right away, before the crispy coating on the tofu begins to disintegrate. Serve it over rice and dig in.
Leftovers & StorageLeftover sweet chili tofu will keep in an airtight container in the fridge for about three days. The tofu won't stay crispy, but it will still taste delicious.
More Tofu Stir-Fries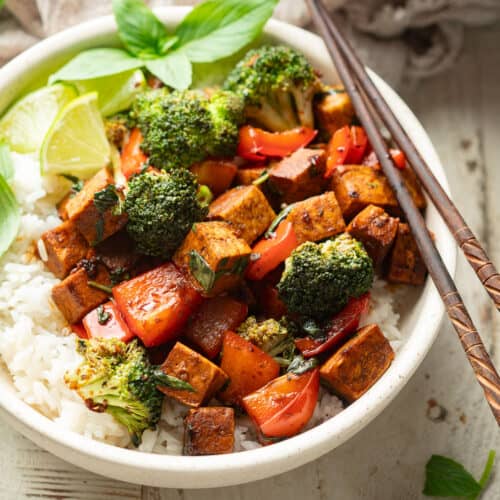 Thai Basil Tofu Stir Fry
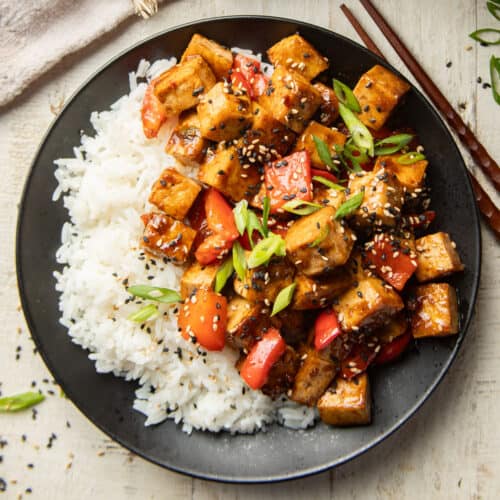 Szechuan Tofu
 Crispy Orange Tofu
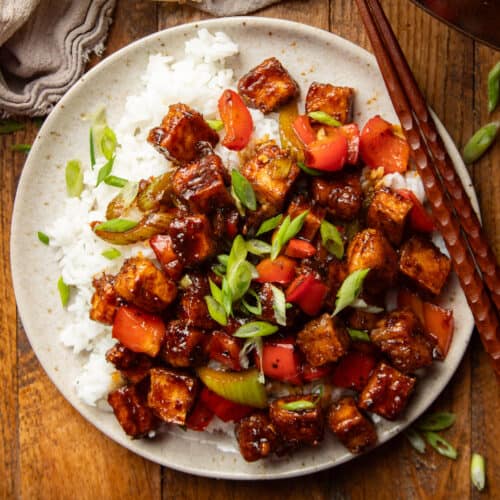 Crispy Black Pepper Tofu
Like this recipe? If so, please stop back and leave me a review and rating below if you try it! Also be sure to follow me on Facebook, Pinterest or Instagram, or subscribe to my newsletter for more recipes like this one!
- ¾ cup sweet chili sauce
- 3 tablespoons soy sauce
- ¼ cup peanut oil, plus more as needed
- ⅓ cup cornstarch
- 1 (16 ounce/454 gram) package super-firm tofu, drained and cut into ½ inch cubes
- 1 red bell pepper, roughly chopped
- 2 scallions, chopped
- 2 tablespoons fresh cilantro, chopped
- Cooked rice, for serving
- Stir the sweet chili sauce and soy sauce together in a medium bowl.
- Generously coat the bottom of a large skillet or wok with the oil and place it over medium heat (Note 1).
- Place the cornstarch into a medium bowl. Add a few tofu cubes to the bowl at a time, gently rolling to coat them lightly with the cornstarch. When the oil begins to shimmer, begin adding the tofu cubes to the oil, arranging them in a single layer (Note 2).
- Cook the tofu cubes until golden and crispy on the bottoms, about 4 or 5 minutes, then flip them and cook another 4 to 5 minutes. Transfer them to a plate when they're done.
- If there's a lot of oil remaining in the wok or skillet, gently and carefully blot some with a paper towel. If the skillet seems very dry, add just a dash of oil. Raise the heat to medium-high.
- Add the bell pepper to wok or skillet. Stir-fry the pepper for about 2 minutes, until it becomes tender-crisp.
- Return the tofu to the wok or skillet, then carefully pour the sauce over the tofu. Stir-fry everything briefly, just until the sauce begins to bubble.
- Remove the wok from heat. Sprinkle the tofu with chopped scallions and cilantro.
- Serve immediately, over rice.
- Make sure your cooking vessel has a good nonstick surface. A well seasoned wok or cast iron skillet is recommended.
- Don't overcrowd the wok or skillet. Cook the tofu in a couple of batches if needed.
- Nutrition information does not include rice.
The post Sweet Chili Tofu appeared first on Connoisseurus Veg.
Wed, 10 Apr 2024 13:21:24 +0000
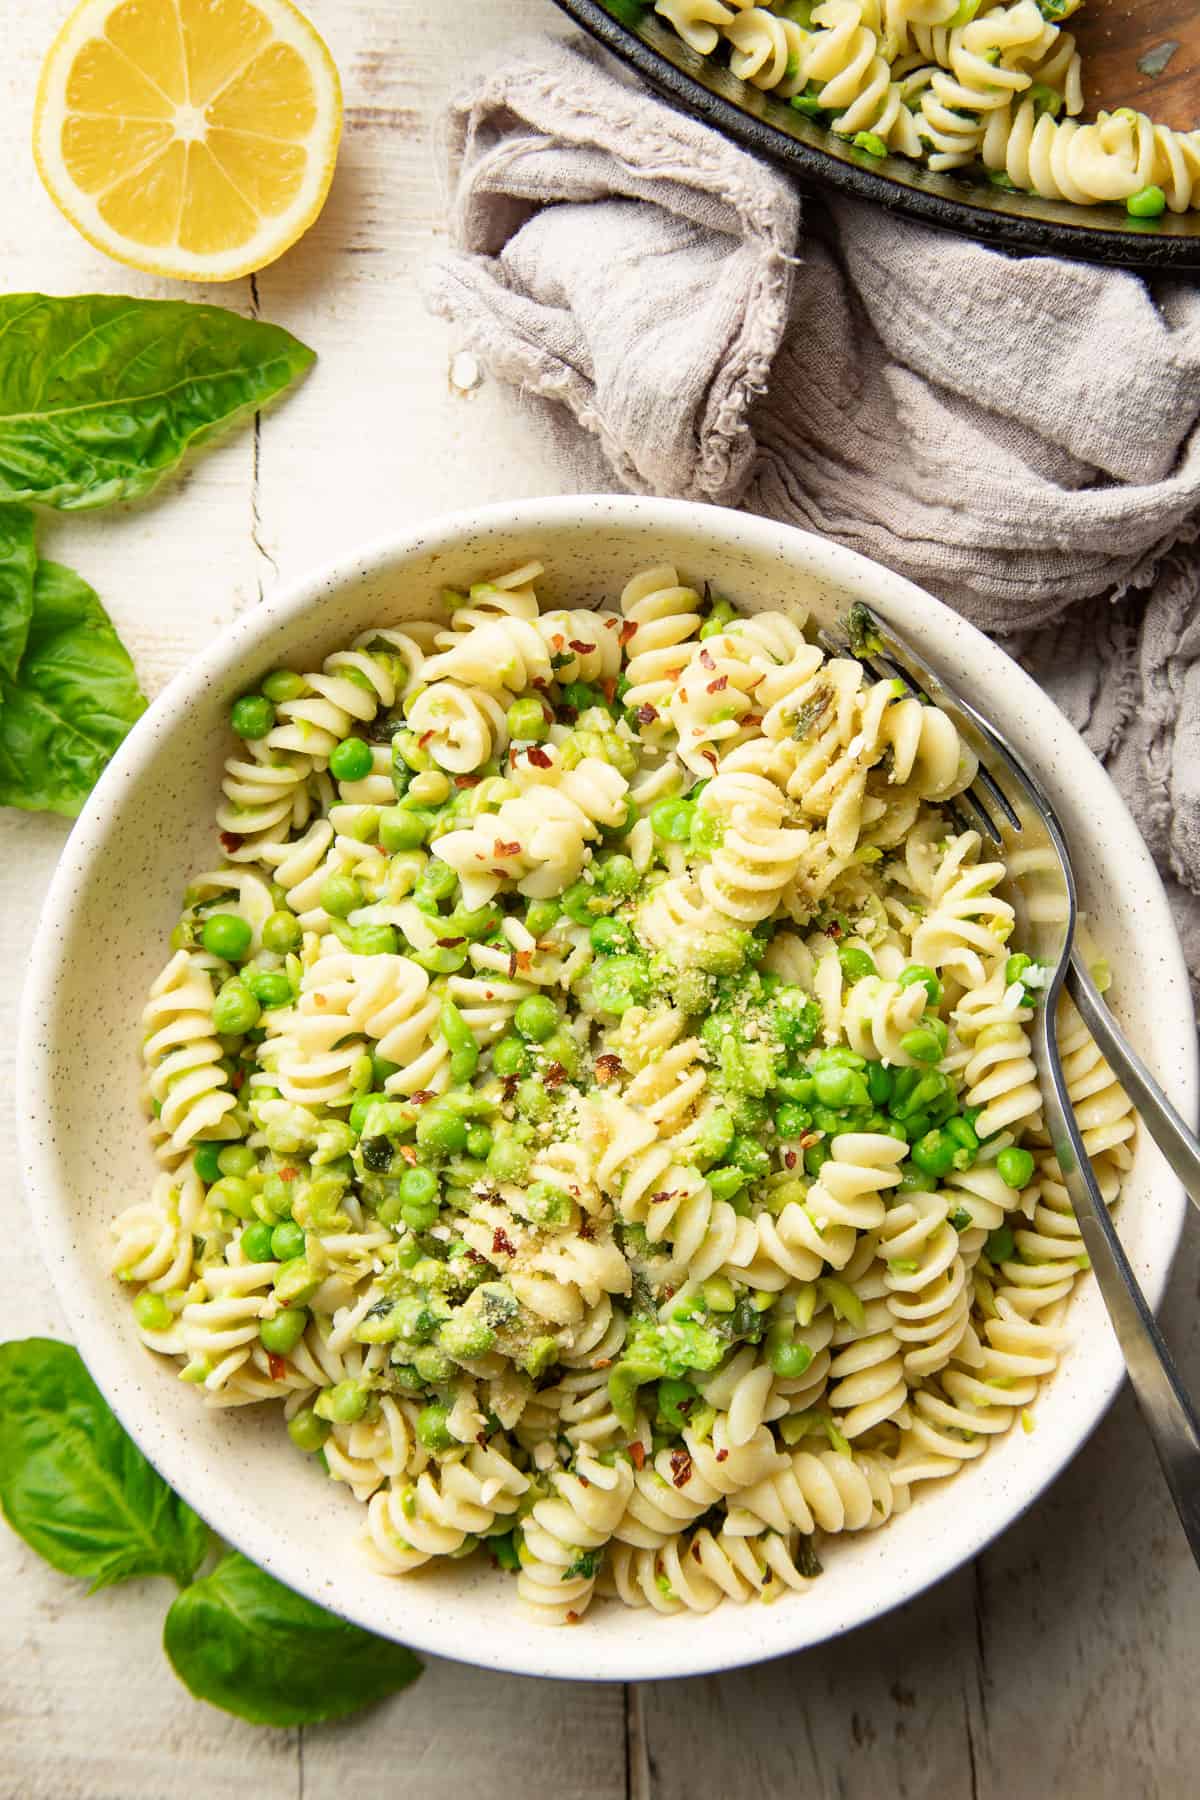
Pasta with Peas & Basil

This pasta with peas and fresh basil is so simple, but seriously packed with flavor! It's a super easy pasta dinner that can be ready in about twenty minutes, so it's perfect for busy weeknights.
In case you didn't know, pasta and peas are an amazing combination! Maybe not the most obvious one, but trust me, they're delicious together.
I first discovered this a few years ago when I created my pea pesto stuffed shells recipe. They're so good! It's definitely one of my favorite dinners, especially during the spring. But it's also one of those meals I reserve for weekends and special occasions, as there's a bit of work and planning involved.
Sometimes I crave the flavors of that dish during the week, so I decided to come up with a dish featuring similar flavors and textures, but in a much simplified format. That's where this pasta with peas recipe originated! It's about as easy as a pasta dinner can get, and full of delicious flavors like garlic, fresh basil, and lemon juice.
[feast_advanced_jump_to] Ingredients You'll Need- Pasta. The recipe calls for dried rotini pasta, but you're welcome to use any pasta shape you like. Make sure your pasta is vegan. Read my guide to vegan pastas if you're not sure what to look out for.
- Olive oil.
- Garlic.
- Coconut milk. We're using full-fat coconut milk, in order to give the sauce a creamy consistency. Light coconut milk can be substituted if you'd like to reduce the fat and calorie content of the recipe.
- Frozen peas. If you'd like to use fresh peas, be my guest! Just make sure to cook them fully before adding them to the recipe. The short five minute simmer time we're using here just won't be enough.
- Salt and pepper.
- Lemon juice. Freshly squeezed juice is crucial if you want your pasta to have the best possible flavor.
- Fresh basil.
- Red pepper flakes. These will add a little kick to your pasta. Use extra if you'd like some extra heat, or leave them out for a milder dish.
- Vegan Parmesan cheese. This is totally not required — the dish is delicious on it's own! If you'd like to use it, you're welcome to use store-bought or homemade vegan Parmesan.
The following is a detailed photo tutorial on how to make this dish. Scroll all the way down if you'd like to skip right to the recipe!
The first thing you'll want to do is to get your pasta boiling. Since it's a mostly hands-off task, you can begin making the sauce in the meantime.
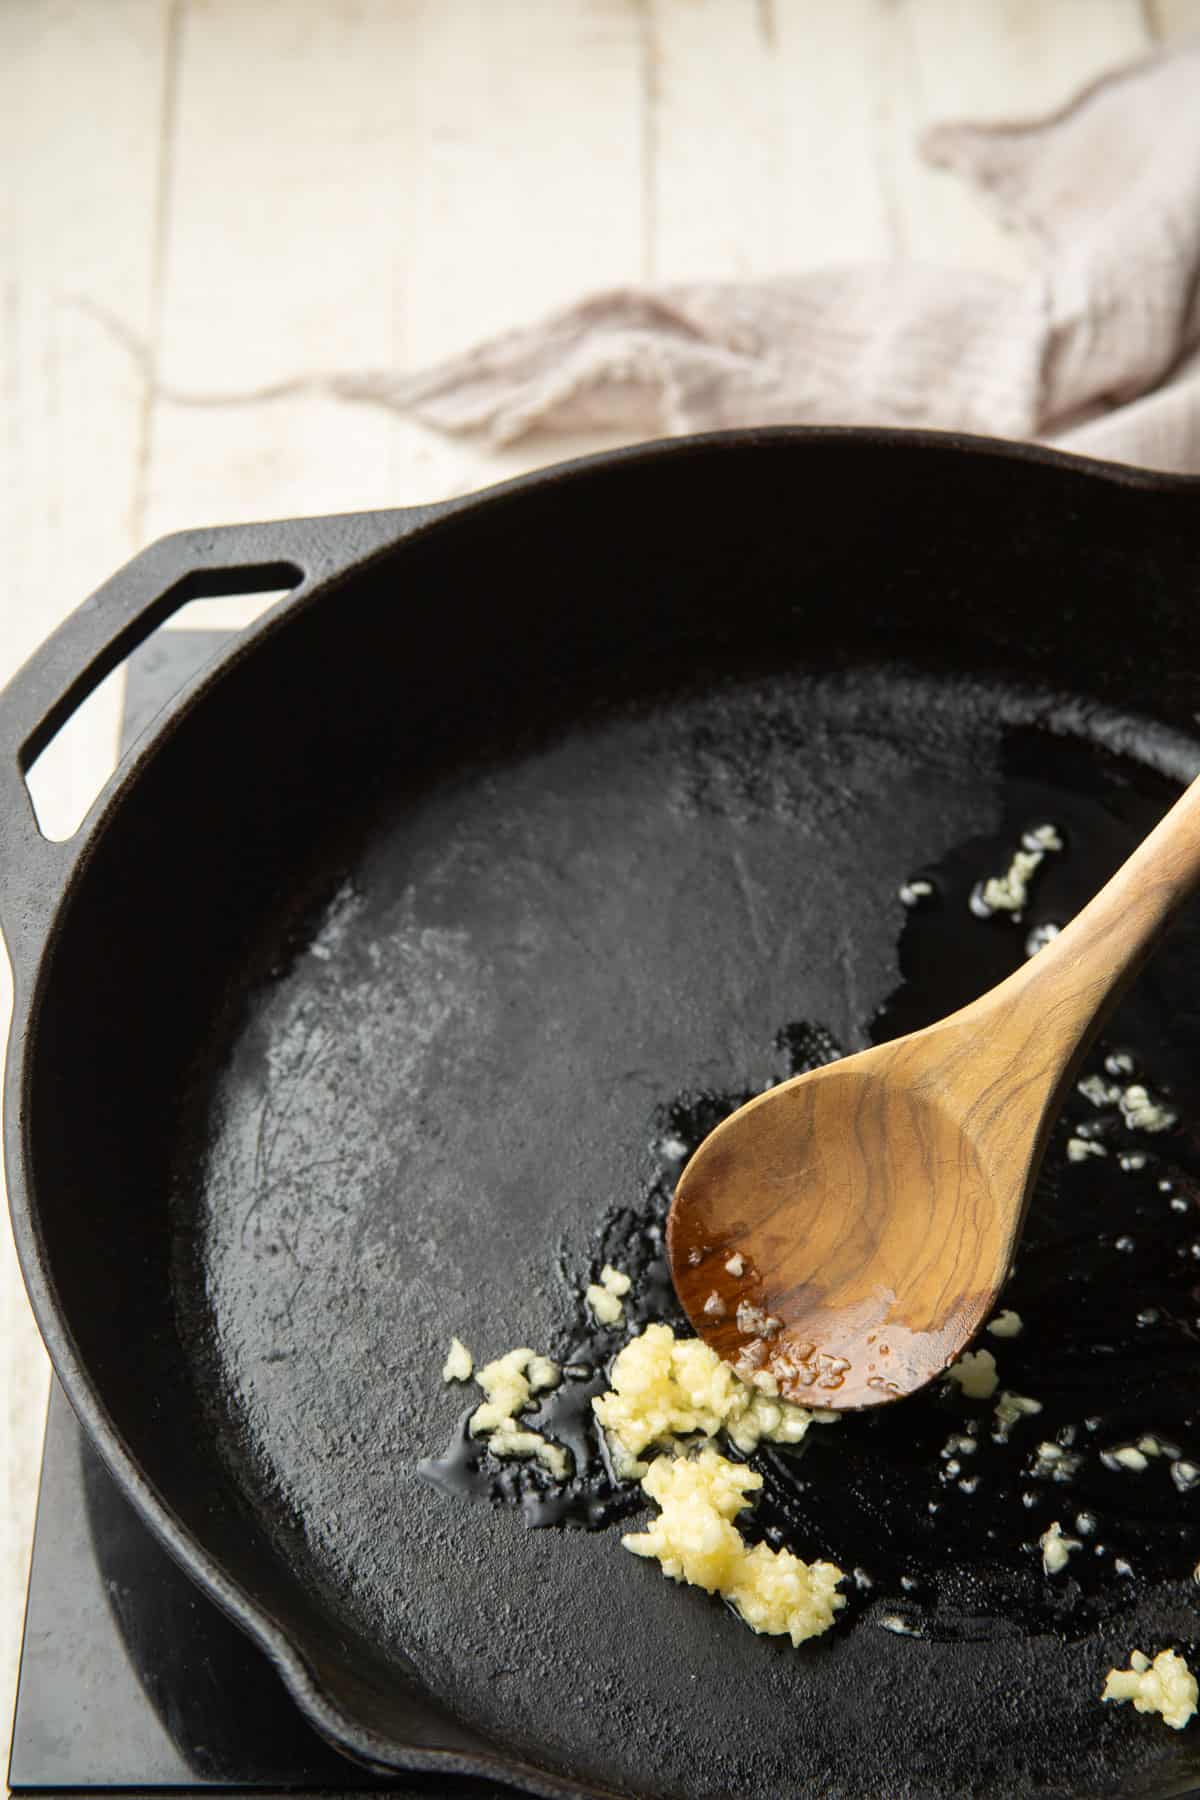
Heat some oil in a skillet and add your minced garlic. Cook the garlic briefly, until it becomes aromatic. Stir it constantly while it cooks, to prevent it from burning.
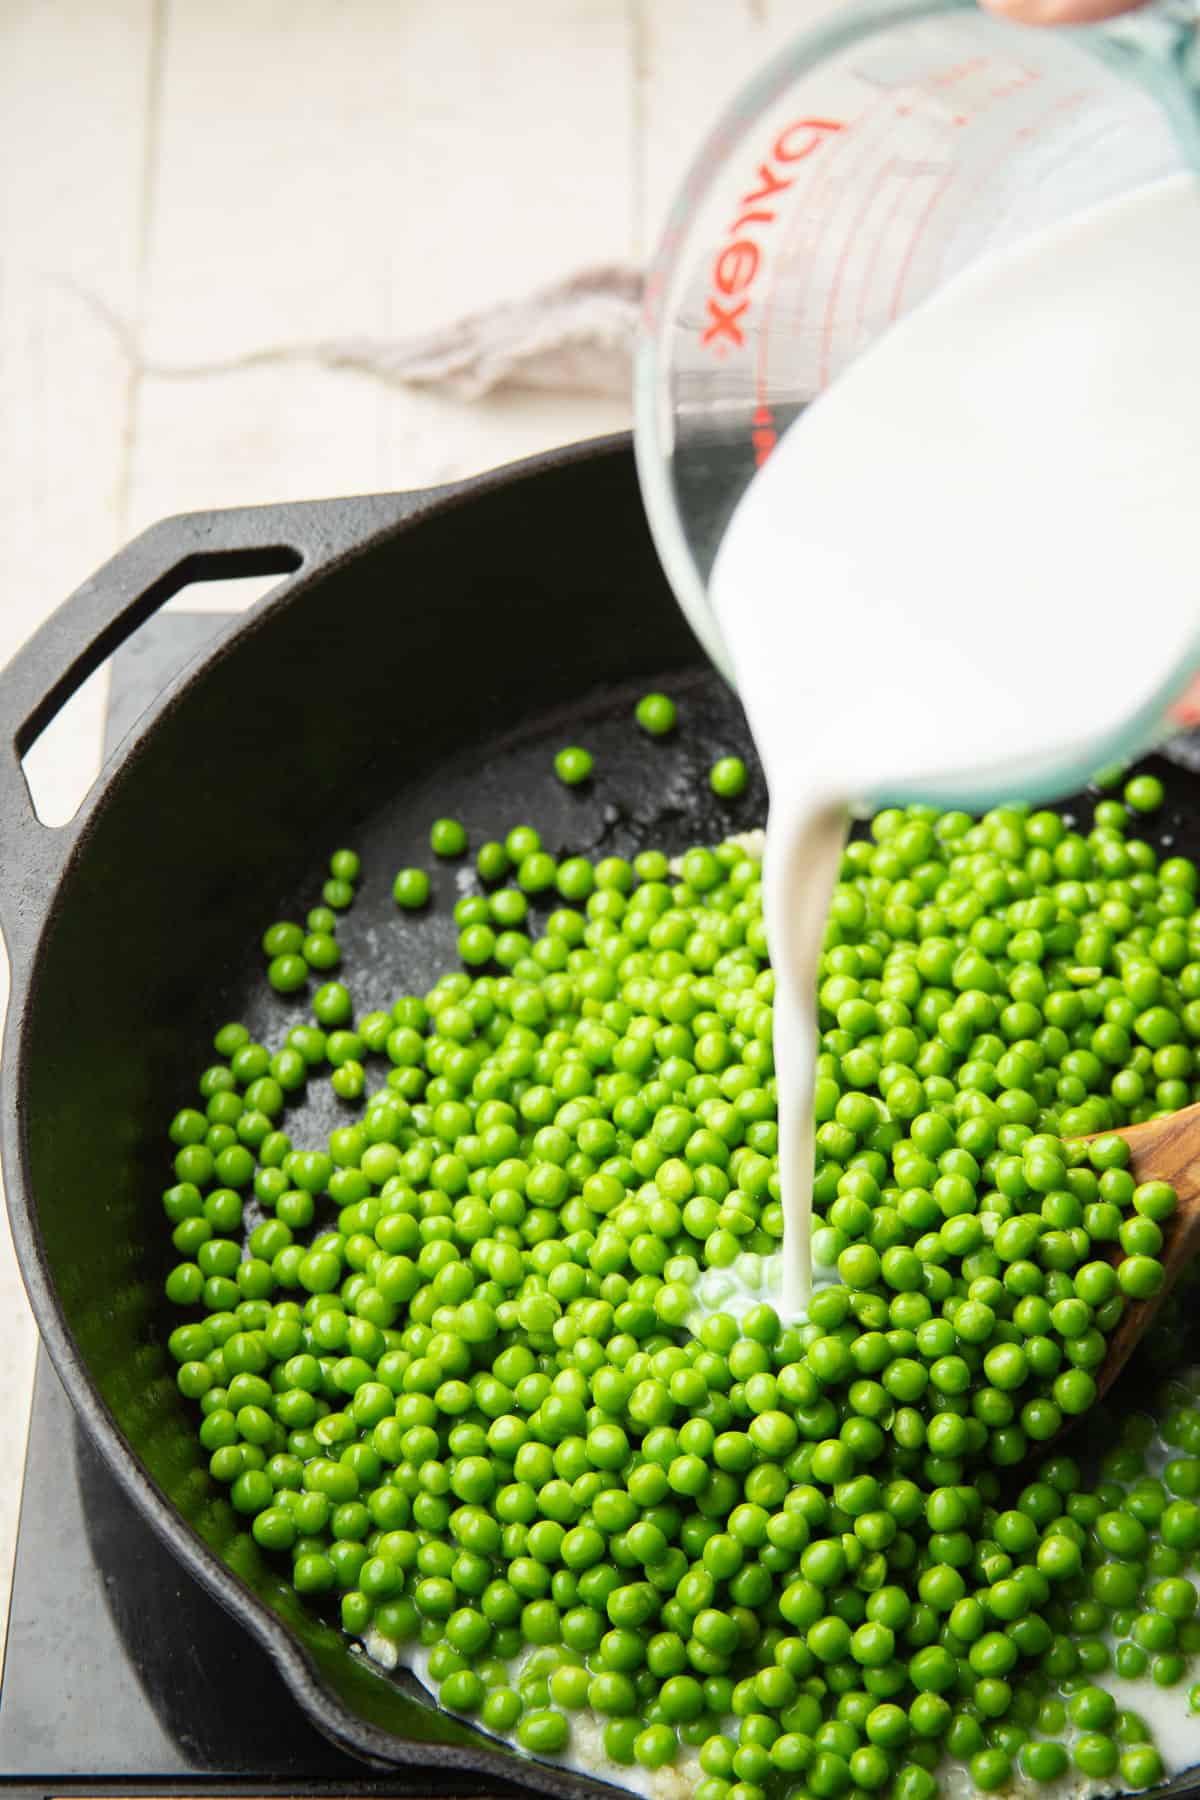
Add your peas to the skillet, making sure they're fully thawed. Stir in the coconut milk and a teaspoon of salt.
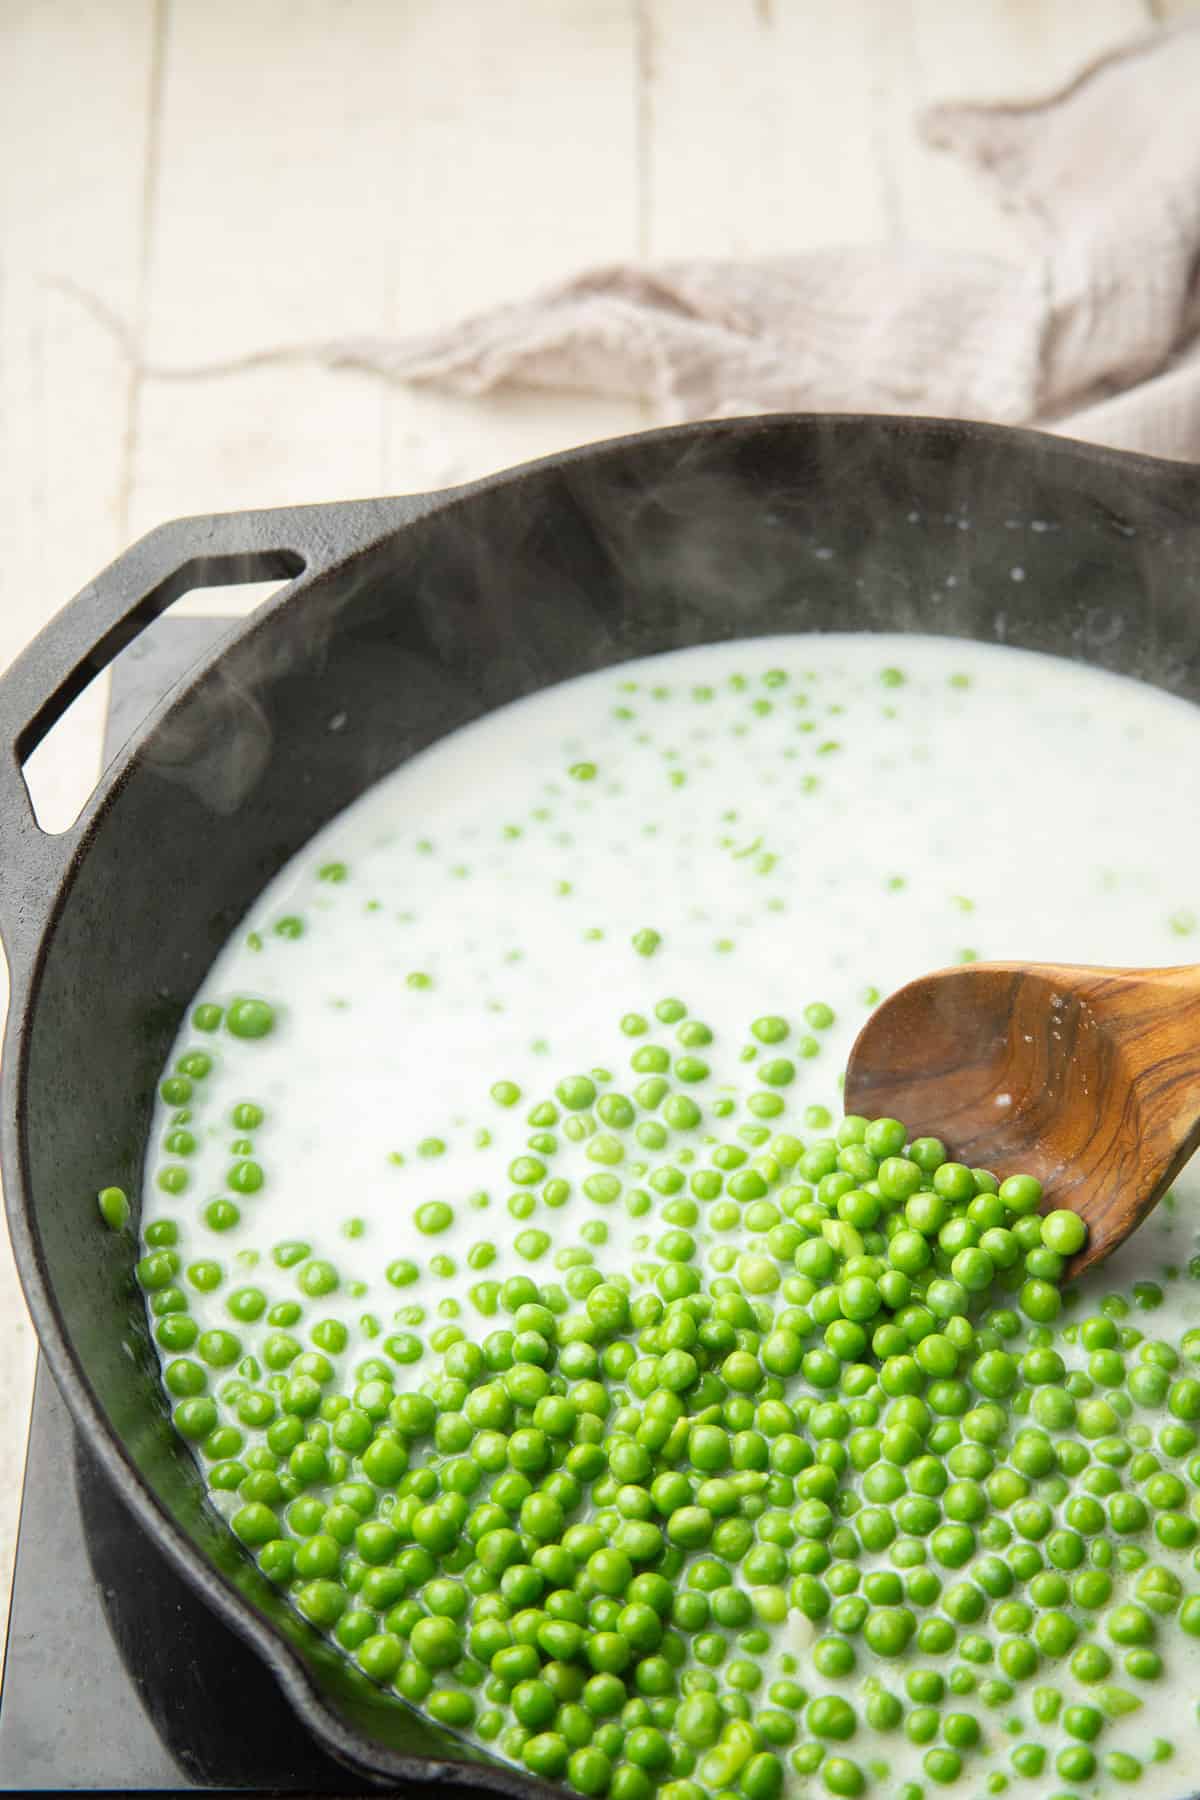
Bring the liquid to a simmer and cook everything for about five minutes. The goal here is to heat and soften the peas a bit, reduce the coconut milk, and mellow out the garlic.
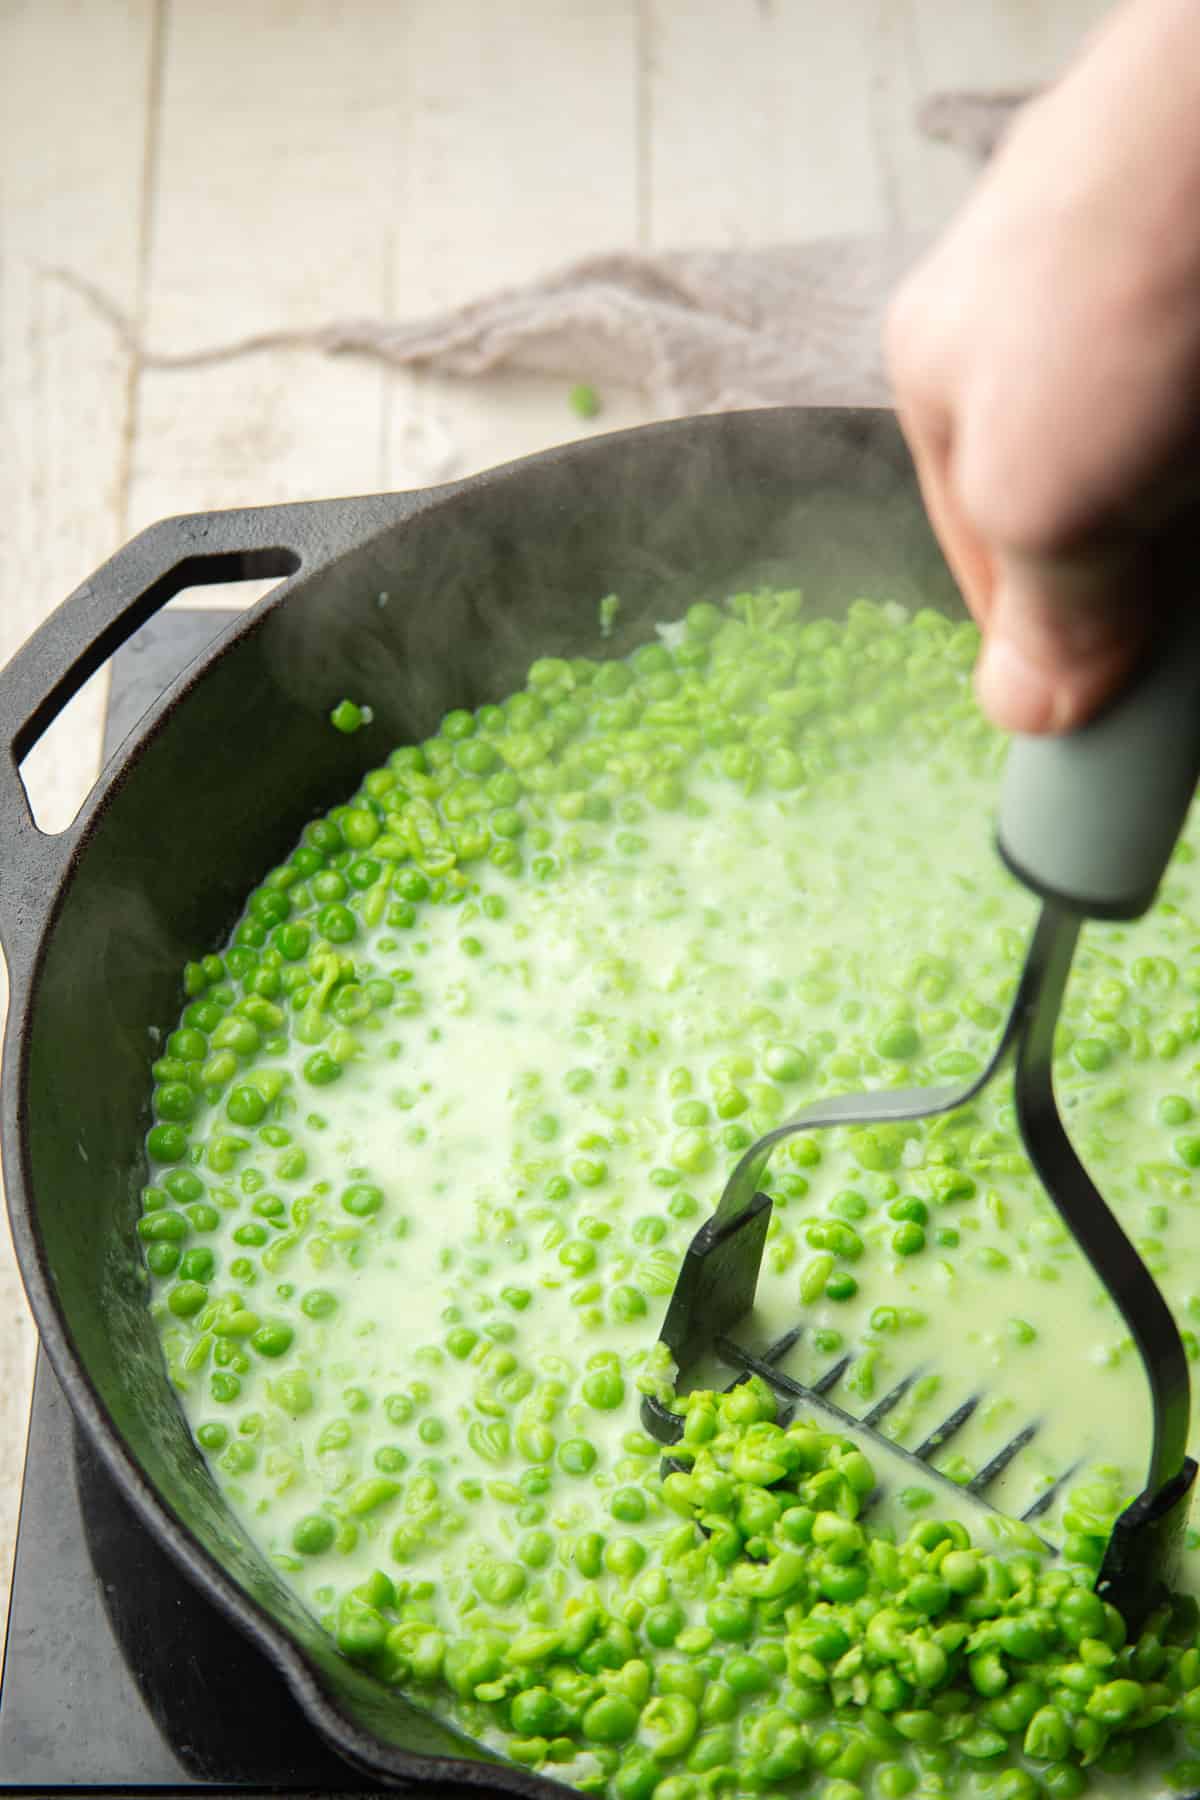
Now grab a potato masher (or a fork, if that's how you roll) and mash up about half of the peas. You can mash a bit more or less peas to vary the texture of the sauce, if you'd like.
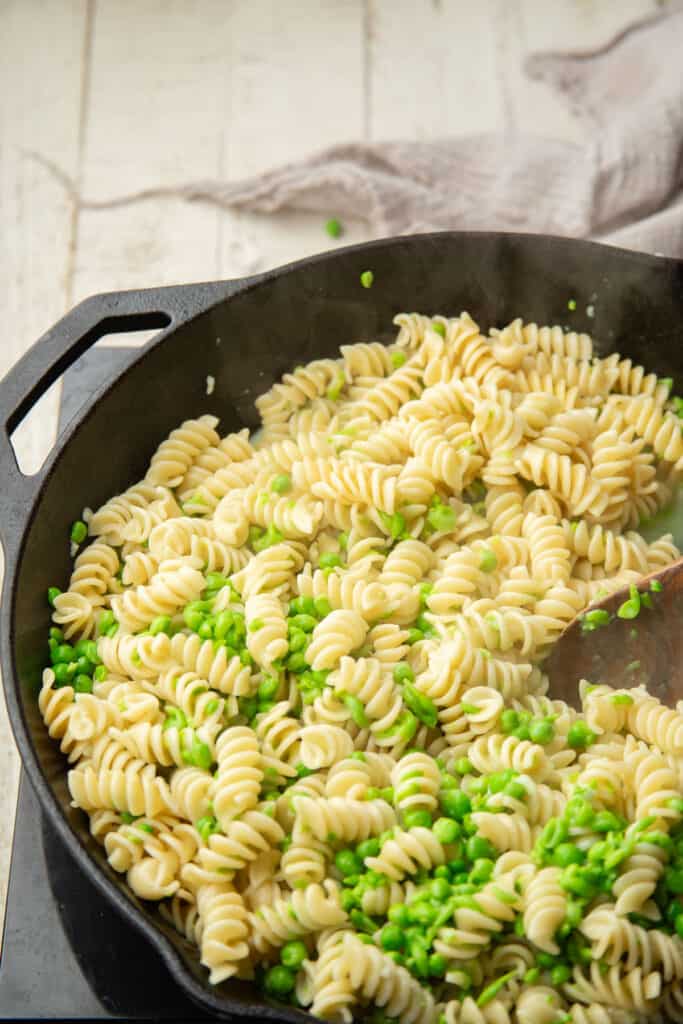
Stir in the cooked pasta and continue cooking everything for about a minute. We're just reheating the pasta here.
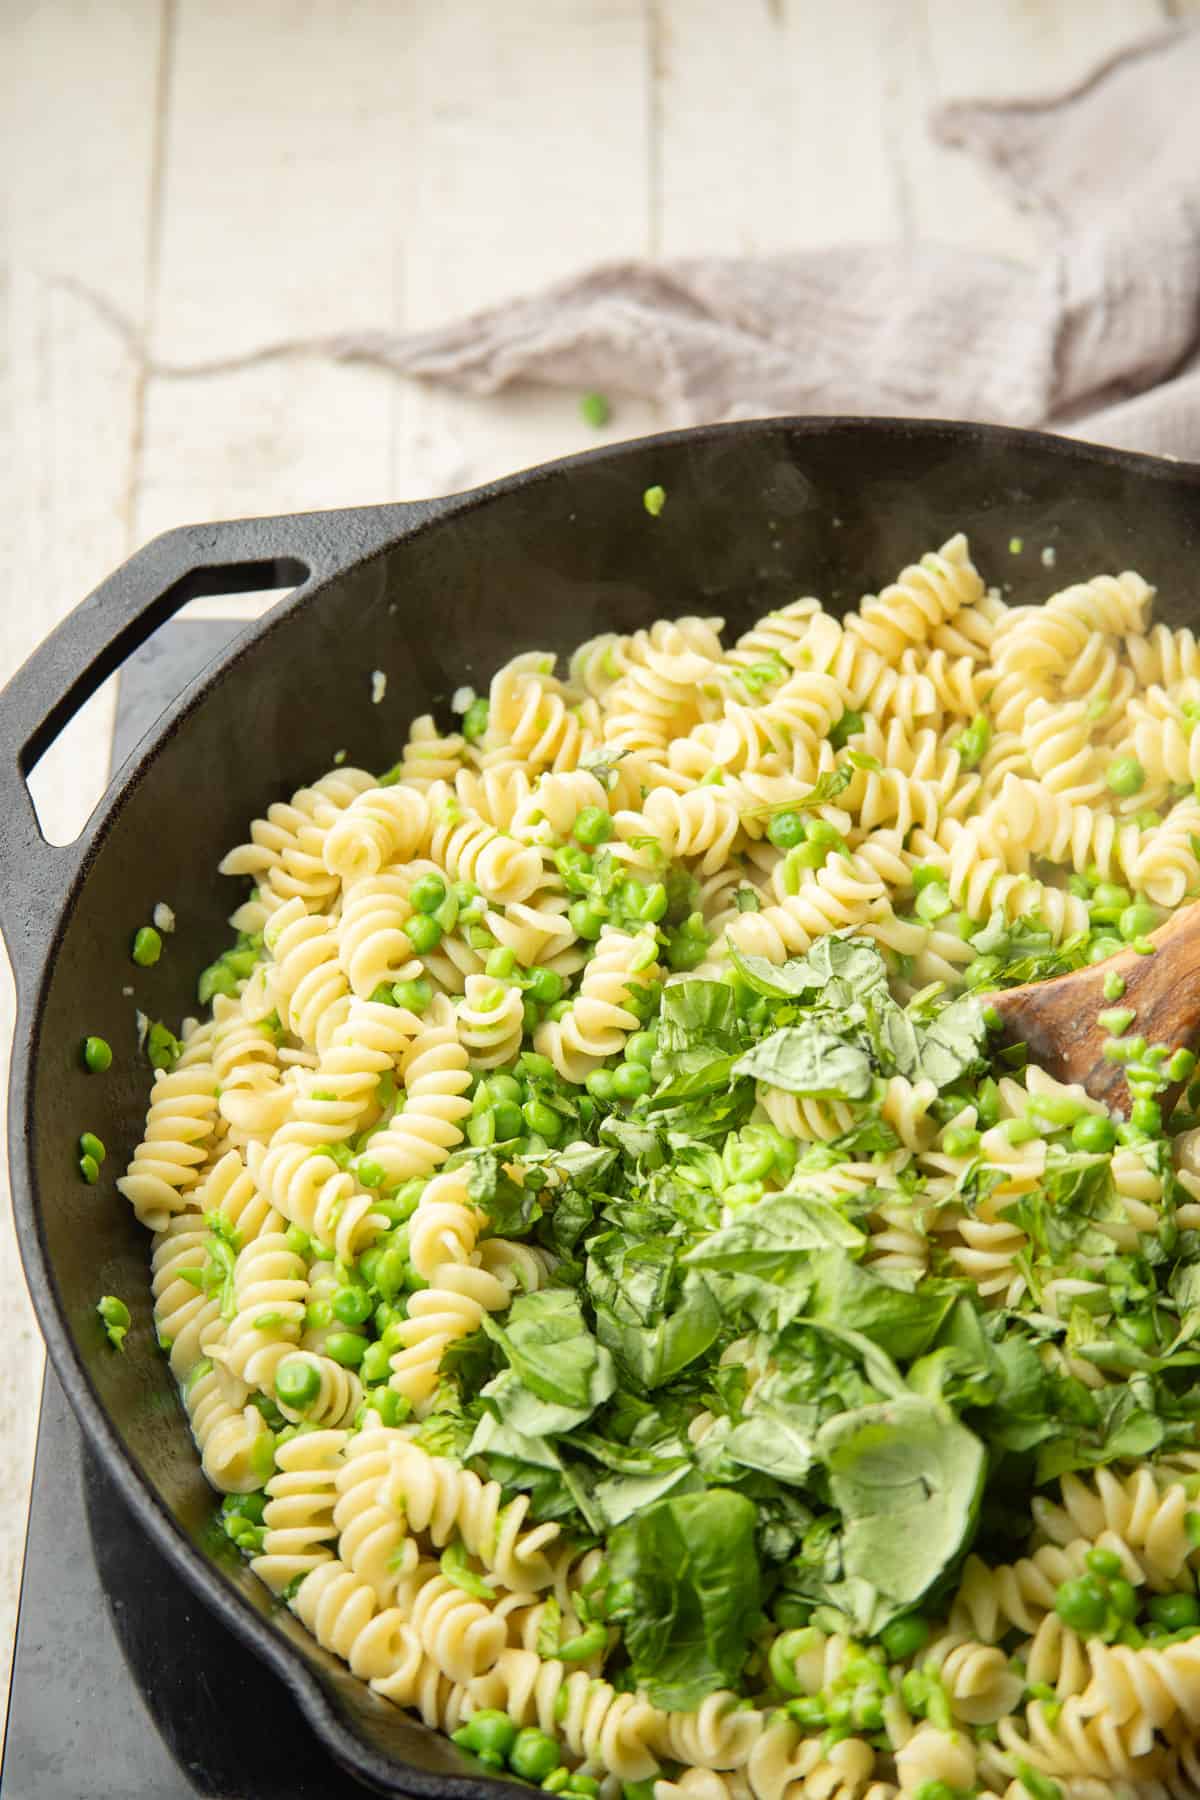
Now take the skillet off of heat and stir in the lemon juice and basil. Season the pasta with additional salt, pepper, and red pepper flakes to taste.

Your pasta with peas is all ready! Optionally, top each bowl with a sprinkle of vegan Parm.
Leftovers & StorageLeftover pasta with peas and basil will keep in an airtight container in the refrigerator for about three days, or in the freezer for about three months. Add some water when you heat it up if the sauce has dried up during storage.
More Pasta Recipes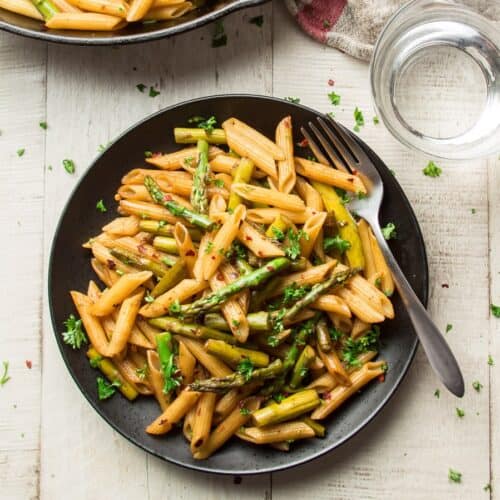 Balsamic Asparagus Pasta
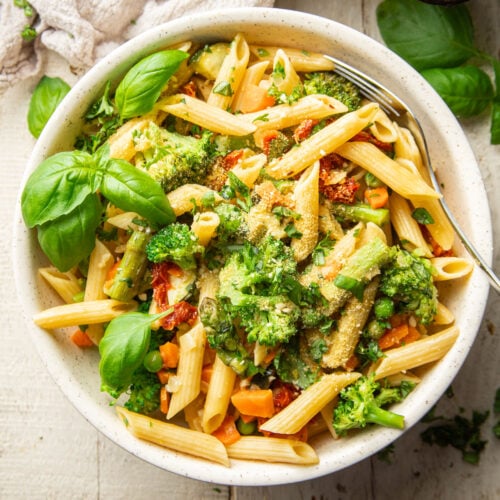 Vegan Pasta Primavera
 Easy Lemon Broccoli Pasta
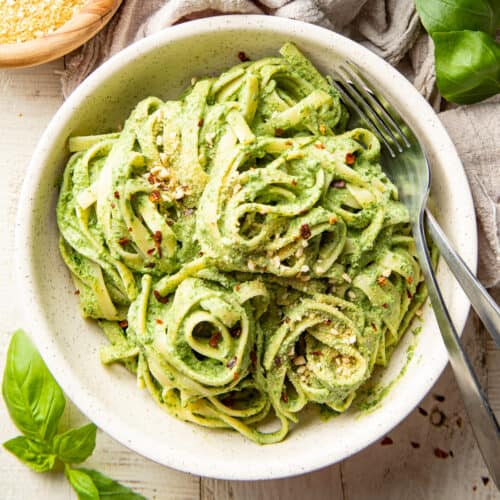 Creamy Vegan Spinach Pasta
Like this recipe? If so, please stop back and leave me a review and rating below if you try it! Also be sure to follow me on Facebook, Pinterest or Instagram, or subscribe to my newsletter for more recipes like this one!
- 12 ounces dried rotini pasta, or pasta shape of choice
- 1 tablespoon olive oil
- 4 garlic cloves, minced
- 1 cup full-fat coconut milk
- 16 ounces frozen peas, thawed (about 3 cups of peas)
- 1 teaspoon salt, plus more to taste
- 2 tablespoons lemon juice
- ½ cup fresh basil leaves, chopped
- Pinch red pepper flakes, or to taste
- Black pepper, to taste
- Vegan Parmesan cheese, for serving, optional
- Bring a large pot of water to a boil. Add the pasta and cook it according to the package directions. Drain the pasta into a colander when it's done.
- While the pasta cooks, coat the bottom of a large skillet with the oil and place it over medium heat. Once the oil is hot, add the garlic. Sauté the garlic for about a minute, stirring constantly, until it become very fragrant.
- Stir in the coconut milk, peas, and salt. Raise the heat to high and bring the coconut milk to a boil. Lower the heat and let the mixture simmer for about 5 minutes.
- Use a fork or potato masher to mash about half of the peas (Note 1).
- Add the cooked pasta to the skillet and stir to combine it with the peas and sauce. Cook everything for about a minute more, then remove the skillet from heat.
- Stir in the lemon juice and basil. Season the pasta with additional salt to taste, if desired, along with some red pepper flakes and black pepper.
- Serve with a sprinkle of vegan Parmesan cheese.
- You can mash more or less of the peas to achieve your preferred texture.
The post Pasta with Peas & Basil appeared first on Connoisseurus Veg.
Mon, 08 Apr 2024 13:19:03 +0000
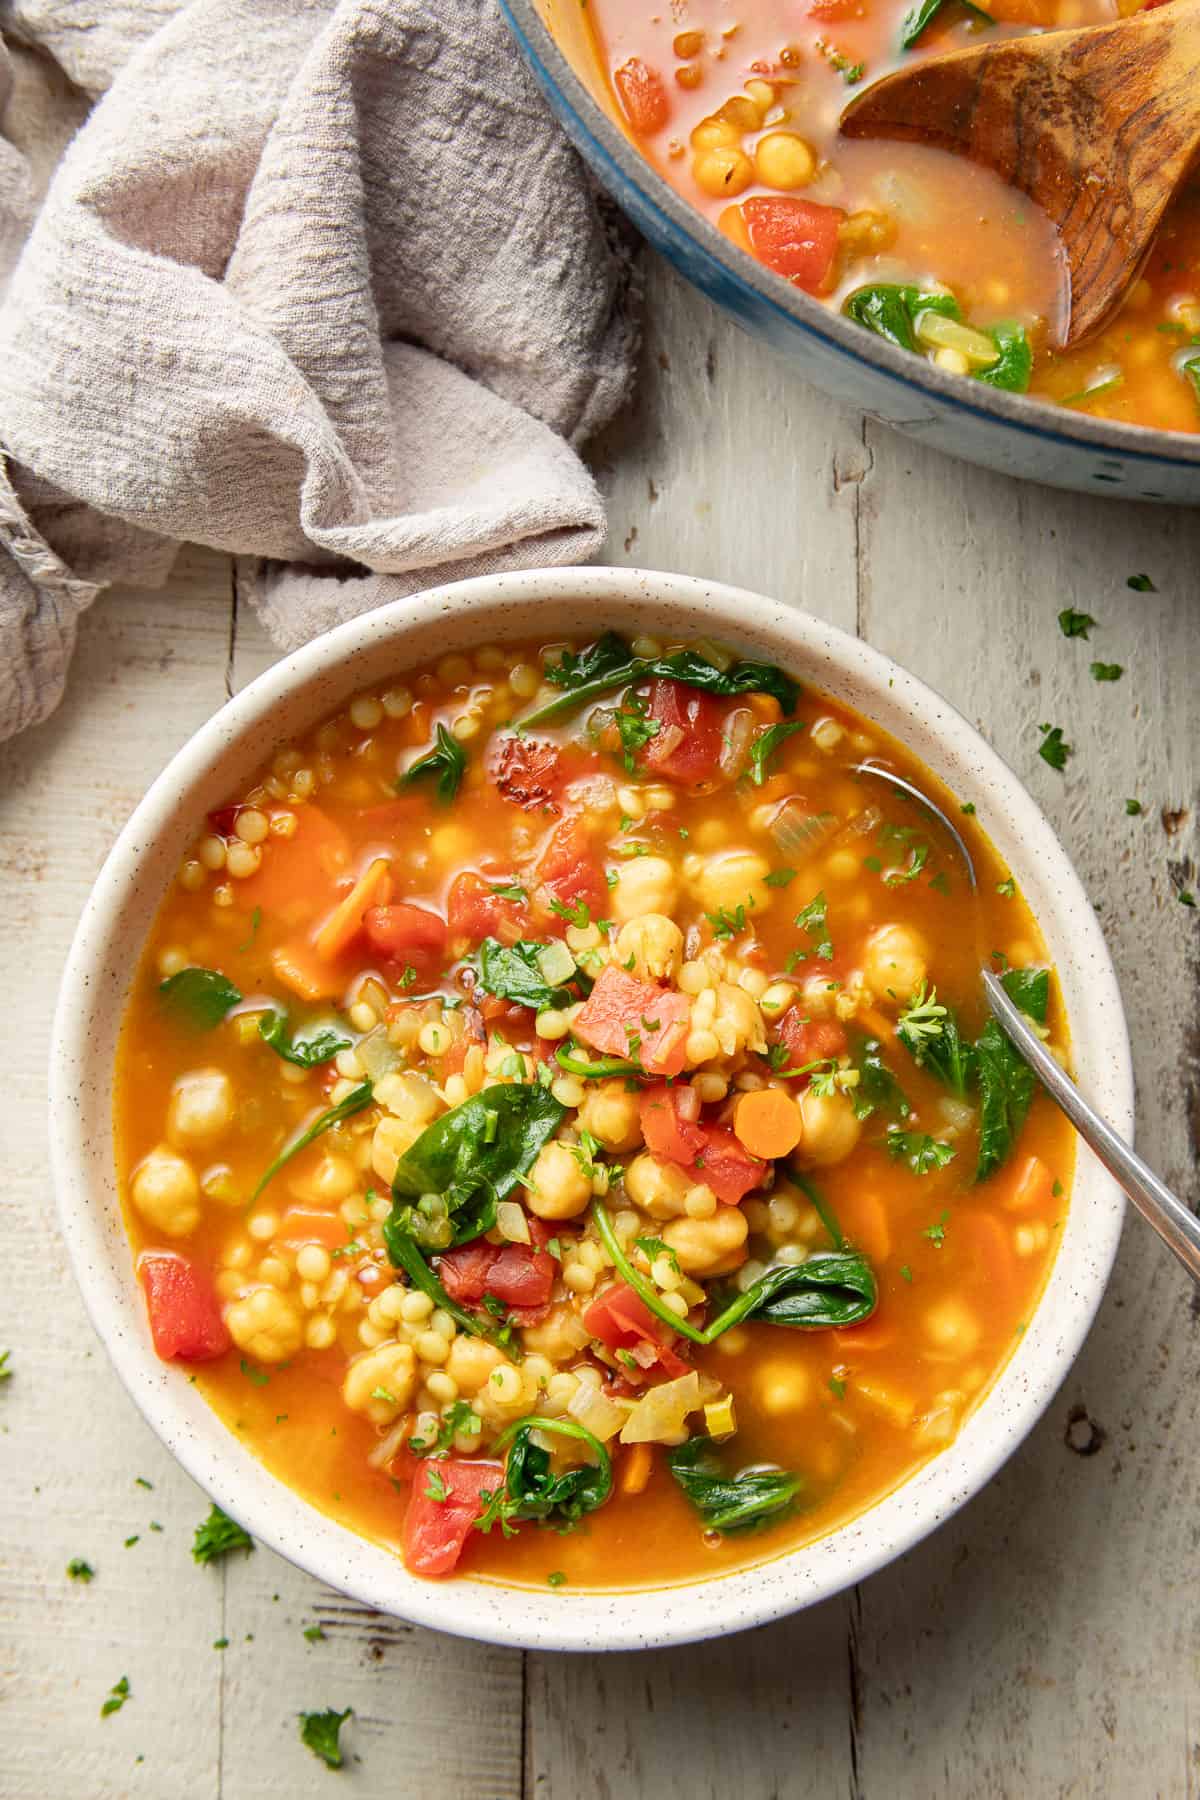
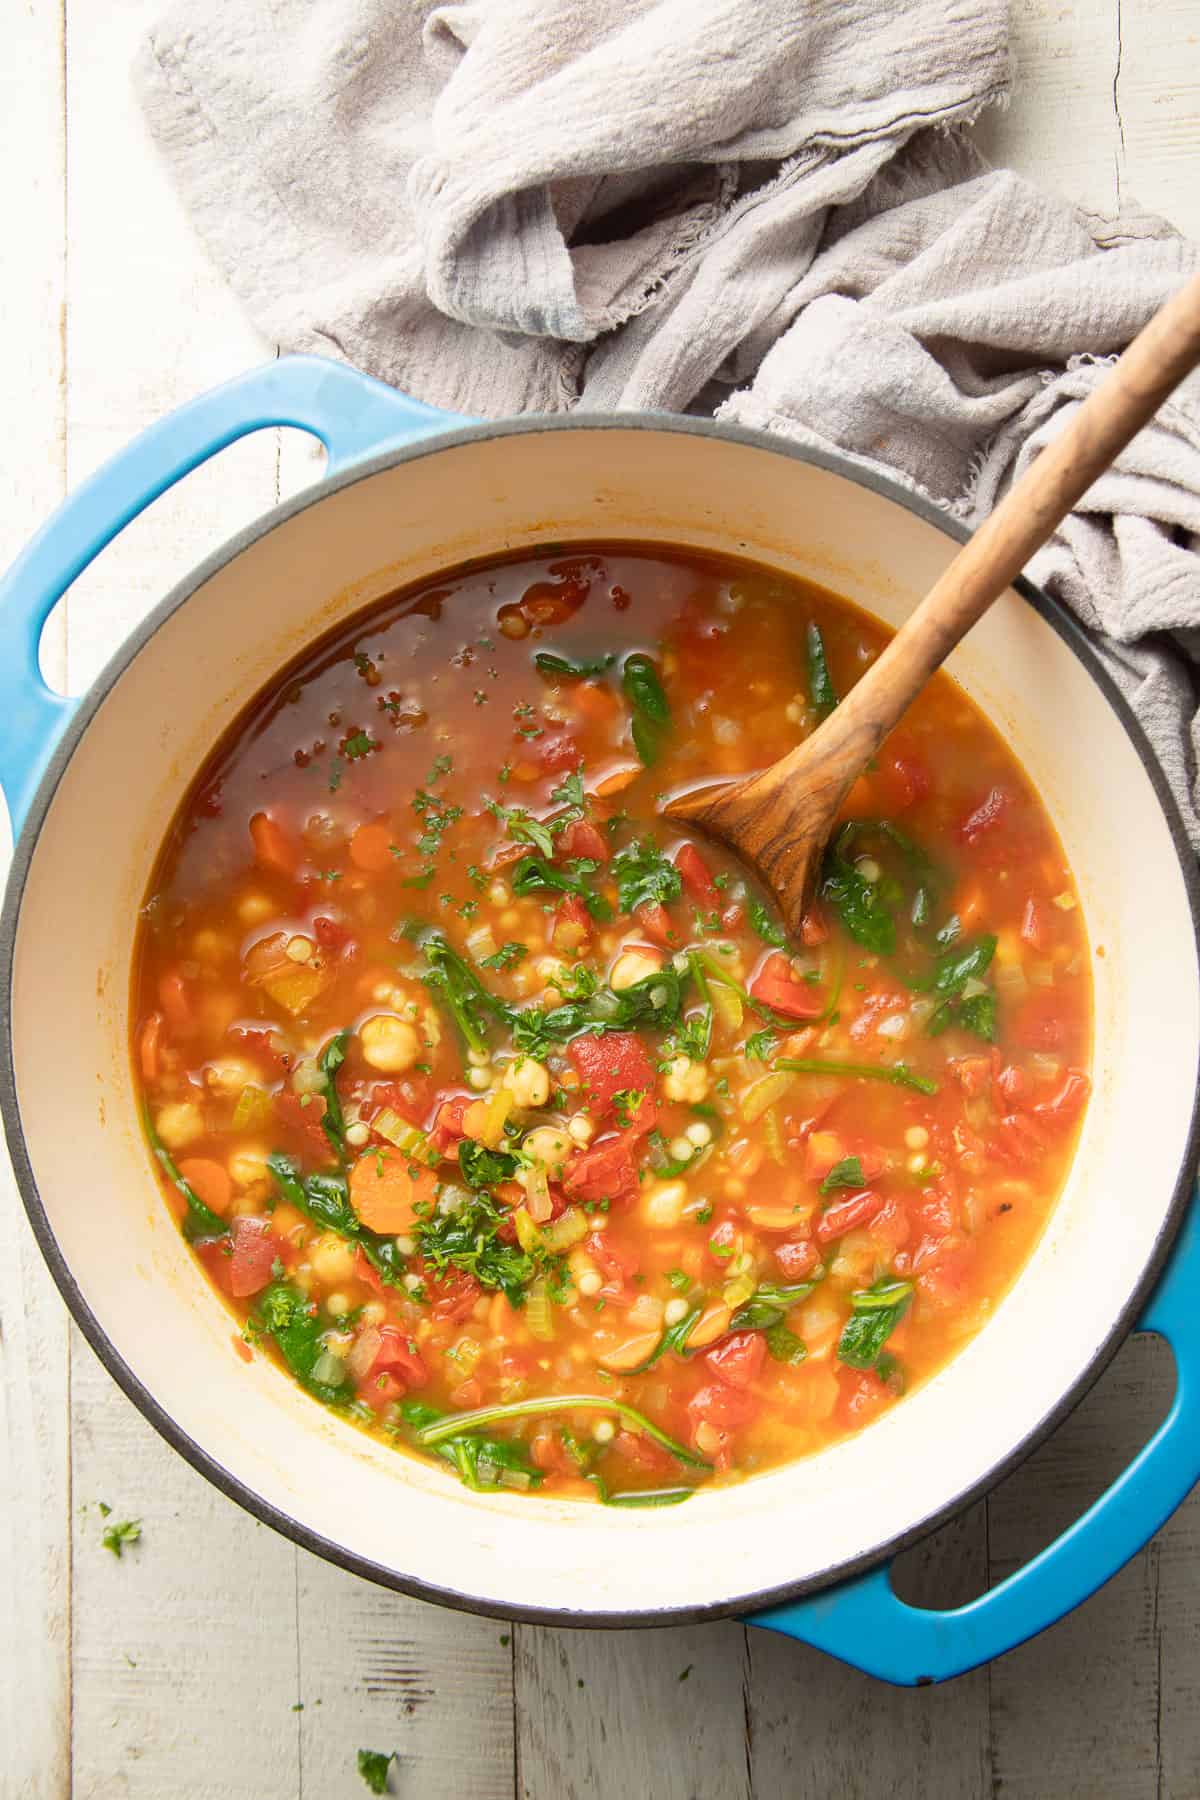
Pearl Couscous Soup
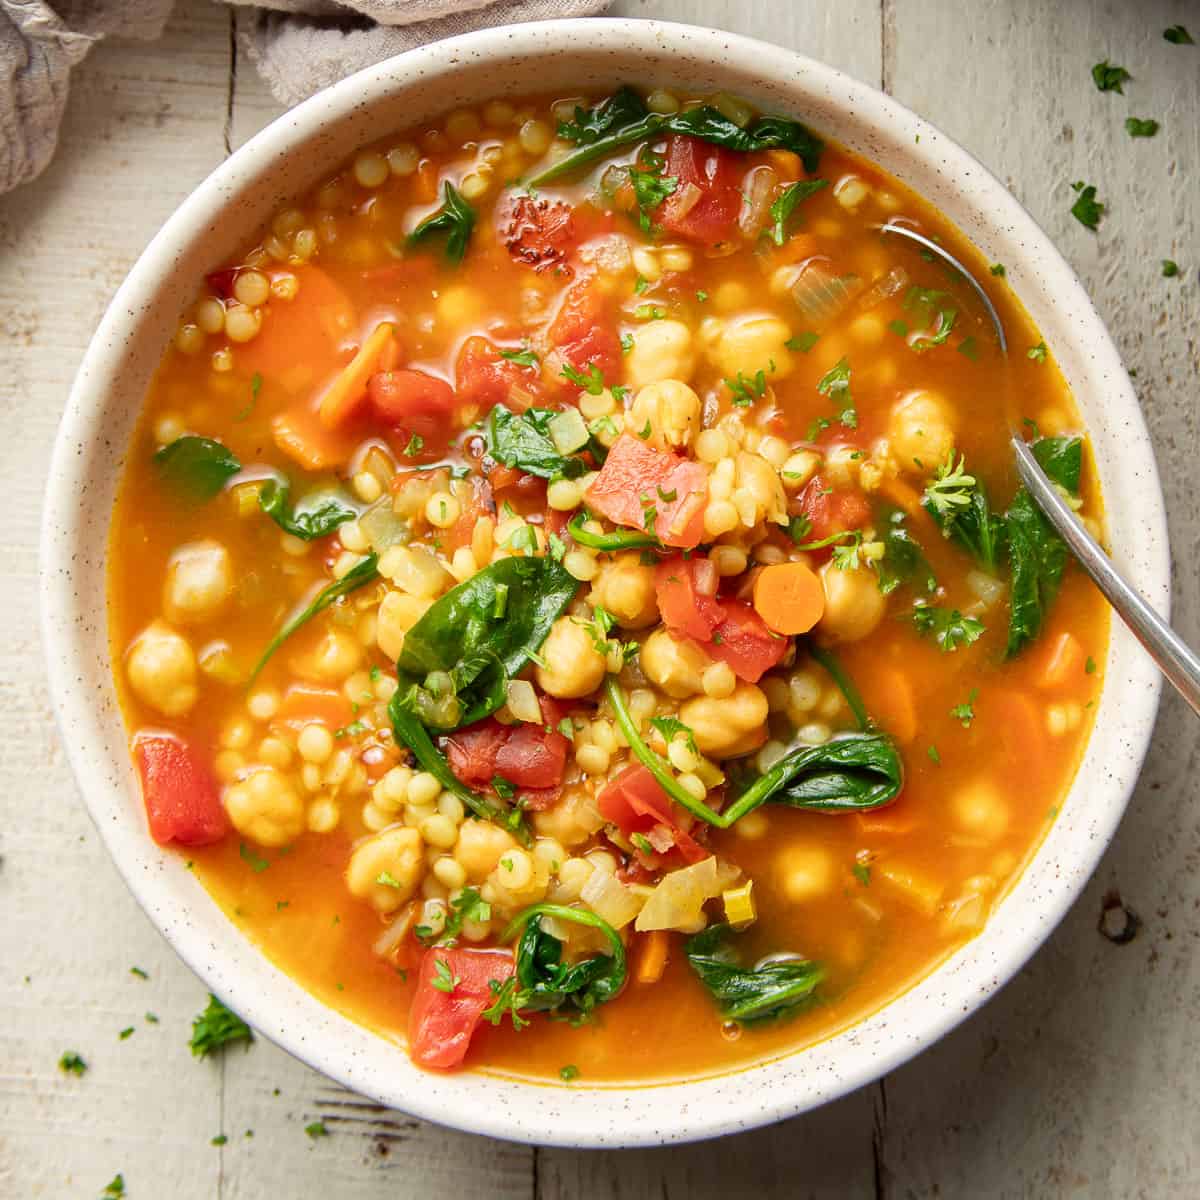
This vibrant couscous soup is made with veggies, chickpeas, and pearl couscous in a spiced tomato broth. It's so easy to make and tastes like a big bowl of comfort!
Couscous has a special place in my heart. It was one of the first "vegetarian" foods that was introduced to me after giving up meat as a teenager. There's nothing exclusively vegetarian about couscous, although it has been the main ingredient in many meatless meals enjoyed by me since then.
Although I enjoyed couscous in many dishes, one that I mostly neglected was soup. You know what though? Couscous totally belongs in soup! It is pasta after all, and we all know how much I love a good pasta soup like pasta e fagioli, orzo soup, or chickpea noodle soup.
For this recipe, we're using pearl couscous, which is bigger and plumper than Moroccan couscous. The texture is perfect for soaking up broth!
[feast_advanced_jump_to] Ingredients You'll Need- Olive oil. You can use another high-heat oil if you'd like, but olive oil will give your soup the best flavor.
- Onion.
- Carrots.
- Celery.
- Garlic.
- Spices. We're using a Mediterranean-inspired blend of ground cumin, cinnamon, ginger, and turmeric.
- Vegetable broth.
- Fire roasted tomatoes. Regular old diced tomatoes will work, but use fire roasted if you can — they'll add a wonderful smoky flavor to your soup!
- Canned chickpeas.
- Pearl couscous. This can be found in the international foods aisle of most supermarkets, and may also be labeled as Israeli couscous.
- Baby spinach.
- Salt and pepper.
The following is a detailed photo tutorial on how to make this dish. Scroll all the way down if you'd like to skip right to the recipe!
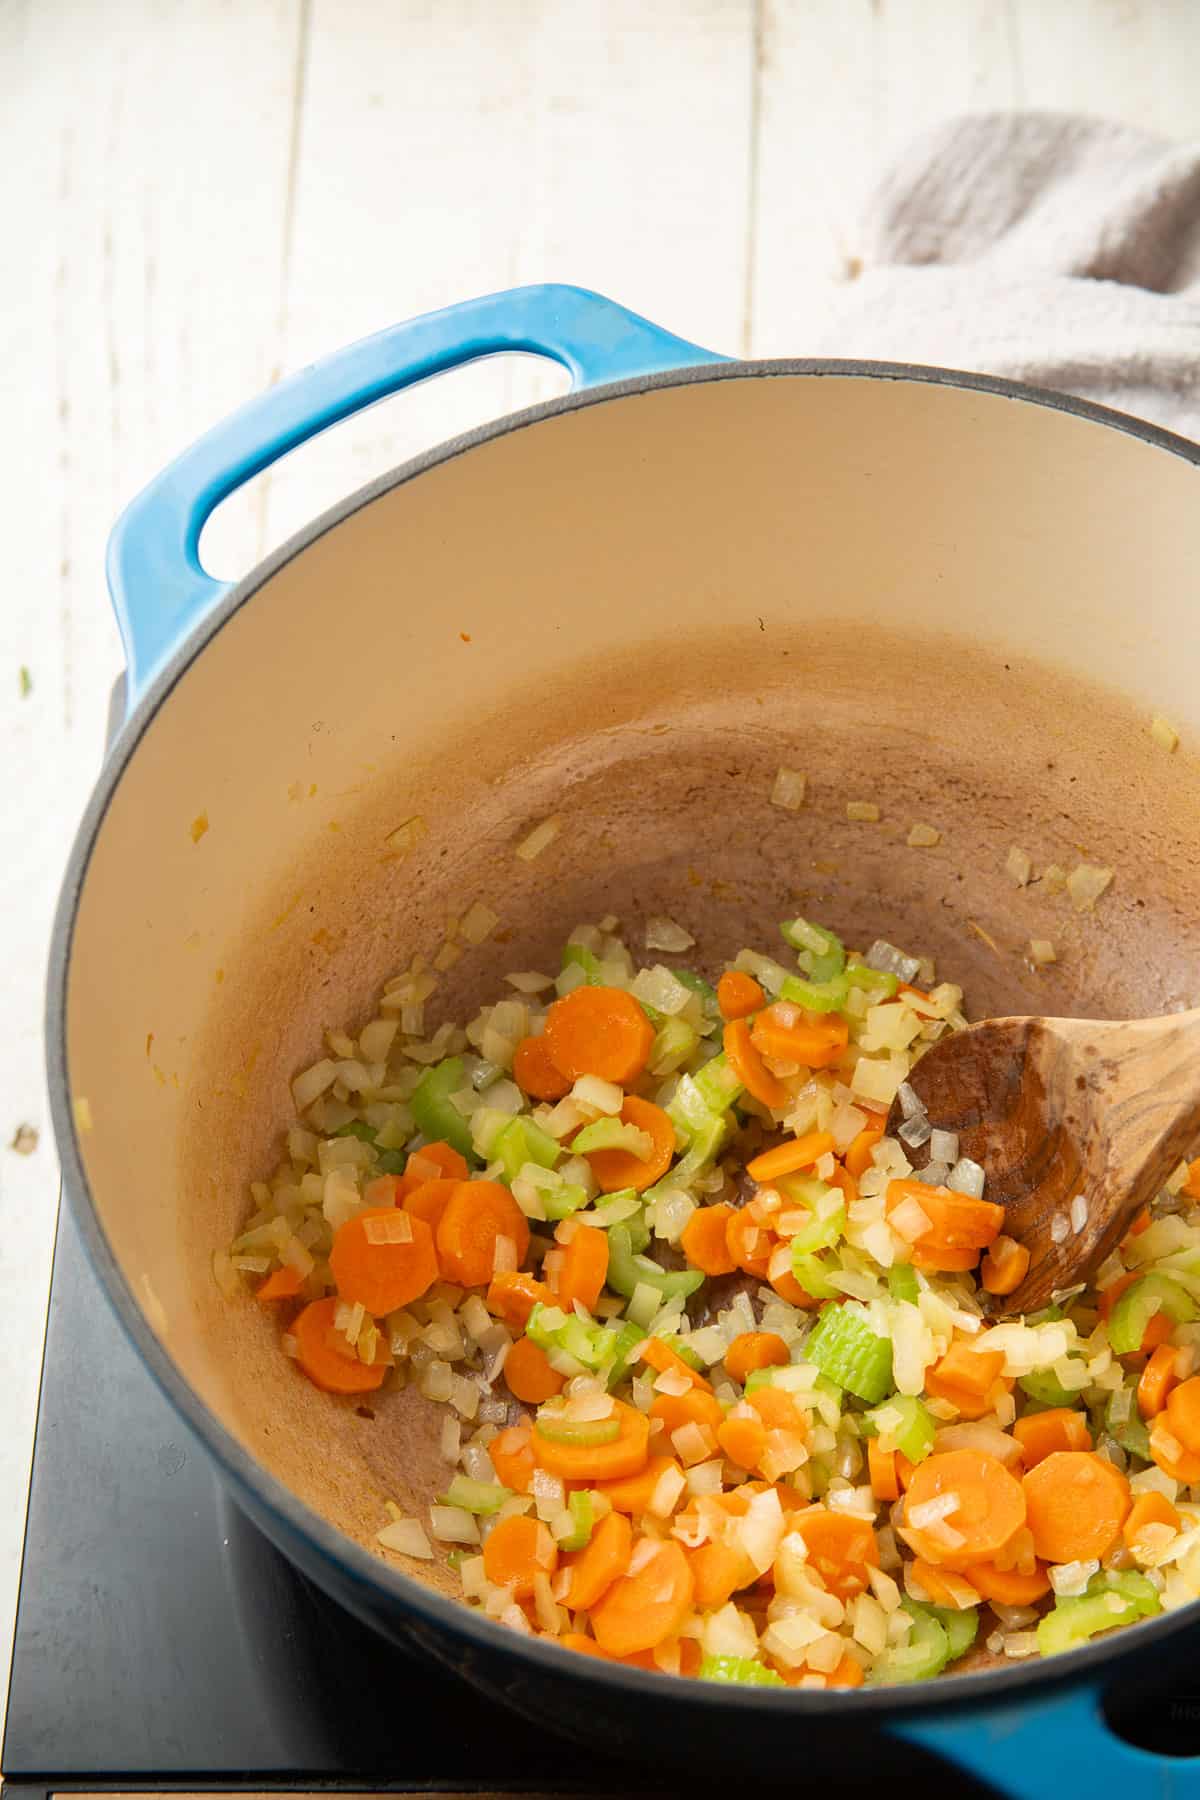
Heat some olive oil in a large pot, then add your diced onion, sliced carrots, and chopped celery. Sweat the veggies for a full ten minutes, making sure they've begun to soften by the end. This is important, as our soup has a brief simmer time!
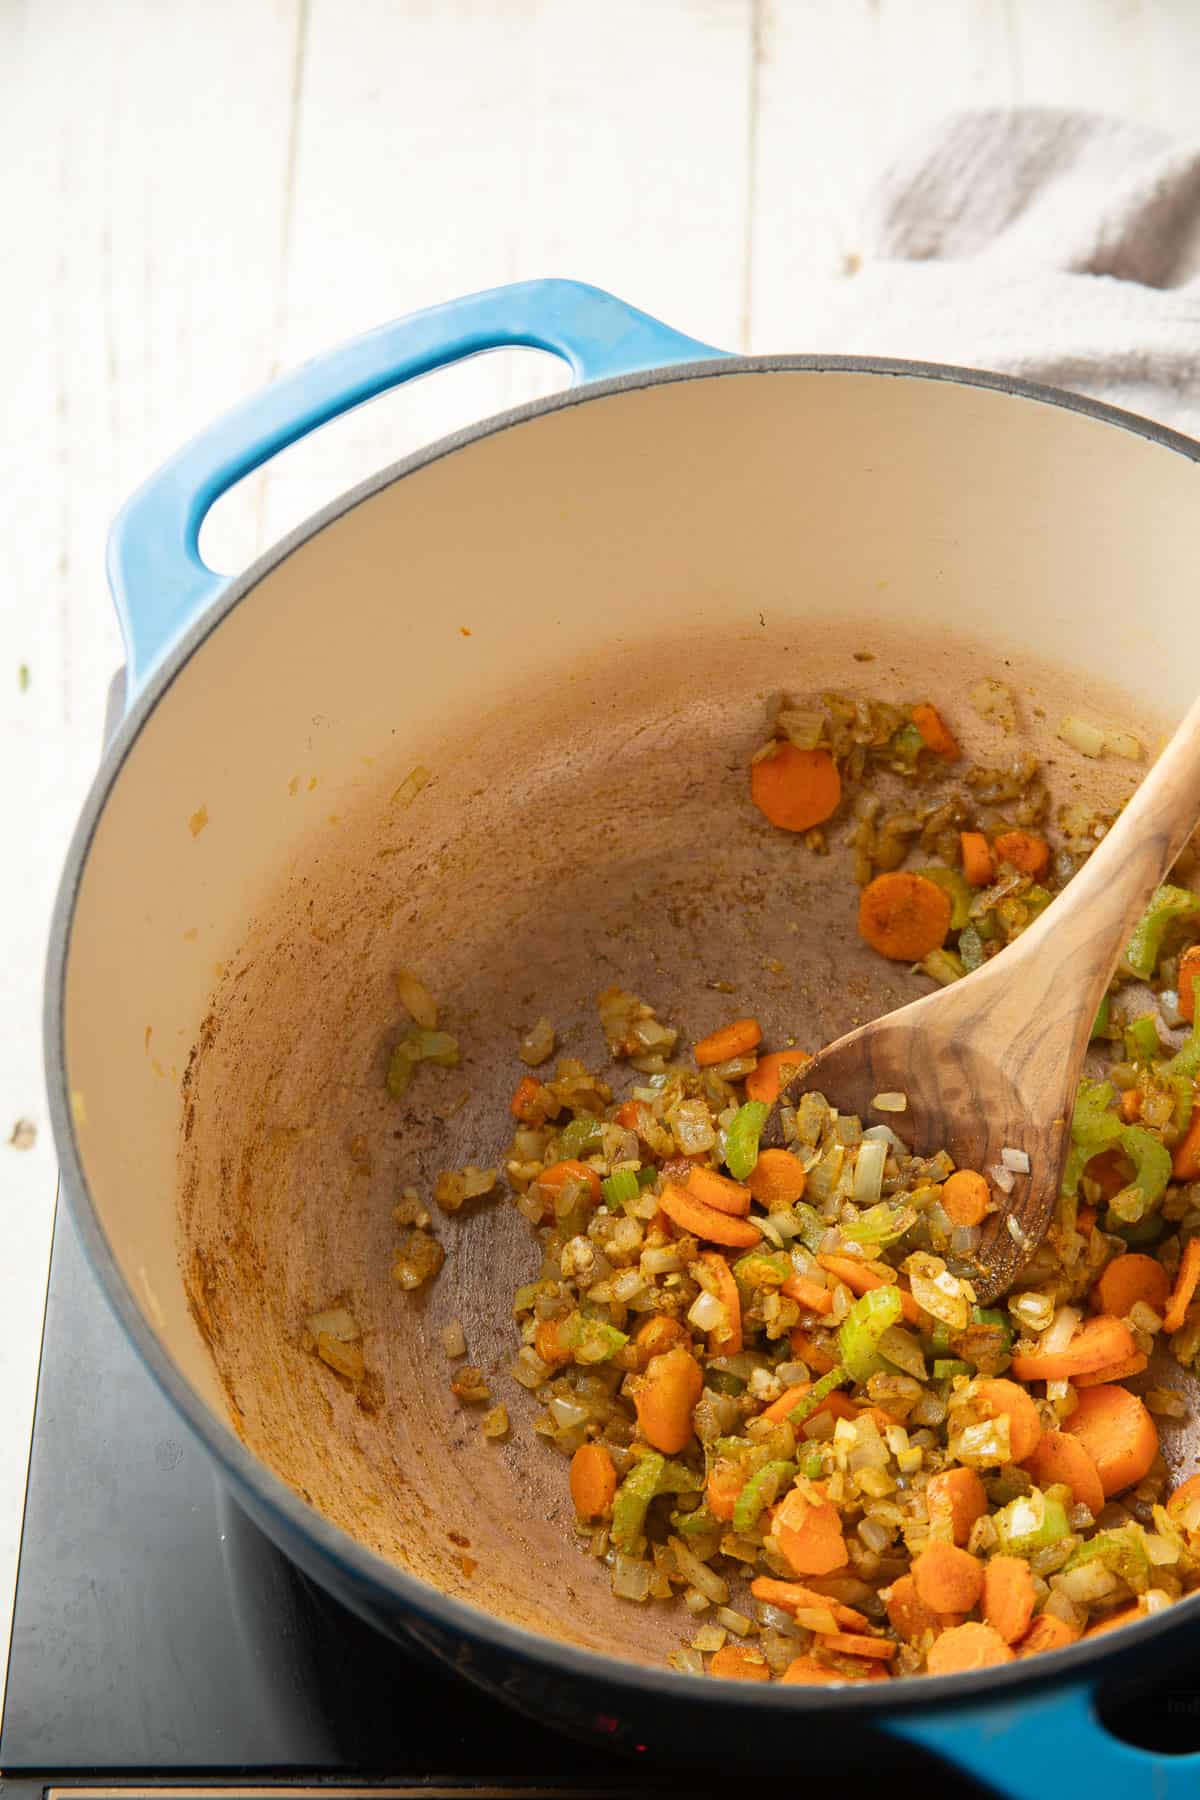
Add minced garlic to the pot, along with your spices. Mix everything up and cook the mixture for about a minute, stirring the entire time to prevent the spices or garlic from burning, which could make the soup taste bitter.
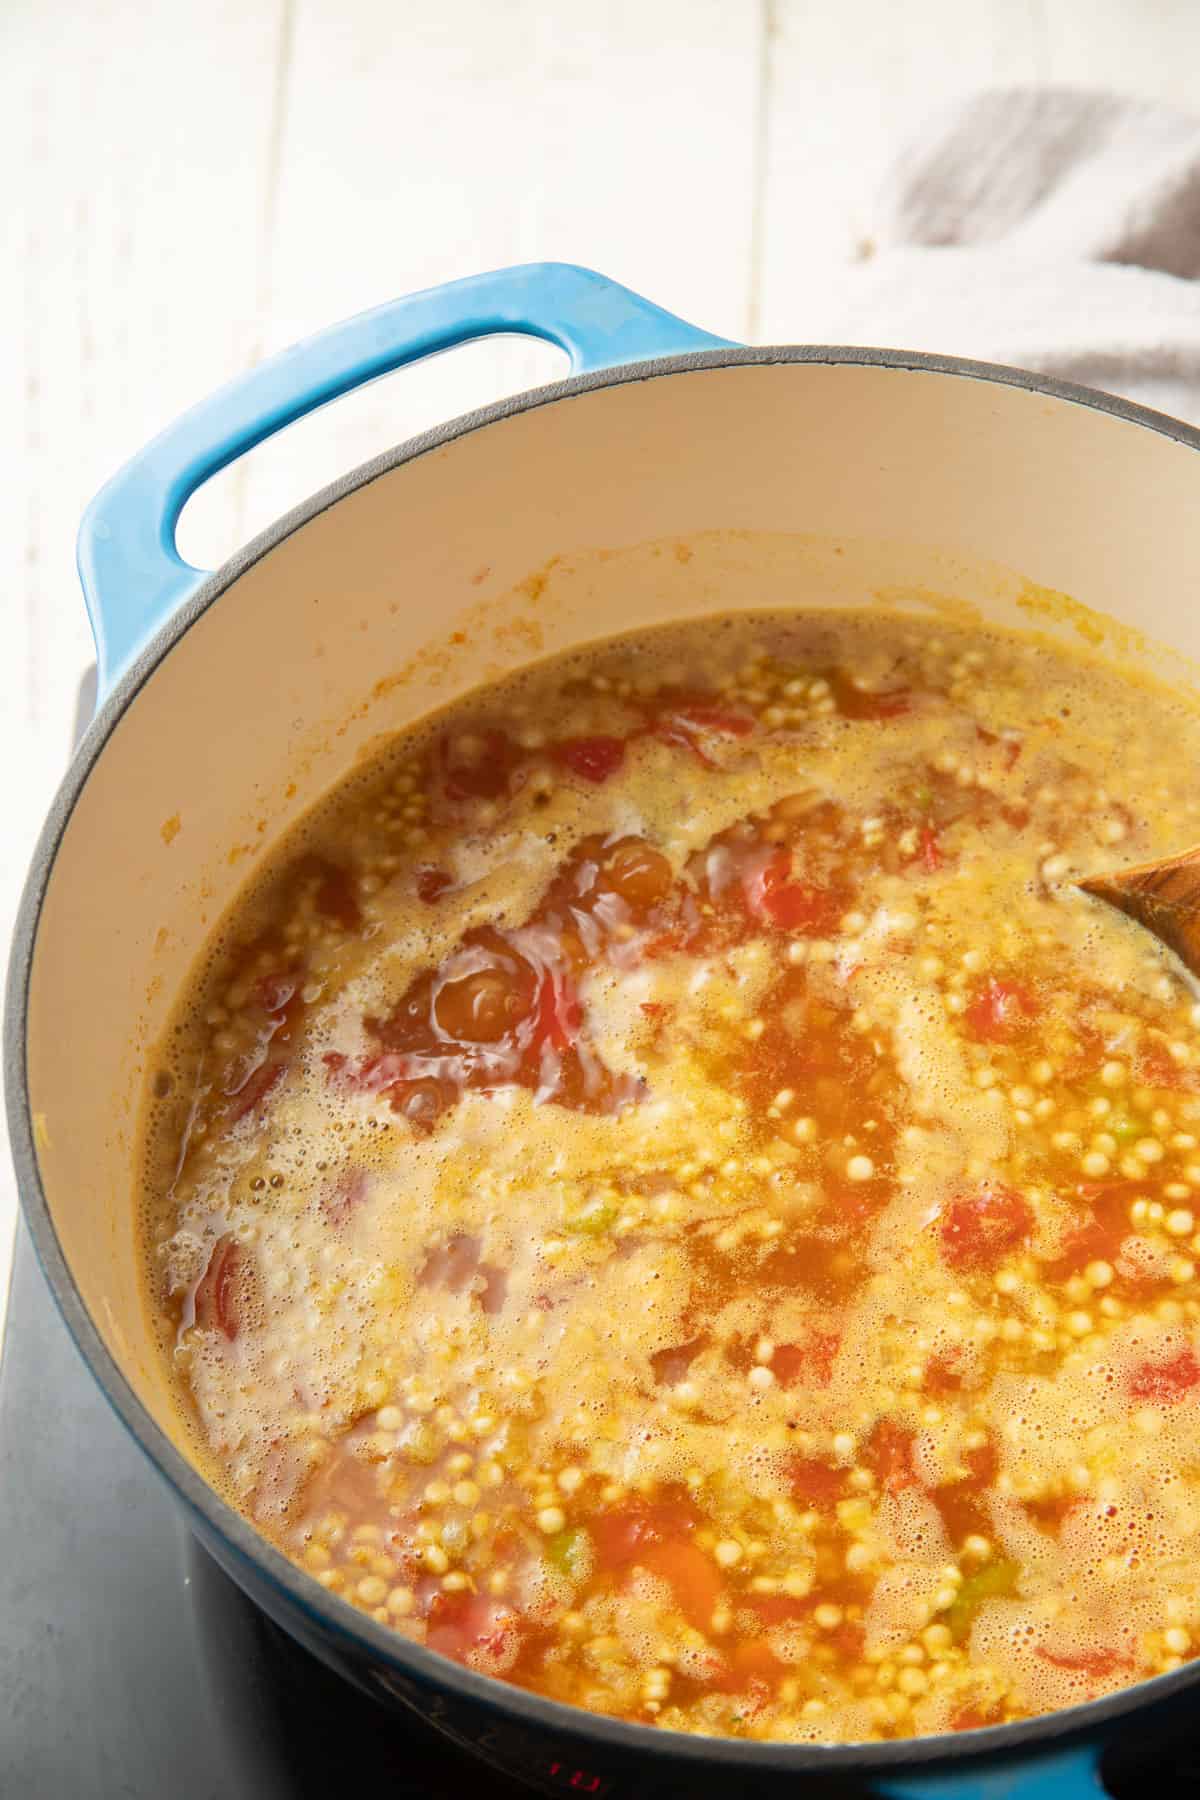
Stir in the broth, tomatoes, chickpeas, and couscous. Bring the soup to a boil, then let it simmer until the couscous is fully cooked and the veggies are tender.
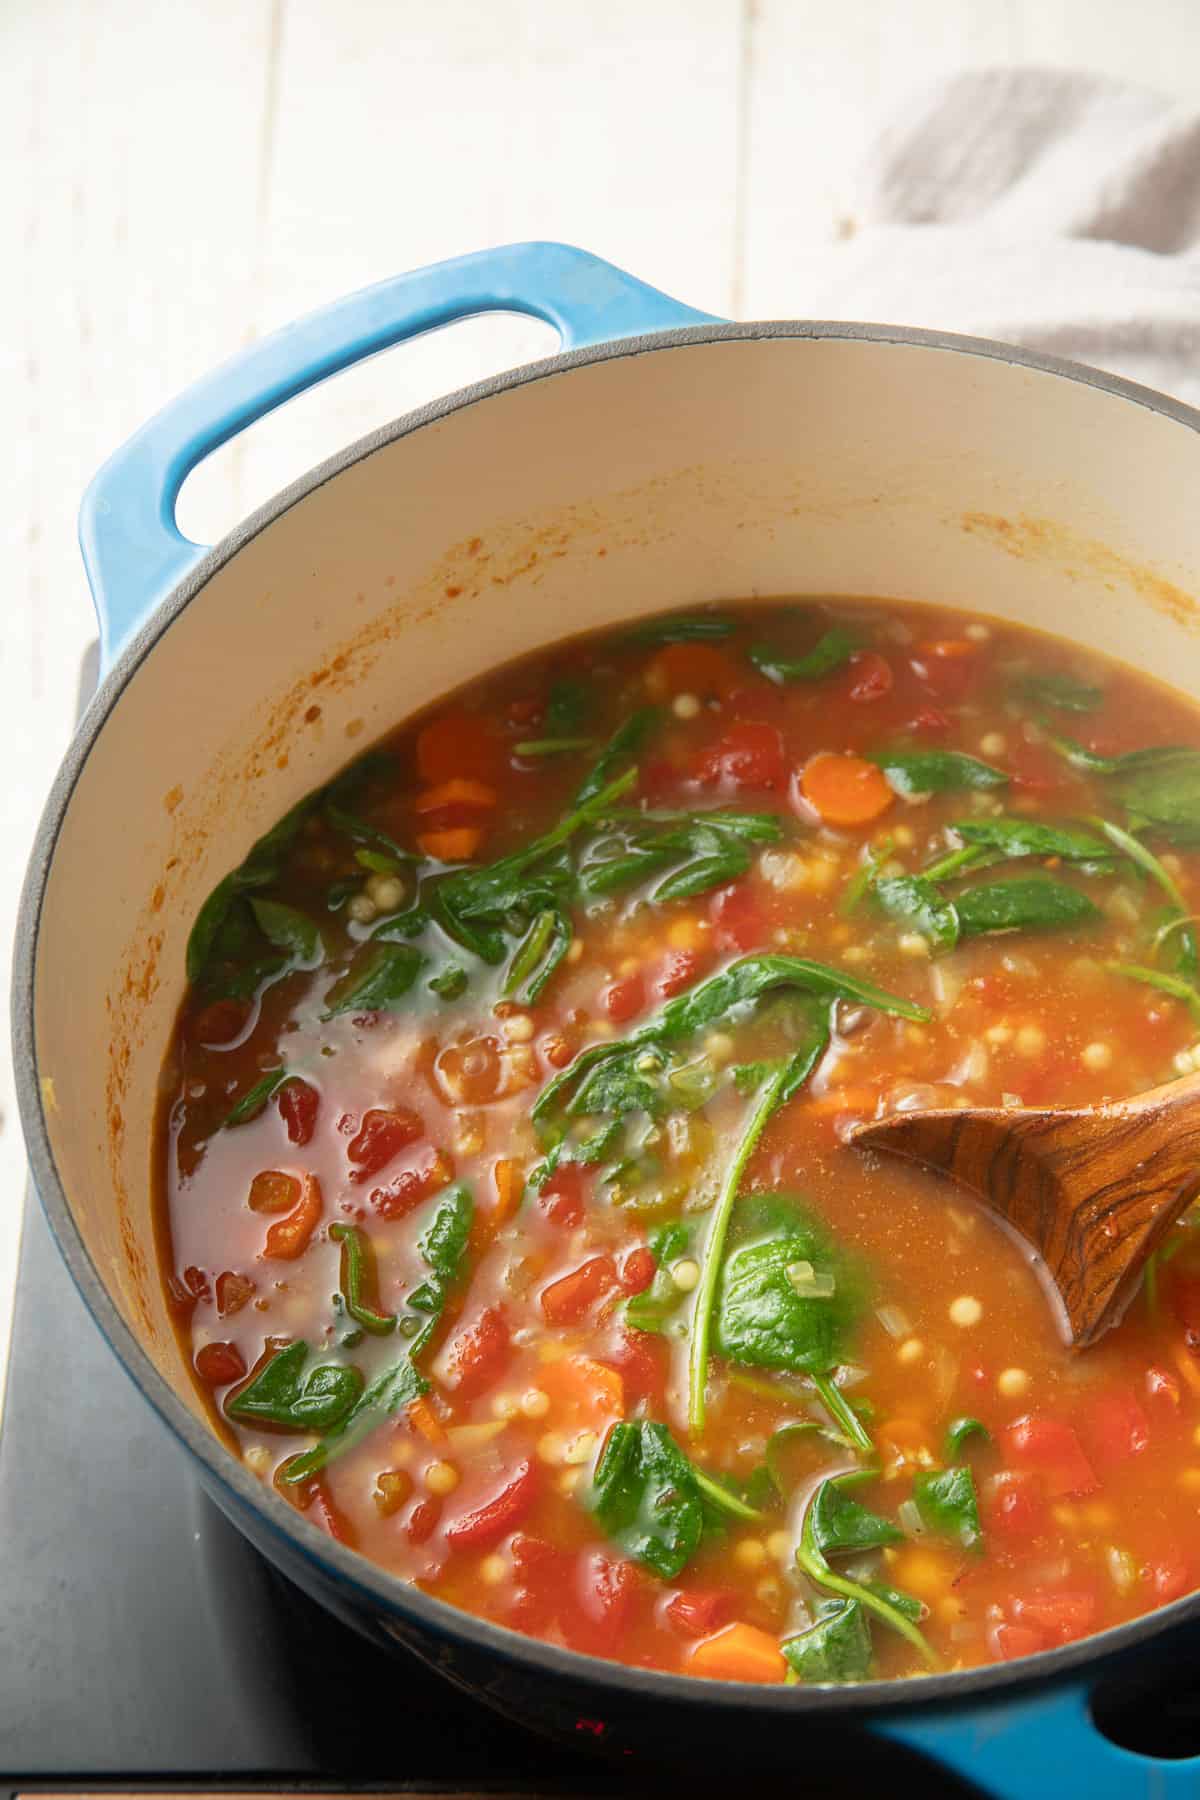
Now add the baby spinach. Continue simmering the soup until the spinach wilts completely, which should only take about a minute.
Take the soup off of heat and season it with some salt and pepper to taste.
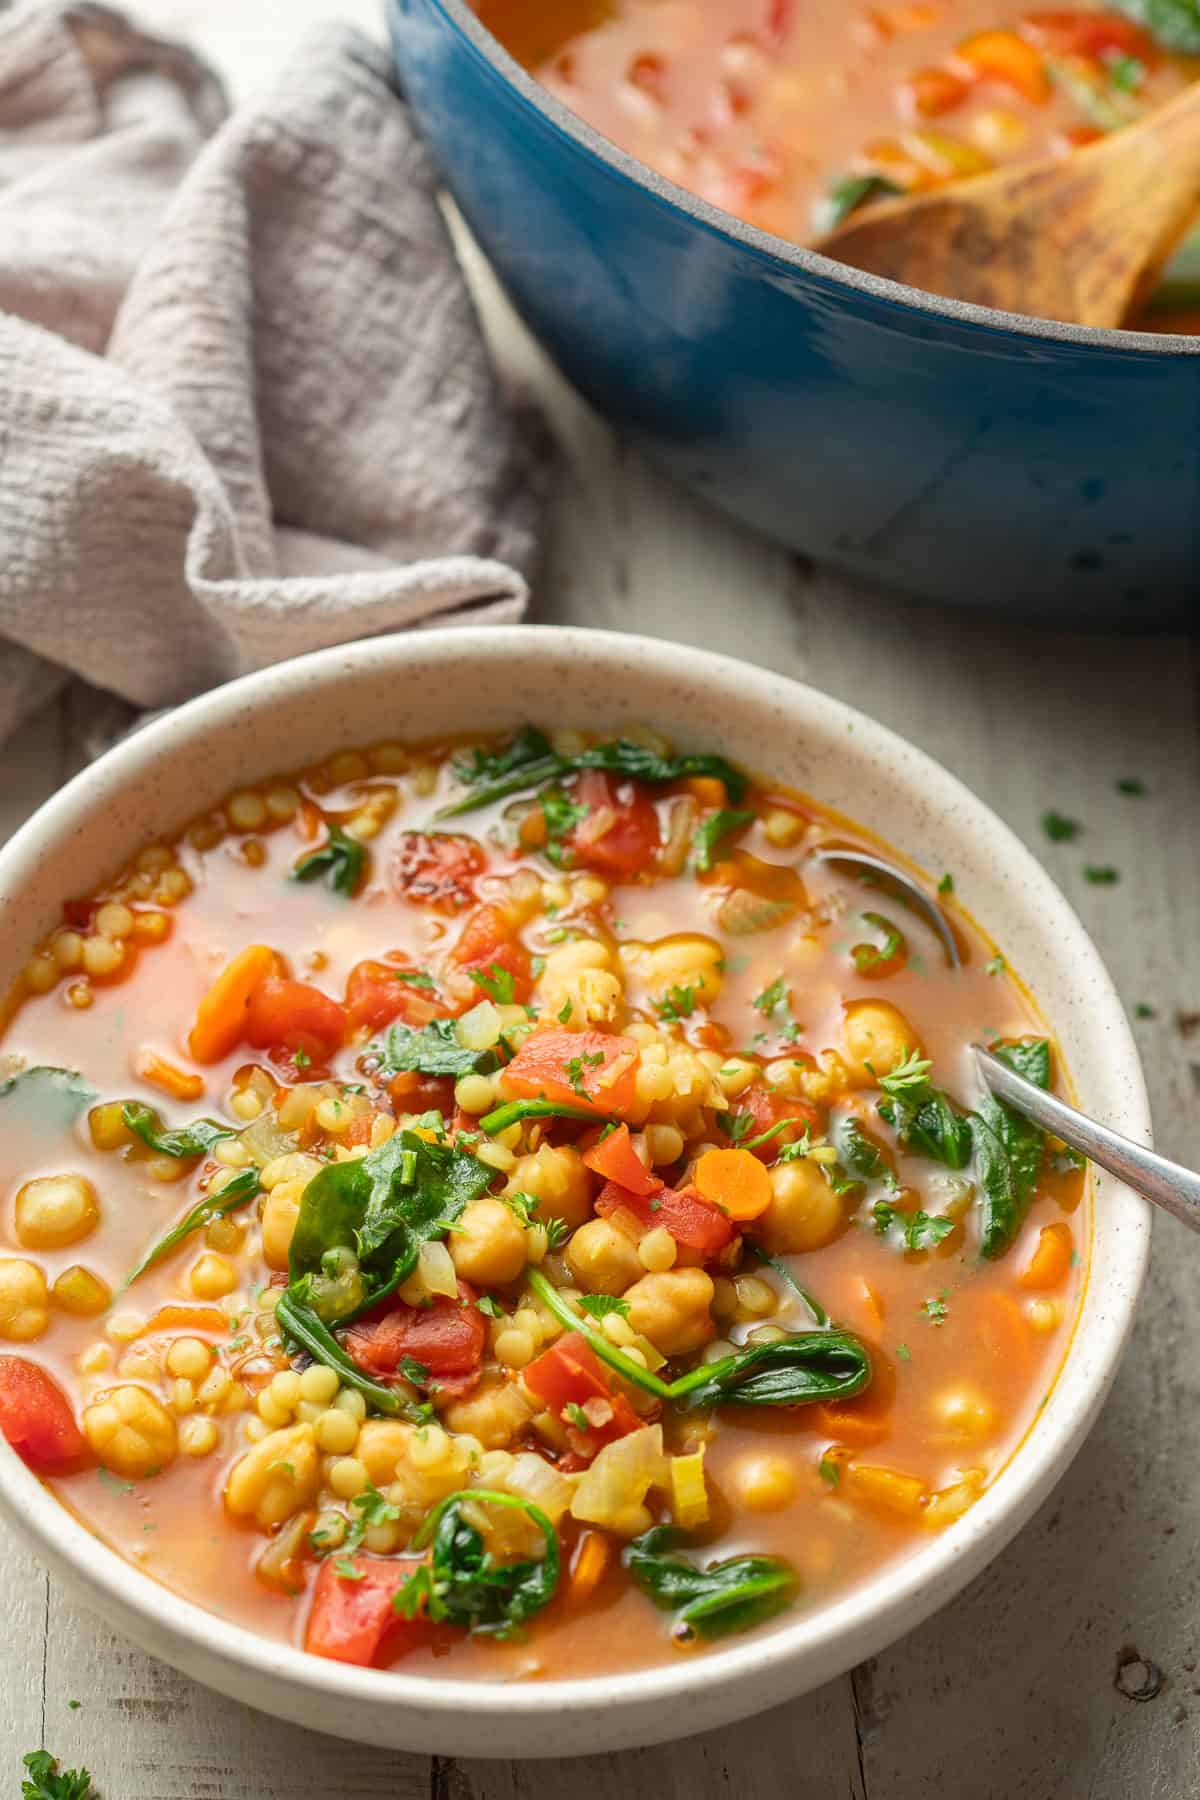
Your couscous soup is ready! Ladle it into bowls and dig in.
Leftovers & StorageLeftover pearl couscous soup will keep in an airtight container in the refrigerator for three to four days, or in the freezer for about three months. The couscous will continue to soak up broth as it sits. Add more broth or water when you reheat it, if needed.
More Soup Recipes- Creamy Vegan Gnocchi Soup
- Moroccan-Inspired Chickpea Soup
- Easy Vegetable Noodle Soup
- Creamy Curried Chickpea & Kale Soup
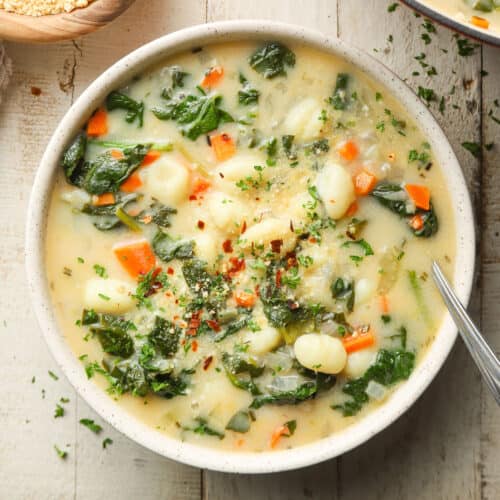 Creamy Vegan Gnocchi Soup
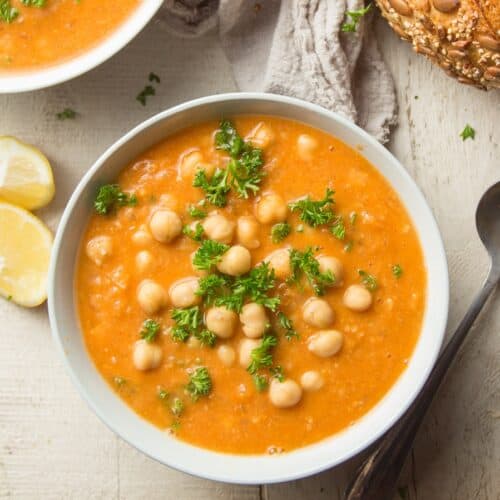 Moroccan-Inspired Chickpea Soup
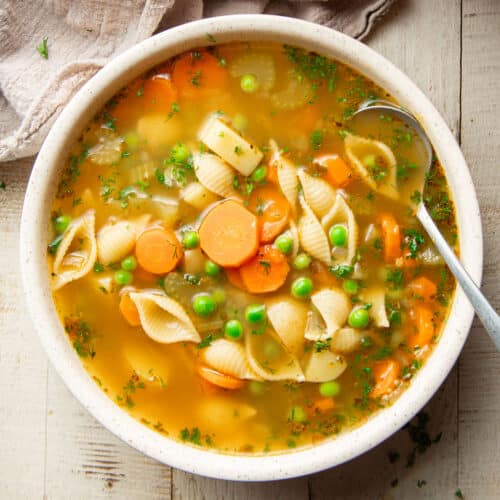 Easy Vegetable Noodle Soup
 Creamy Curried Chickpea & Kale Soup
Like this recipe? If so, please stop back and leave me a review and rating below if you try it! Also be sure to follow me on Facebook, Pinterest or Instagram, or subscribe to my newsletter for more recipes like this one!
- 2 tablespoons olive oil
- 1 medium onion, diced
- 2 medium carrots, sliced
- 1 medium celery stalk, sliced
- 4 garlic cloves, minced
- 1 ½ teaspoons ground cumin
- ½ teaspoon ground ginger
- ¼ teaspoon ground cinnamon
- ¼ teaspoon ground turmeric
- 5 cups vegetable broth
- 1 (14.5 ounce/411 gram) can fire roasted tomatoes
- 1 (15.5 ounce/439 gram) can chickpeas, drained and rinsed
- ⅔ cup dried pearl couscous
- 2 cups fresh baby spinach leaves
- Salt and pepper, to taste
- Coat the bottom of a large pot with the oil and place it over medium heat. Once the oil is hot, add the onion, carrots, and celery. Sweat the vegetables for about 10 minutes, until they start to soften.
- Stir in the garlic, cumin, ginger, cinnamon, and turmeric. Stir to coat the veggies in the spices and cook everything for about a minute, stirring constantly, until the mixture becomes very fragrant.
- Stir in the broth, diced tomatoes, chickpeas, and couscous. Raise the heat and bring the liquid to a boil, then lower the heat and let it simmer for 10 to 15 minutes, stirring occasionally, until the couscous and vegetables are tender.
- Stir in the spinach and let it simmer in the soup for about a minute, just until it wilts.
- Remove the pot from heat and season the soup with salt and pepper to taste.
- Ladle into bowls and serve.
The post Pearl Couscous Soup appeared first on Connoisseurus Veg.